Sherwood Ranger - Covering - Training
*This web site is NOT owned or managed by G-TLAC. G-TLAC is not responsible for the content unless explicitly stated. See Disclaimer.
2/19/11 - 2/20/11 - Fabric Class
I was fortunate that Sportair decided to offer their weekend homebuilding courses in Phoenix, only about 85 miles up the road. I was also fortunate to be able to make the time to get there. Thanks, Carol!
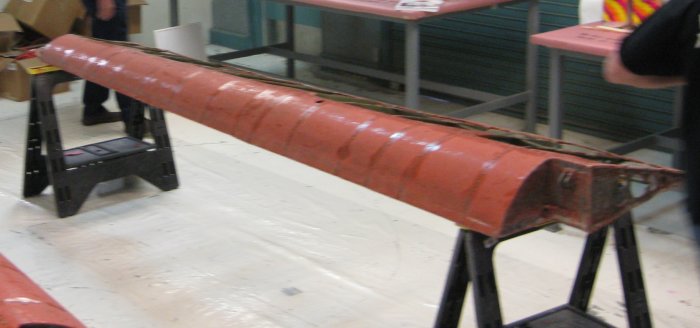
Saturday morning - there they are. Cut down DC-3 ailerons with rounded tip bows riveted on. Nathan, our instructor, said these were cut down to about half span, but even so, they are about homebuilt wing size. Very beat up with bent ribs and metal patches - but good for learning how to deal with odd shapes in the structure.
Ok, so Nathan says these will be covered by lunch. One thing seems SO different about fabric relative to metal - not much in the way of measuring and cutting to an exact size. It's trimmed in place.
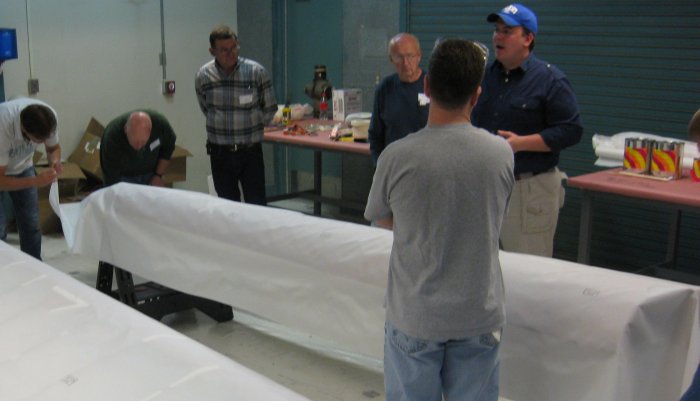
Covered, just like that. Well, maybe 3 hours later. Doing the final shrinking and setting of the fabric. Don't hit the glue with the hot iron - it will let go. So hot iron in the open areas only.
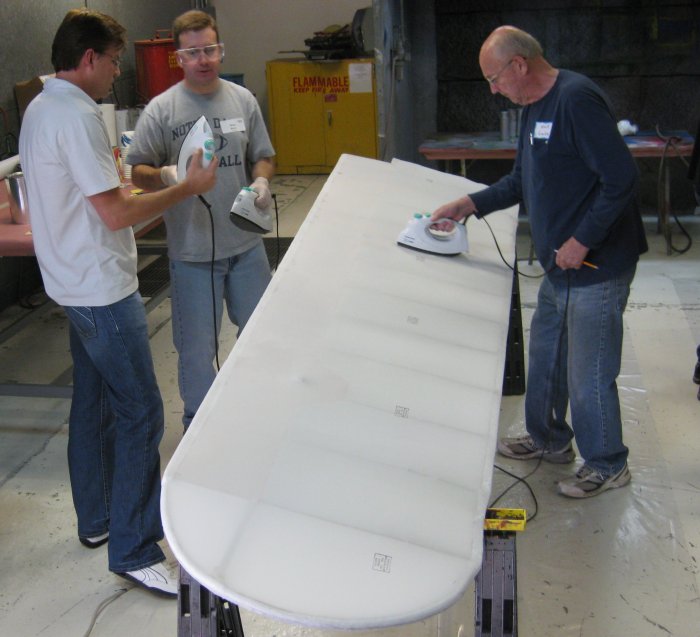
Lots and lots of temperature checking. Using an IR thermometer. The calibrate on a bulb thermometer method is no longer necessary. And with the iron's thermostat cycling, plus putting over big and small heat sinks (structure and fabric), temperature changes very quickly.
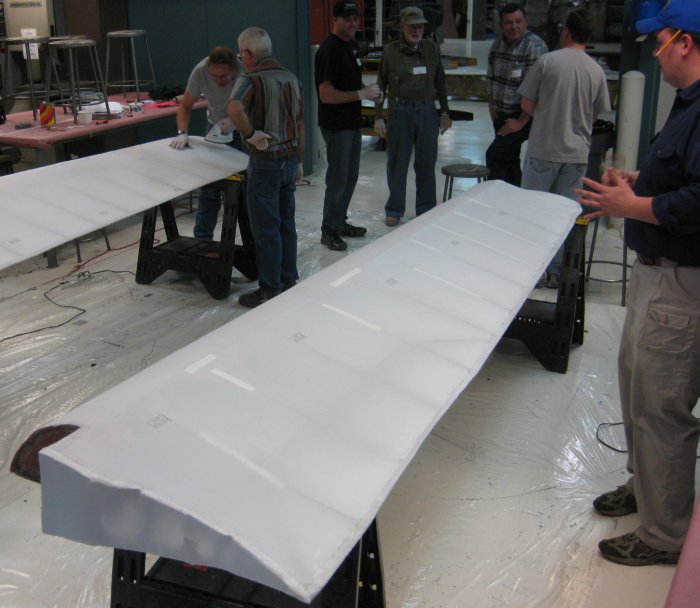
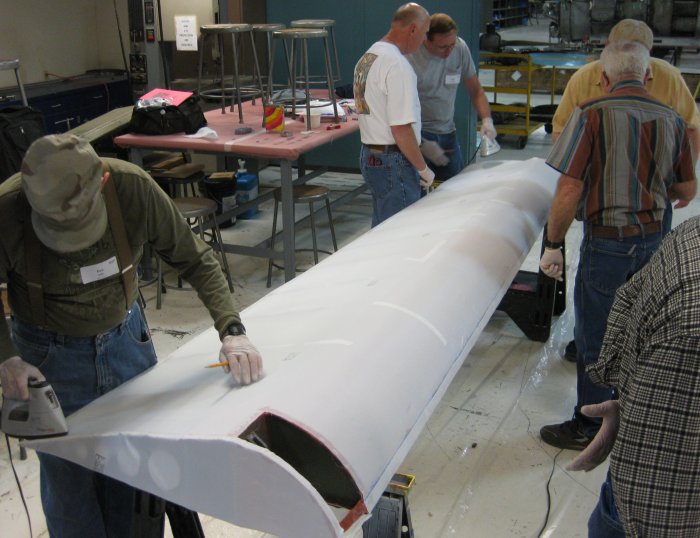
All shrunk down. See that anti-chafe tape through the fabric? Nathan wasn't a big fan. I got the impression he didn't use that stuff much at all - just make the underlying structure smoother. Oh, and you can't get to here and leave it for any period of time - must go on with getting it sealed up and coated.
Ok, last thing before lunch, day 1 - brush on the first coat of poly-brush. Let the room air out over lunch. Here, we marked for rib lacing and have laid on the reinforcing tapes. Yes, those inboard ribs are that bent.
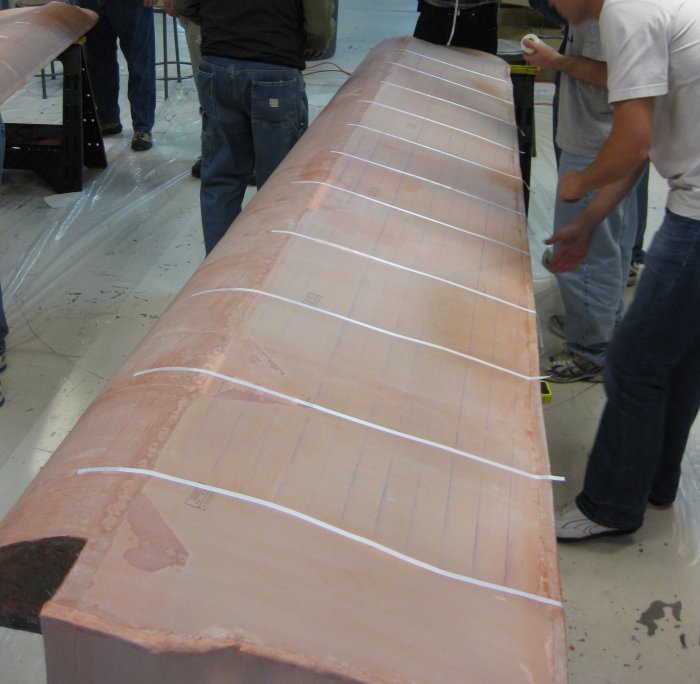
Afternoon of day 1 - rib lacing. (Stitching implies sewing the fabric to the underlying rib cap - lacing implies going all the way around the rib, which is what happens.) I was sitting on the empty stool out near the tip.
And morning of day 2 - finish off the rib lacing. All laced up. Nathan used it as a whiteboard to draw out different things - DON'T actually draw on it with anything but pencil, as ink will bleed through layer after layer of finish coatings.
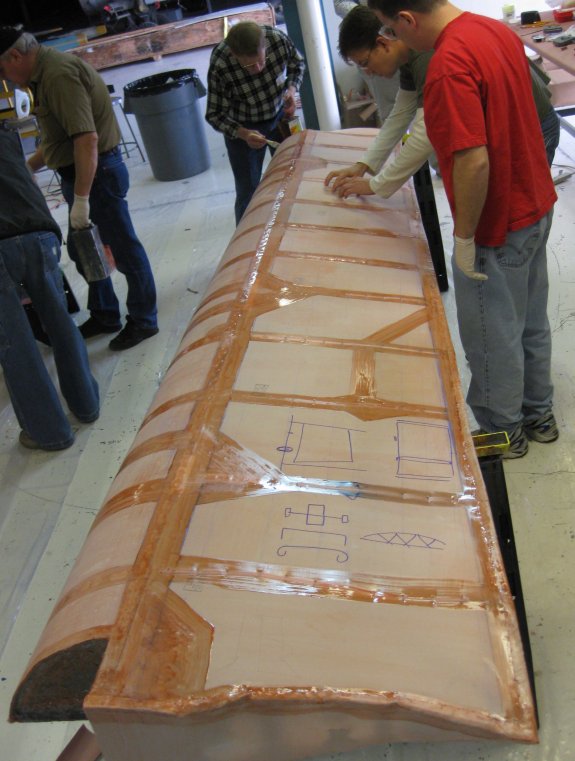
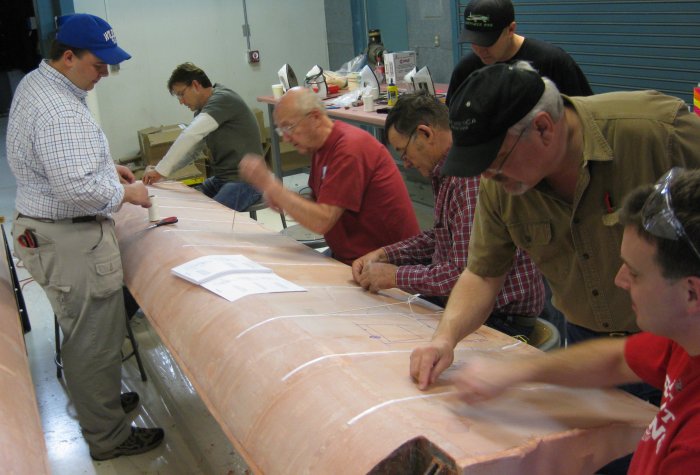
Ok, I believe we take maybe another brushed-on coat or two as given (I'll have to check the book), but for the class, next step was lay out the tapes, and apply a pre-coating of the poly brush at the tape and gusset locations.
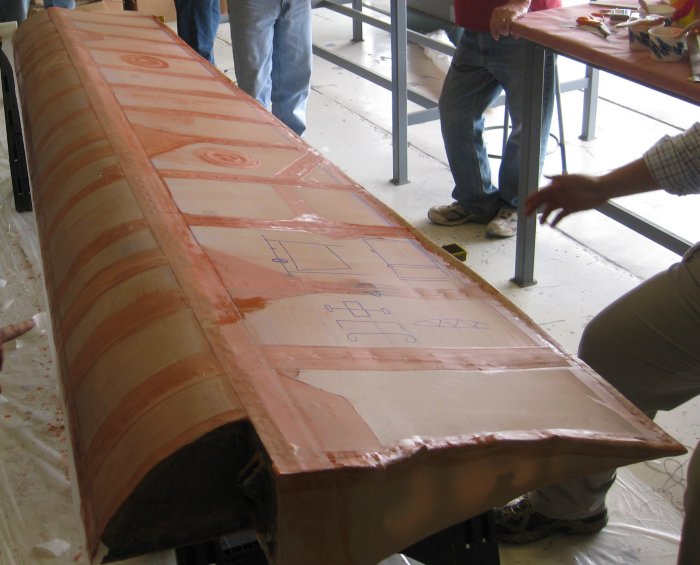
And tapes in place. Laid out the ribs in one piece, trl edge to ldg edge, then the spanwise tapes. Need to think about - if the tape tears off, what else will it take with it, and spanwise tapes will let go easier, so don't want them prying up other stuff, so they go on last. Can't really work from back to front. It's chordwise, then spanwise, mostly. And if a gusset cover ends under another tape, can straight cut it - this will hide its edge better under the overlying tape. Exposed edges of tapes need to be pinked.
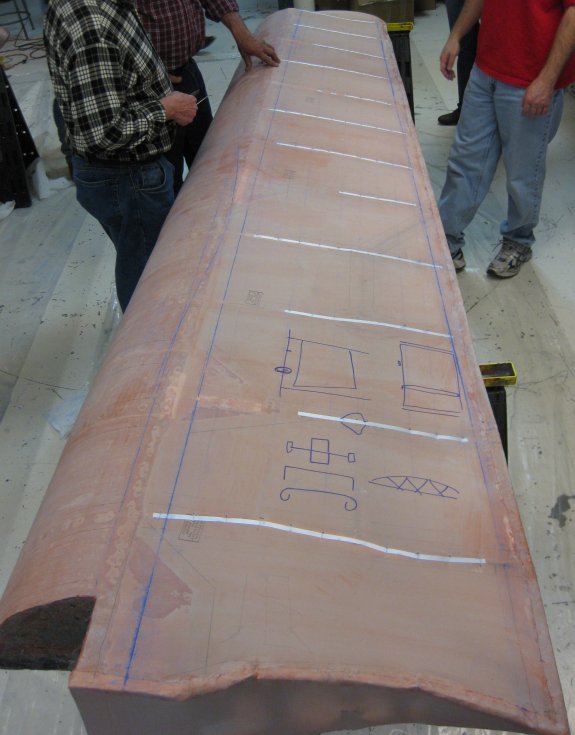
This is the one I worked on, all taped up. You can see the anti-chafe X we put on the leading edge, just to show how visible it is through the layers. Laid in some inspection rings/covers to see how those go. Attach the ring with poly-tak, then precoat the circle with poly brush, lay on the doily, then over-coat with poly brush. Make the doily out of pre-shrunk (250) light-weight fabric. Tapes can be light weight too. Any structural surfaces (top and bottom skins) need to be mid-weight.
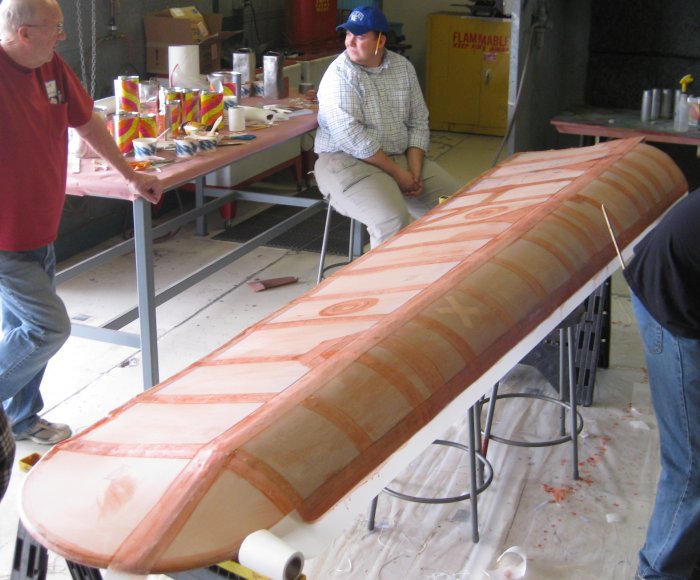
Nathan showing us a trick to quick tip tapes - bias tape. Just tack at the leading edge end, apply poly brush around the apex of the tip bow (for adhesion) and stretch / pull it around until it lays down on its own. He also showed us the slow way on the other wing - shrinking a non-bias tape.
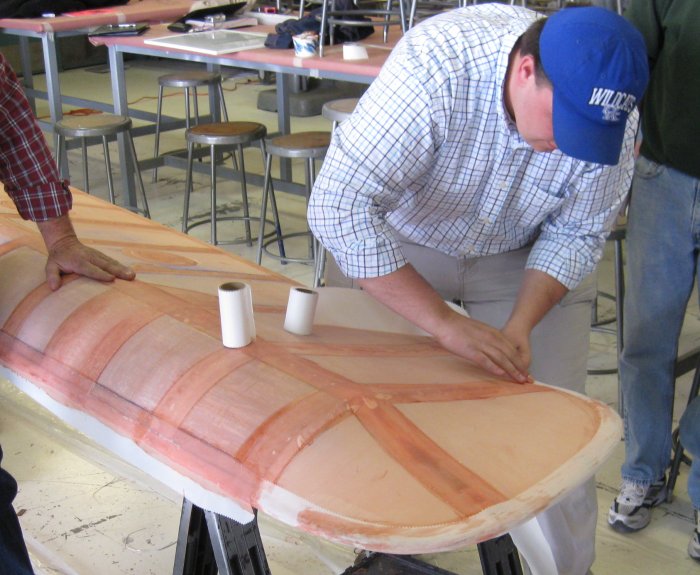
Setting the tape edges down with 225 iron - just enough to soften the poly brush to stick the edges down. Press and move away from the edge. Don't slide the iron along the tape - it will smear the pinking. Don't let the iron get to hot - it will shrink the tape. I guess tape isn't shrunk so it can be around corners and such to fit better. Go over each side of each wing 2x to be sure all the edges are smoothed.
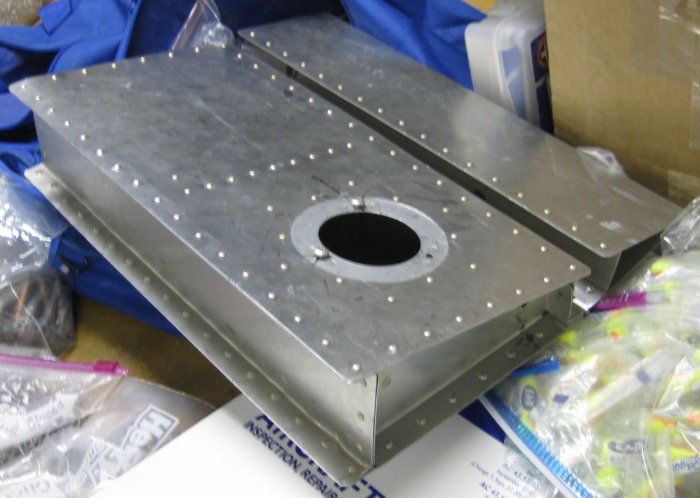
Lunch, day 2 - I walked over to see what the metal project was. This one was the example. The rest weren't done yet. Looks like they've added a little box structure and a control surface structure. Different from what I did about 10 years ago.
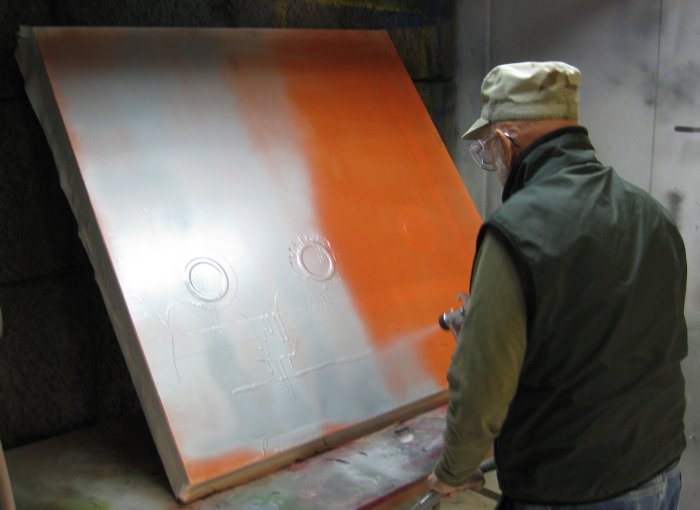
After lunch, day 2 - the spray processes. We made up the little test panel because the workshop usually takes the wings outside, but this location wasn't ok with that idea - but they had a nicely ventilated paint booth. So there are 3 cross coats of the poly brush, then 3 of the silver, then sand it, then a 4th silver, then however much of the top color it takes to get coverage. We made some bad examples - tape with bubbles and non-ironed edges, runs and drips in the poly brush, etc. - to see that it all shows through on the silver coats.
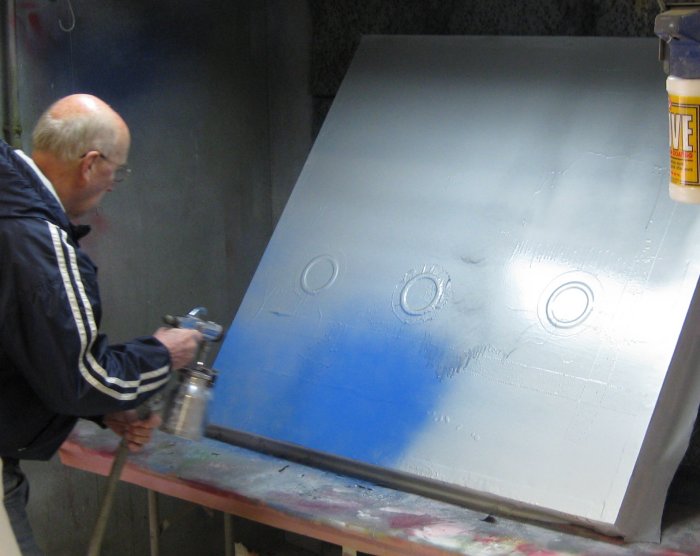
Silver done, laying on the color. The aluminum might displace within the silver coat, but it might not be a visible run when the color covers it over.
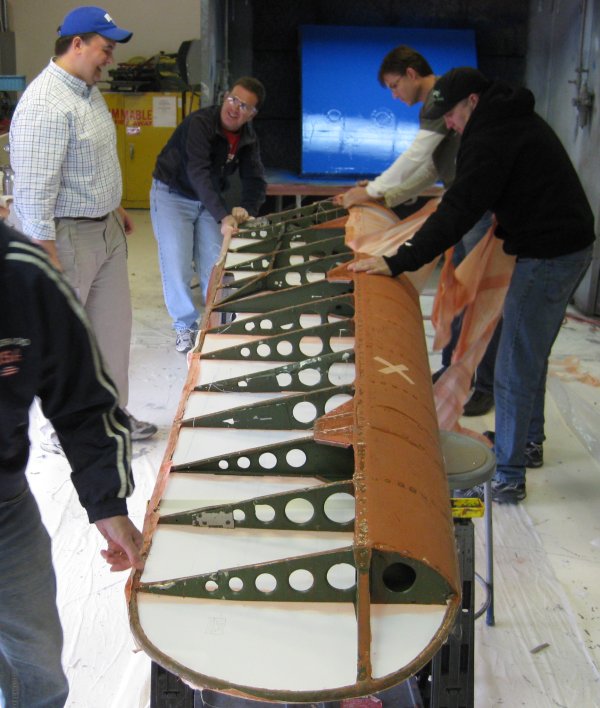
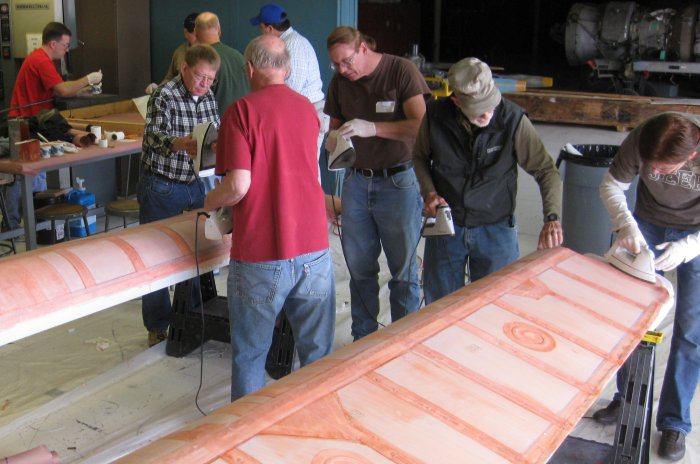
Last step - strip the wings for the next class. These go back into a big crate and were off to Dallas for the next weekend. The guy in the black hat is an automotive painter from Page, AZ, the guy behind him was in from S. Africa to fly with Budd Davison. The guy on the left trailing edge was from outside Albequerque (lives on an airport) with a Bellanca he wanted to do more work on, and the blue KY Wildcat hat is Nathan, the instructor. He's based out of Atlanta now, but grew up in Rhinebeck. I was fortunate enough to go over to Rhinebeck for their airshows a few times when I lived in Connecticut.
Click to join sherwoodbuilders