Sonex* 2nd Build 1
*This web site is NOT owned or managed by Sonex, Ltd.. Sonex, Ltd. is not responsible for the content unless explicitly stated. See Disclaimer.
Finding opportunity in adversity...
(how to start "small")
Those looking at this page first - I have built probably 95% of the parts of the Sonex. I'm not a licensed A&P mechanic or a professional mechanic. Just passing on some of what I learned, but please keep in mind that none of my experience necessarily does or should apply to what you do.
Where have I been for the last month? The work continues - down new and unforseeable paths. After reviewing with Sonex, all of the parts detailed on the other pages were sold to another Sonex plans-holder. I have retained plans set #0042, and Sonex agreed that what I sold essentially represents the construction rights of the other plans holder, leaving plans set #0042 with construction rights. (Please contact Sonex regarding use of your plans set.)
From what the buyer told me, the wing was to be passed on to yet another Sonex plans holder, as he had already completed his own wing. The wing, with most parts made, still would require many hours to drill the skins to the ribs and other assembly work. The buyer's purpose then was met - to very quickly complete his Sonex. Hope to see "my" fuselage at SunNFun in '01 with VW power.
Why sell out? Personal circumstances don't allow continuation of the project at this time. It's not meant to be now, but maybe sometime in the future... Still this is what home built aviation is all about - a learning experience. I learned a lot on this project, met a bunch of great people, and got to some big events.
Anyway I've got all of these cardboard templates, a set of plans, a bunch of scraps. What can I come up with?
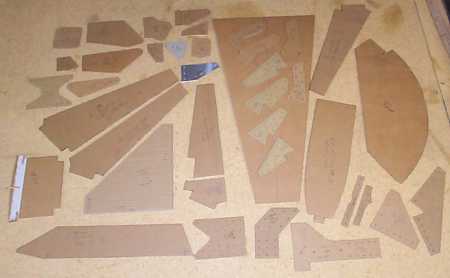
This build is more representative of "starting small". I have no rivets (yet), and won't be back into any large assemblies (or even large parts) for a while. Looking through the prints, I am picking off all of the small sheetmetal and plate stock parts that add so much time to the project, but require very little storage space.
I thought I might do a "starting small" web page that would show how to get a lot of project time under your belt with little material, little storage space, and few tools. I even outlined a few pages of this and quickly realized that one should probably bite the bullet and put some $$$ up front into tools. Then proceed with the "little material, little storage space" projects.
Going into this, and having been a long way through it, I just can't buy into any scheme or idea of trying to do a project - be it aviation, automotive, home related, or otherwise - without having the right tools available for the job as needed. There is nothing worse in my mind than using pliers when a wrench is called for, or using a $.50 worn-out screwdriver, when a $7 new one will not slip out or strip out the screw head. I'm not saying that one needs the tool inventory of an airframe manufacturer to build a Sonex, either. It's one of the least tool-intensive airplane projects out there. I just don't skimp with tools. (As others have pointed out - this need not be a fatally expensive approach - borrow where possible, buy used where reasonable, and resell when finished.)
Big $$$ tools I consider requirements: drill press; belt-disk sander; bandsaw; bench grinder. (For the shopper, I'm using a table model 5-speed drill press, a 4"x6" belt-disk, a "9-inch" single-speed bench-type bandsaw with 8TPIx3/8" blade, generic bench grinder with a special wheel - pictures below.)
Some people have gone at this project with considerably fewer tools than myself, and you could easily be much more resourceful when it comes to borrowed/used/low cost tools. For the wing spar extrusions, I borrowed an air-driven dual-action sander for a few days (from a guy whose house I have often helped de-construct and re-construct). Otherwise, I like to work at any hour (so stopping by to use a bandsaw after midnight wouldn't work too well). I also don't like the idea of trying to mark up all the angle at once and do a marathon of sawing - I like to have several different parts going at once, and be working with a variety of tools and processes. Variety keeps it interesting to me.
Also, by having your own tools readily available, one can quickly and easily resist the temptation of continuing with an unsuitable part by making another. This is one down side I see with the laser-cut parts - if you are not familar with layout and finishing and damage one of these parts, you may not have material or practice in fabbing another - and may not want to wait for or pay for another to be shipped to you. Resist this temptation - have the right tools available and make/buy more parts as required.
For those attracted to the fastest-build highest-prefab kits available, I've also found that I probably would not like to build a "cleco and rivet" kit. When an assembly gets down to the "cleco/drill/debur/rivet" stage, I find this kind of work very tedious and boring. It is very enjoyable to get the cleco/drill/debur/rivet over with to go back to laying out, cutting, pilot drilling, and finishing of detail parts.
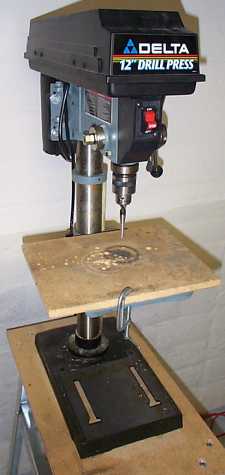
Drill press.
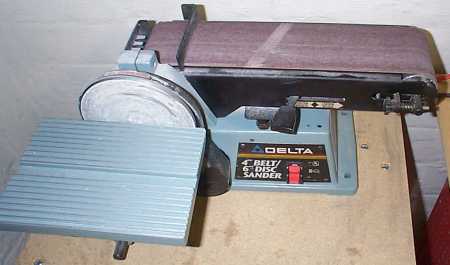
Belt/disk sander.

Band saw (note candle for blade waxing - required with every cut or the blade will die almost instantly).
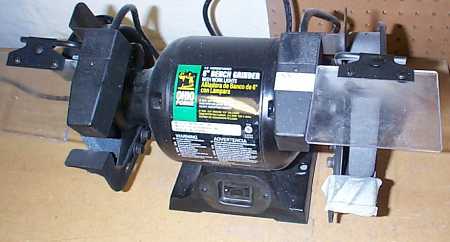
Bench grinder.
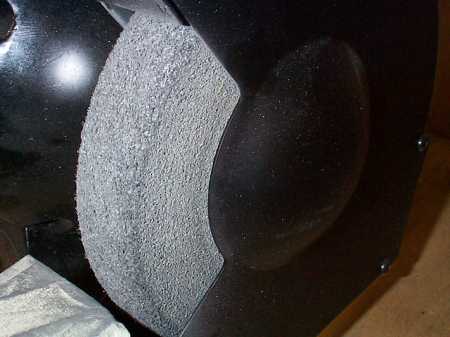
ScotchBrite wheel on bench grinder.
Med/low $$$ tools: marking/ measuring tools; shears; files. (Sharpie pens with ultra-fine point (Sonex is designed in 1/64" increments), blue if you can find it.) Small brake ~$20 from Harbor Freight. Some people think this is junk. For the small .060, .032, and .025 parts, it's ok. All you need with the pre-bent kit from Sonex.
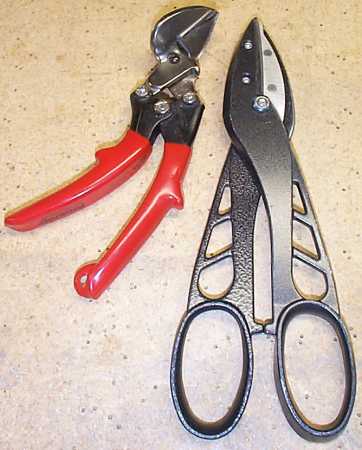
Shears. I exclusively use 12" Andy's from Home Depot and red-handled left-cutters - for whatever reason, the yellow-handled straight-cutters and green-handled right-cutters never get used.
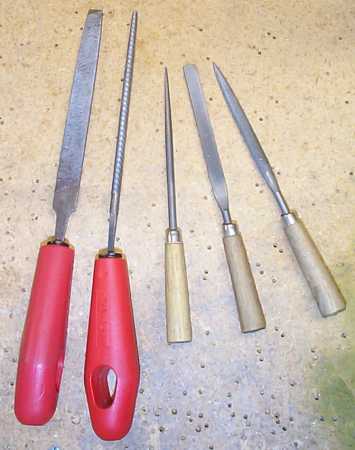
Files. I have 5 favorites - med size flat, med size rat-tail, small size flat, small size rat-tail, small size 1/2 round.
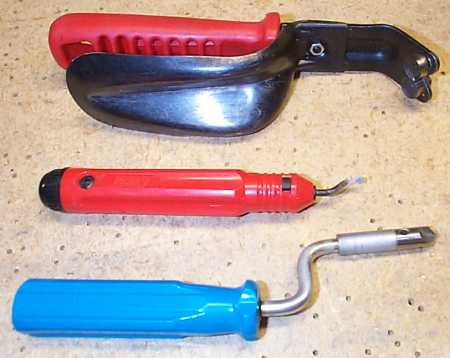
Debur buddies. These are aircraft-specific. In that first order to Avery for the ScotchBrite wheel, check out the blue-handle drilled hole debur (also includes extension for doing the insides of channel stock), the small red-handle whirly hole debur (for inside of holes too large for the blue-handle), the 2-sided edge debur (with hand guard). This does both sides of a sheet at once; for longer edges.
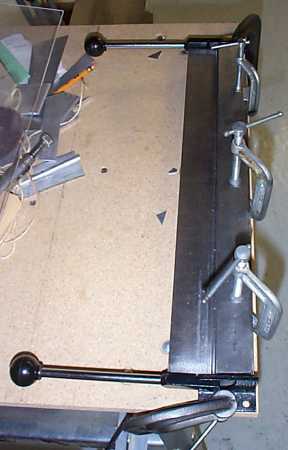
Small brake.