Sonex* Wing Spars and Wings
*This web site is NOT owned or managed by Sonex, Ltd.. Sonex, Ltd. is not responsible for the content unless explicitly stated. See Disclaimer.
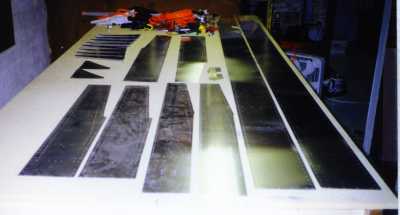
Parts started on my Sonex when I got it consisted mostly of wing spar parts and some flap/aileron ribs. 7/20/99
Looking at my remaining 3/16 for the flap handle, I found that it was barely enough for these spar fittings. The flap handle ended up coming from an extrusion trimming. 10/31/99
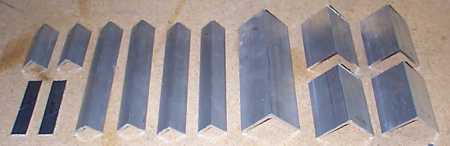
Cut my remaining angle stock this week to determine what else was needed. I don't know exactly why it ended up as it did, but I needed to order about 4 more feet of various angle stock. These are for aileron bellcrank mounts and other wing-specific angle stock parts. 11/21/99
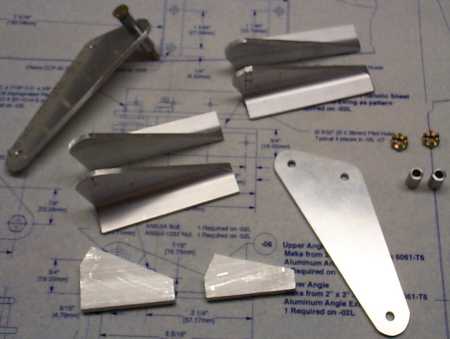
Aileron bellcrank details. Spacers are 6061-T6 because I did not have the phenolic, but did happen to have some .250 Al. .250 Al is not required anywhere that I have found. After making the elevator control idler assembly, these have gone a lot more quickly - so far. 2/6/00
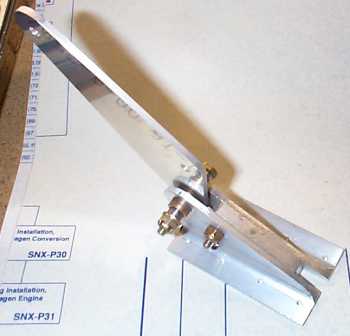
Finished one aileron bellcrank assembly. I only had 2 of the long bolt through the center - I used the other one on the elevator idler assembly. (So review your fuselage hardware list?) 2/9/00
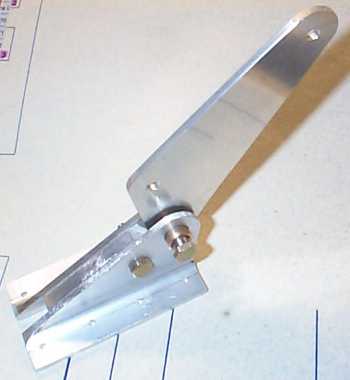
Another view of aileron bellcrank assembly. Another reason I only completed one at this time is I trashed one of the bushings installing it into the aluminum part. I got it out-of-round, and tried to re-round it by squeezing it with pliers. After a few iterations of that, I discovered that when you get one of these things out of round, it's never going back. I'll just order another bushing with the bolt. (These assemblies require hours of trial fitting to get to work right. They are frustrating to make - enough so that I looked at what other airplanes use - RANS, Lancair, etc. They use riveted-flange bearings for bellcranks - much less fuss to install, perhaps, but these are much less $$$, much smaller, lighter, and other than the frustration of manufacture, are simpler.) 2/9/00
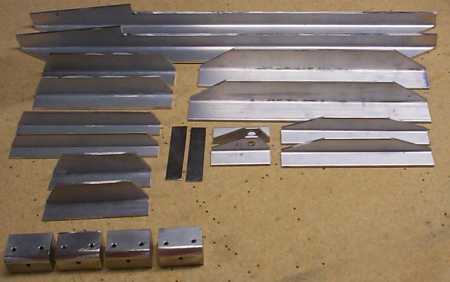
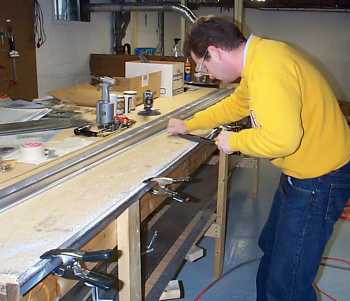
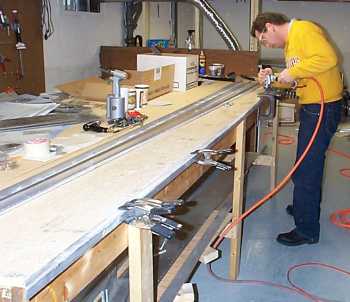
Main spar details. Now that I've got a good feel for the bandsaw, hacking up bits of angle goes quickly. I took all of these (except the blocks) from the 11/21/99 picture above to here in about 4 hours. 2/7/00
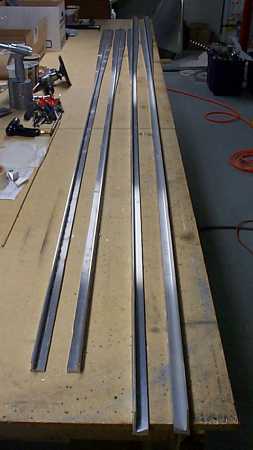
The intimidation factor of the $100/ea. spar cap extrusions I found is not as bad as the intimidation factor of the main gear legs. Sure, the gear legs require "only" 2 holes each, but I've decided they will be done by a pro - no matter what I have to bring to a machine shop (engine mount, gear legs, axles, etc.). The spar caps are just long cuts using your favorite bandsaw - just 6061 like I'm used to cutting by now. True, I went through 3 blades, but it is 80-odd feet of cut through 3/16-5/16 material, and I didn't want to fuss with a dull blade just to get a few more feet of cut out of it. Blades are ~$8 each - replace often. 2/17/00
The cuts don't even take the most time. Finish step 1 - the body file (Stanley Surform). 2/18/00
Finish step 2 - the dual-action sander. This thing draws >7.5cfm @ 90psi, so my compressor could not keep up. I would start at ~105psi, and the compressor would run continuosly. The sander got too slow @~50psi, so I would have to stop & let the compressor catch up. No big deal - I got tired of holding it every 5-10 minutes anyway (change sandpaper, file some more, etc.). I split this step into 2 parts - 80grit & fine grit. The 80 takes out the file marks relatively quickly, then the fine grit brings the finish up. 2/18/00
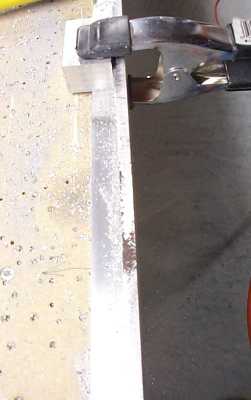
Trying to show the difference in finishes - the top is the raw bandsaw cut, middle (dark) is the body file, bottom is sanded. 2/19/00
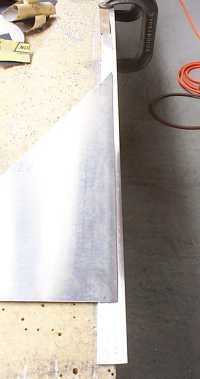
At root of upper spar caps, checking flange filed flush to .032 sheet. This allows spars to fit tight when overlapped to form full wing. 2/20/00
On lower spar caps, checking flange filed flush at wing tie down bracket location. (Lines at either side of flush filed area are marker, not file marks.) 2/20/00
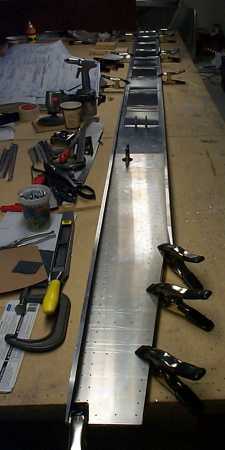
First stacking of spar parts. 2/20/00
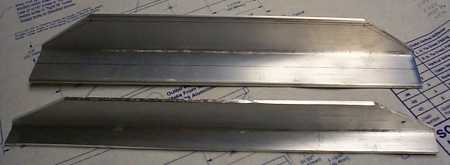
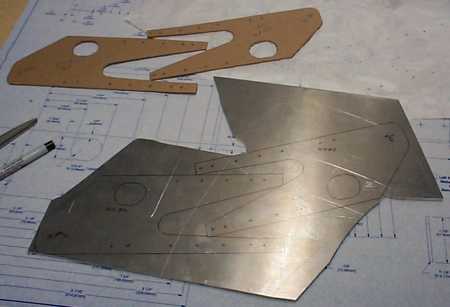
Why you don't want to make your parts look like what I picture here - I cut the W11-08's wrong. This is probably the only time in the whole project where I will cut something wrong too large - correctly trimmed W11-08 in foreground. 2/26/00
Spar stack up showing angles on web. 2/26/00
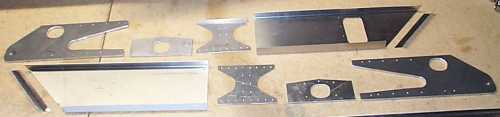
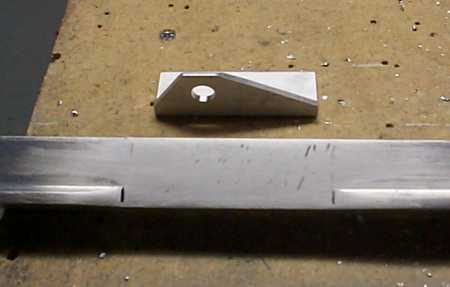
While waiting for a tool order for the main spars, I'm working rear spars. Rear spar details shown. Aileron counterweight hole not cut on left spar tip. 3/4/00

Rear spar assemblies. Flap pushrod through oval holes in large end fittings, aileron pushrod through small doubler plates. Aileron counterweight through rectangular holes near tip. 3/4/00
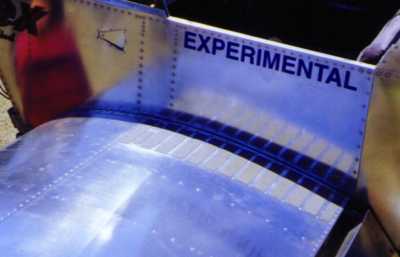
Detail of non slip wing surface, Sun N Fun 1999.
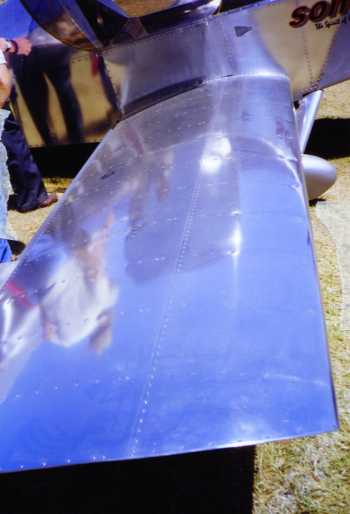
Detail of rivet pattern on wing, Sun N Fun 1999.