Sonex* Horizontal Tail
*This web site is NOT owned or managed by Sonex, Ltd.. Sonex, Ltd. is not responsible for the content unless explicitly stated. See Disclaimer.
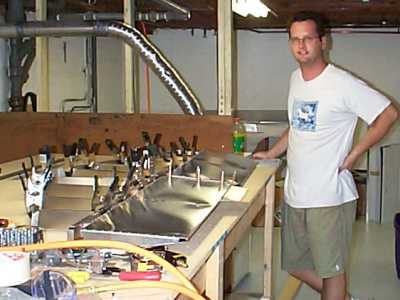
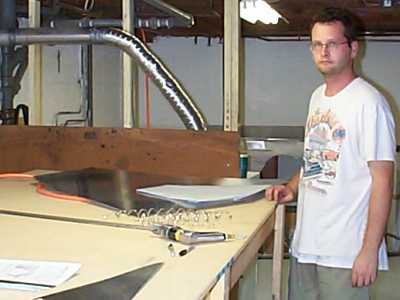
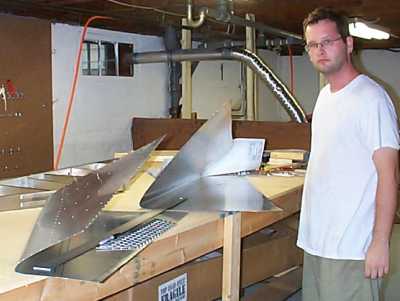
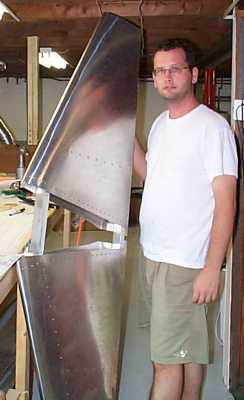
What I have so far. Also have completed rudder. 9/4/99.
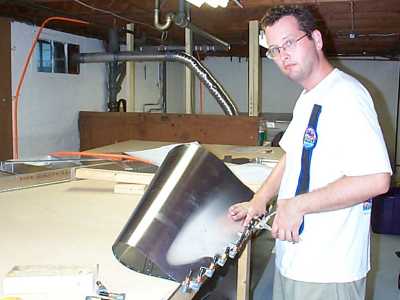
Drilling 2nd elevator skin. 9/3/99.

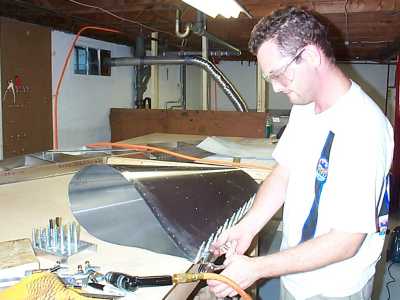
More drilling. 9/3/99.
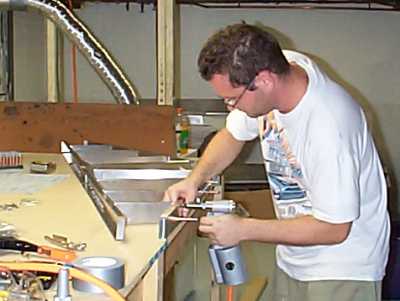
Fitting end (drive) rib. 9/3/99.
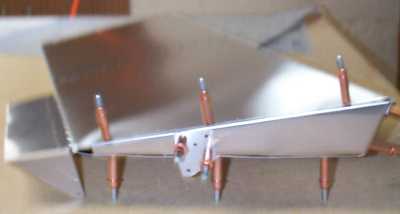
Trim cable attach bracket on the drive rib. 9/3/99.
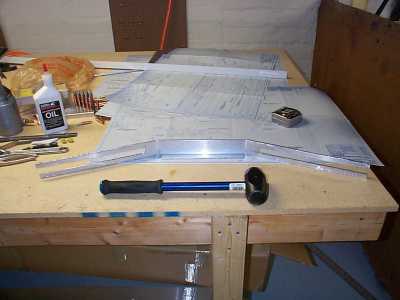
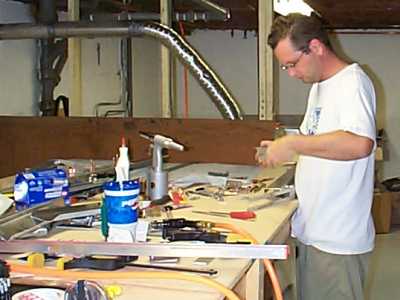
H-stab forward spar. Start with 2.5"x2.5"x3/16" angle, remove all structurally irrelevant material. And that's the proper hammer for the 22 deg. bends (4#). 9/4/99.
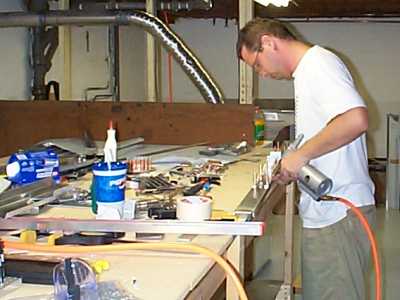
H-stab rear spar. Went much smoother than forward spar. Forward spar, I broke the wimpy blade that bandsaw came with, extracted blade from the spar, bought 3/8" blade to replace 1/8" blade. Figured out how to use bandsaw to trim angle stock close to final shape, then used router to bring it back to 3/16". If you're making these parts, you know what I mean. 2 5/16" of the 2 1/2" flange gets cut away, theoretically leaving a 3/16" thick spar which must be riveted through. 1/2" dia. straight cut router bit with bearing makes it possible - an end mill would be ideal for this kind of cut. 9/4/99.
Drilling rear spar. 9/4/99.
More drilling rear spar. 9/4/99.
Deburring angle bracket/ 9/4/99.

Deburring the big spar fitting. 9/4/99.
Riveting. 9/4/99.
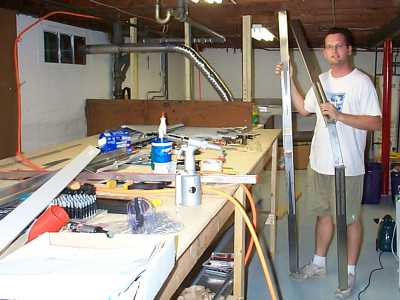
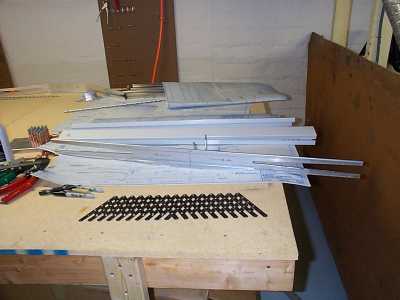
Both spars completed. Took ~18 hrs. including making H-stab ribs shown below (have not made tip & leading edge ribs yet). 9/4/99.
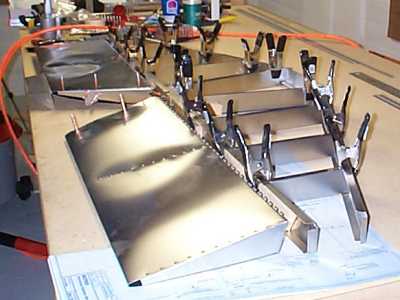
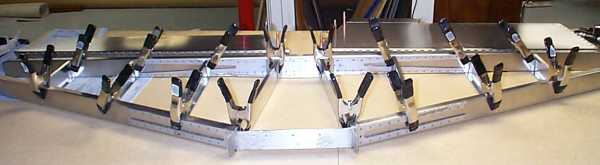
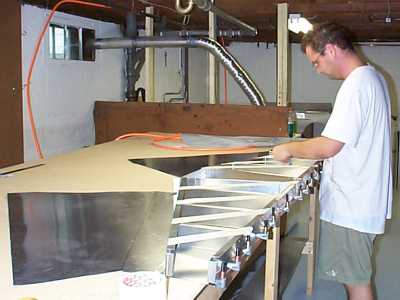
Tail laid out, with elevators. The elevator skin looks kind of squeezed in this light. So they're not perfectly flat, but they're not as far out as this shot makes them appear. Elevator drive ribs not riveted at this time - need fitting from Sonex that connects them together. 9/4/99.
The ribs are very quick to make from the Sonex "basic shapes" stock. 9/4/99.
Tomorrow it gets skinned? 9/4/99.

First hand pulled rivets in #1 rib @ rear spar bracket. 9/5/99.
Riveting ribs to spar. Note cut down trigger on rivet gun. This allows me to hold the gun with 2 fingers and trigger with 2 fingers. 9/5/99.
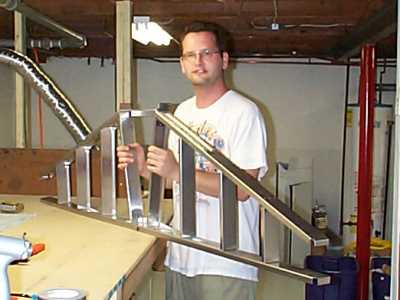
Complete h-tail structure, less tip & leading edge ribs. Before riveting, I checked that the front & rear spar tips were the proper length from the centerline. Rear was fine. Front was wide left. So I checked the centerlines of the front & rear to each other, and found the front was offset 3/16" from the rear. This was corrected with a piece of tape diagonally front to rear, then the front tips were marked to be rebent & trimmed even. I did this rebend & trim while it was apart for debur. So now the tip ribs will be square to the trailing edge. 9/5/99.
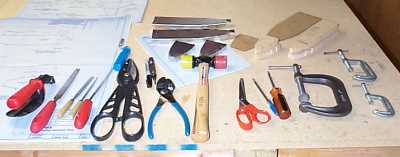
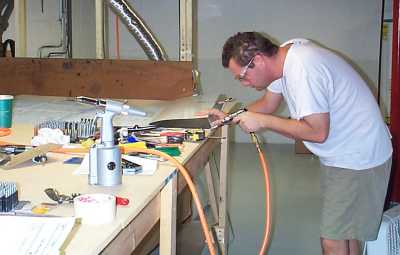
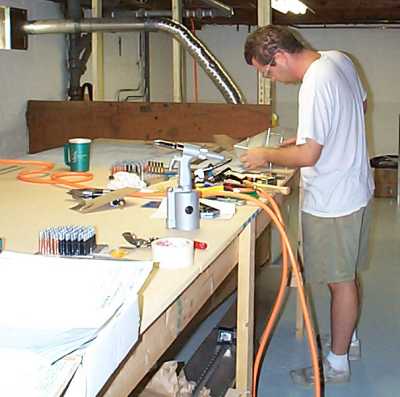
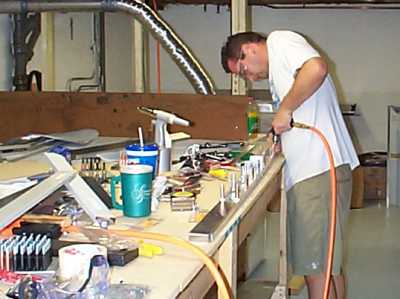
Tools and tooling for h-stab tip & leading edge ribs. I left these to do last because I trace the plans onto tracing paper, put the trace over the form block stock, punch holes through trace with the automatic marking punch to indicate the perimeter of the part. Draw in perimeter line, cut on bandsaw, finish shape on disc/belt sander, check to print. Trace wood form block with 1" dia. pencil (pencil stuck in a socket from a wrench set) onto cardboard to give 1/2" flange. Mark cardboard for pilot holes, cut out. Trace cardboard patterns onto aluminum and use automatic marking punch to mark hole locations. Drill holes, cut out perimeter of part, debur. Clamp into form blocks & hammer out parts. Check to print & use fluting pliers to adjust. 9/5/99.
Cutting skin blanks. I folded the drawing sheet to the rough outline of the skin, then placed it twice down each side of the skin. Drawing is 1/2 scale, and it saved me doing the layout on a full sheet. I left ~1-2" around each side. Cut with air shears from Harbor Freight. This is THE way to turn whole sheets into blanks. Also in view are the funny looking 1/4" wide corkscrew "chips" produced by the shear. After detailed layout, part is trimmed to final shape by hand. 9/6/99.
Tracing ribs onto skins, after skins were laid out and trimmed to final shape. Note diagonal masking tape to position front spar centerline relative to rear spar centerline. 9/6/99.
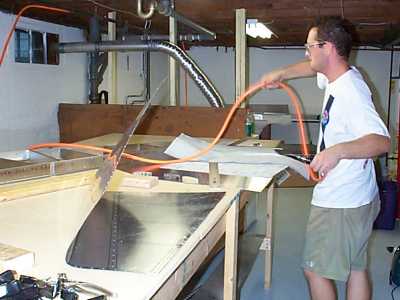
Another nervous moment - folding skin over after laying out and pilot drilling lower side. 9/6/99.
Skin trailing edge drilled. Then clamped to table edge with spring clamps, and pressed using 2x4 with stop blocks on either end. First skin was not squeezed enough (stop blocks, 2x4's, were too thick). Second skin, I added a little hand squeezing after the press. It was just right, so I'll hand squeeze the first skin after it's released from the frame for debur. 9/6/99.
First skin after pressing. I should have taken a shot of 2nd skin, since it came out right. Note: as shown, this is not enough bend angle to easily fit skin over frame. 2nd skin, the aft edges almost touched when the clamps were released. 9/6/99.
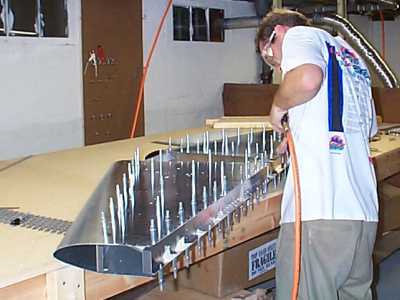
However many clecoes I have, they were all used. I bet if I had more, I still would have needed them all. 9/6/99.
After this, all I could do today was drill the bottom side to final size. Still have to un-cleco the bottom side (one skin at a time to keep the frame squared up), trace the ribs onto the upper side, layout and pilot drill the upper holes, re-cleco it all together, final size drill the upper side, disassemble, debur, re-cleco, install leading edge and tip ribs, and crunch out a couple hundred rivets.
I kept the leading edge and tip ribs separate from the frame to allow for adjustment in the skin during assembly. The leading edge does not take its final shape until these 2 ribs per side are installed, and drilling the flat sections (from the forward spar aft) would have been much more difficult with those forward ribs pressing on the skin.
I estimated 30 hours for the h-stab (on my dream schedule to make Sun-N-Fun 2000...). Have 28 hours on it so far, with maybe 6 more to go. 9/6/99.
After drilling the bottom of the skins, un-clecoed to layout the top skins. Skin in foreground is much easier to fit to frame. Skin at rear (wider angle) required a lot of tension to get the trailing edge to around to the rear spar. Of course, the more bent skin is the one I did second. I would try for this angle when putting the bend on the skins. Though some have used a press, which I am sure produces an excellent bend, a hand bend like this is sufficient, and the root and tip ribs pull the contour into shape. 9/7/99.

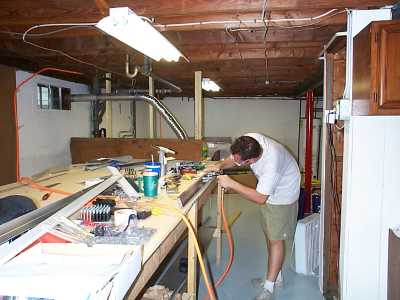
Riveting the skins. 9/7/99.
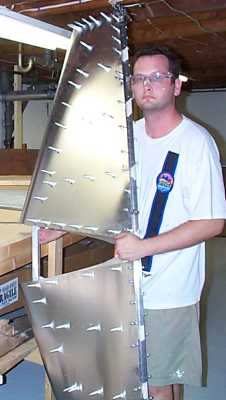
Completed except for elevator hinge attachment. 9/7/99.

Took about 34 hours to do all this - details, assembling the frame, and getting the skins done. 9/7/99.
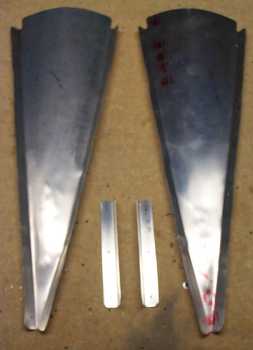
Parts from the newly-released T-01 drawing. Fairings between the aft fuselage and tail. 11/14/99.