1951 Buick Special Deluxe - 05
Other September / October actions:
Pulled off the ignition coil. Cleaned off the coil clamp and capacitor loop clamp. Also cleaned up coil-to-engine bolts, thermostat housing bolts, oil filter bolts. Did not clean up the fuel pump bolts yet.
Pulled 3 tubes off the engine - fuel line, vacuum pump to carb, and vacuum line - intake manifold to distributor advance.
Radiator has been replaced on this car - the line fittings are not in the correct locations, and the triangulated frame across the front of the radiator is missing. I'm a little concerned if I pull this radiator out that the fenders will fall all over the place.
Right-side hood release cable broke. Was able to release the hood by hand and just pull the entire hood off.
Pulled the right-side cabin air inlet tube, just to clean up what's on the fender.
9/17/13 - radiator
Pulled the radiator. Seems to be some sort of universal replacement or something. Harrison 3125508. Quite thick core. The cross braces on the stock radiator frame are cut away, as is maybe an inch or so of the splash (air containment?) pan in front of the radiator. It is quite a heavy beast. I thought it might have a good quantity of coolant still on board, but pouring it out, there was only a couple of ounces, maybe a cup.
Also pulled the battery tray off the frame. This was easier than I thought. All fastener heads are accessed through holes in the tray from above. For the rear inboard bolt, I needed to add an open-end wrench from below for a nut below the frame. The other 3 points are threaded into the frame directly. Scraped the caked-on mud below the tray off the frame. The forward outboard bolt is a smaller size, and 3 of the 4 fasteners have square washers above quite large openings in the tray itself.
9/18/13 - front of engine
Had on the list to pull the spark plugs (done), pull the plug wires & label (done), and pull the valve cover (done). Then I couldn't find a socket to fit on the crank pulley to rotate the engine (15/16 or 1-inch, can't tell), so I couldn't rotate the crank to check the compression. Was going to use the same differential pressure checker I had used for the airplane engine. Though that is intended to be used on a warmed-up engine, one of the guys at work pointed out it's better than nothing and could indicate a more serious issue like a stuck or failed valve. Cylinder no. 3 had a good bit of oil around the plug. Not inside the cylinder, though. Not sure what that's from. May have got in near the plug when I was suctioning the oil out of the oil filter housing.
After this, wasn't really sure where to go next, so labeled and pulled the heater hoses. Considered pulling the defroster housing, because I want to refinish that, but it makes a great shelf for the work light. And if the objective is remove/refresh what's needed to get the car running, defroster housing isn't that.
Can see the starter pretty well now with the hoses and plug wires out of the way.
After this, pulled the engine fan. This releases the pulley from the water pump hub, so the pulley and belt came off. With that loose, took the water pump itself off. Fewer fasteners than I thought (3). I don't know why I thought a water pump would be bigger. It sure is heavy enough for its size. Loosened the generator on its brackets. Thought about pulling that too, but I want to label the wires, and it was getting to be time to stop for the day.
9/28/13 - dropped off the gas tank at a radiator shop to be cleaned out and painted. It had that solidified gas in the bottom and smelled strongly of varnish. The level sensor is toast. The float broke off and fell back in just as I was angling it out of the hole. A new level sensor is about $75 (for new repro made in Taiwan).
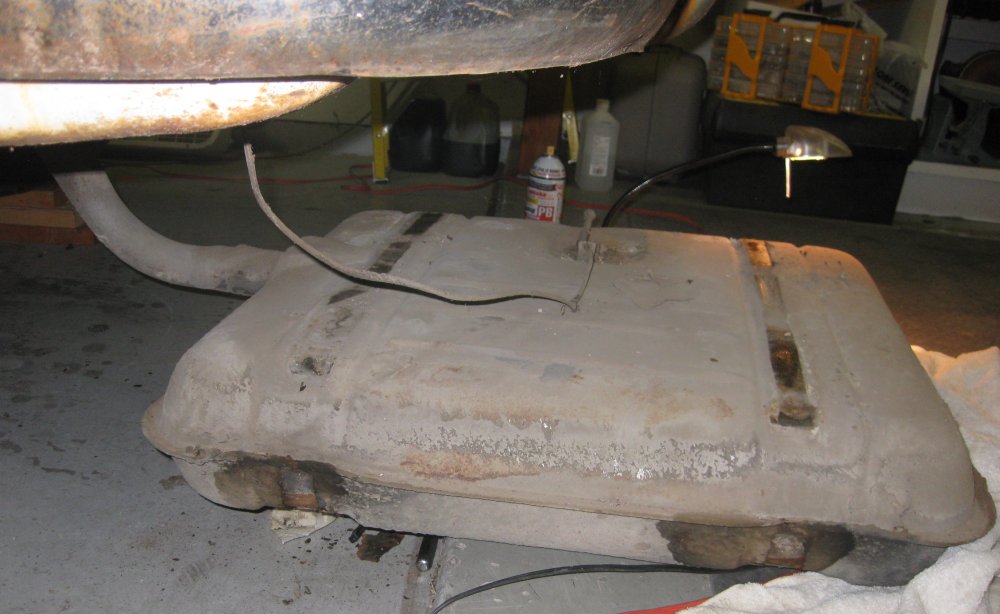
Prior few days before that - lifted the back end of the car. Released the gas tank straps & fuel line, lowered the tank down (had it supported on hyd. jack). Maneuvered it partialy out from under the car and disconnected the level sender wire. It gets grounded via the fuel line, so the replacement repro sender which joins up to the tank via a short length of hose - needs to have a jumper wire installed somewhere to maintain ground.
Other activity - removed many wasp nests (mud dauber type) from under the car.
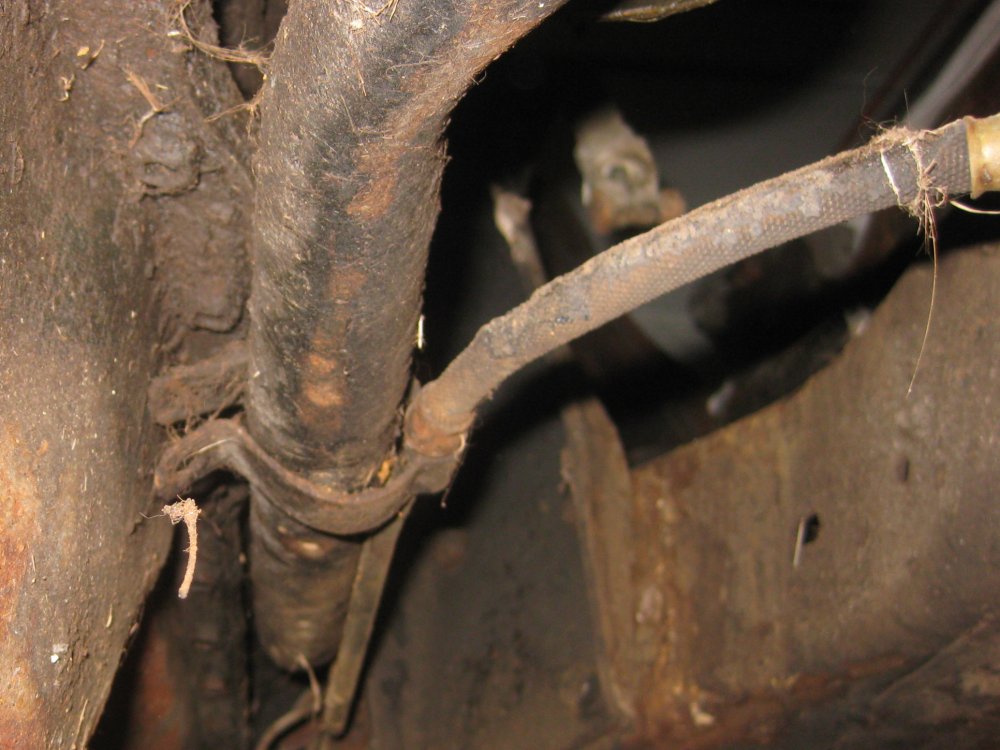
Right side tank strap. Wasp nests on differential.
Tank on its way out from under back end of car. I had put a square of plywood on the floor jack and used this jack to hold the tank up while removing the straps. Then slowly let the jack down to lower the tank.
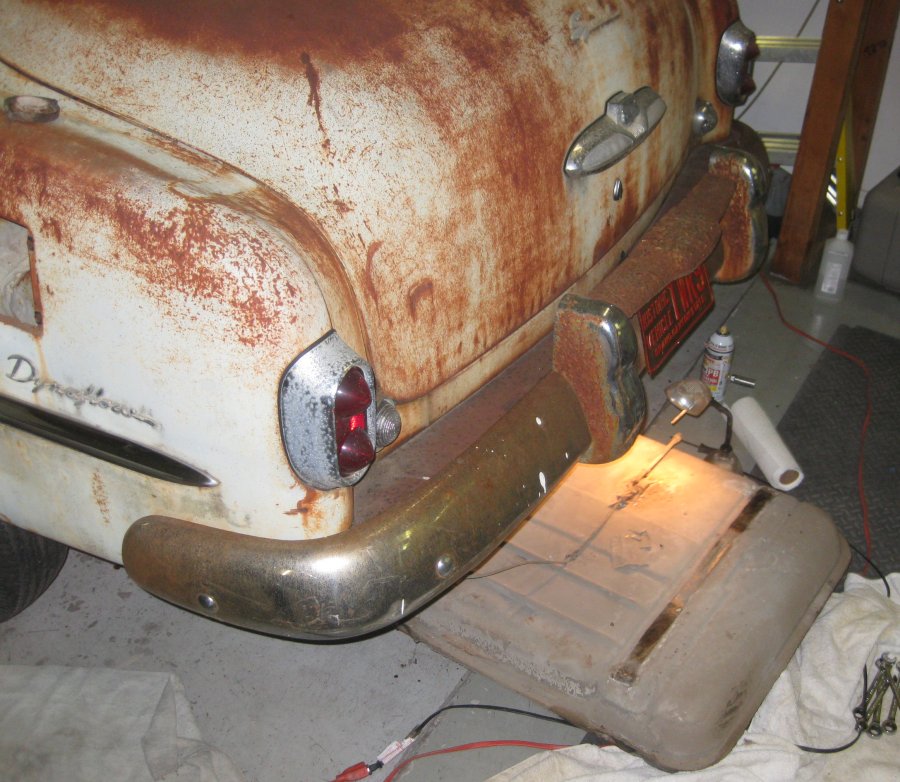
Under the trunk floor - not bad. Ok, the exhaust pipe has rusted off a couple of feet short of the back of the car.
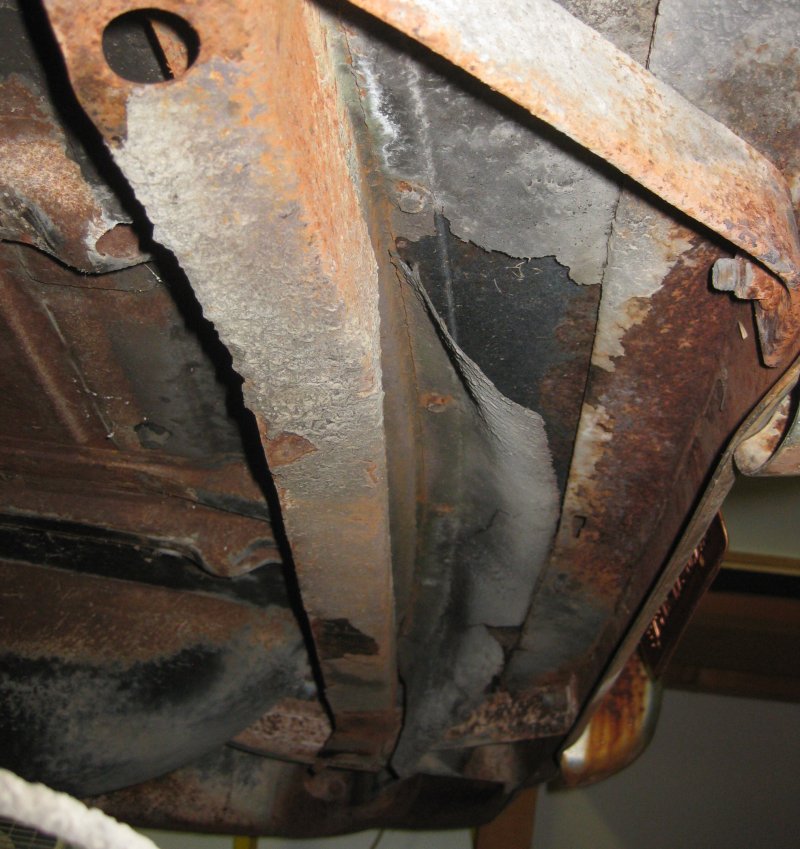
Undercoating material under the bumper-to-body sheetmetal. Undercoating is falling off now, but the metal itself is in very good condition.
I let the tank down, rotated it, slid it out a little, then figured out how to disengage the level sender wire.
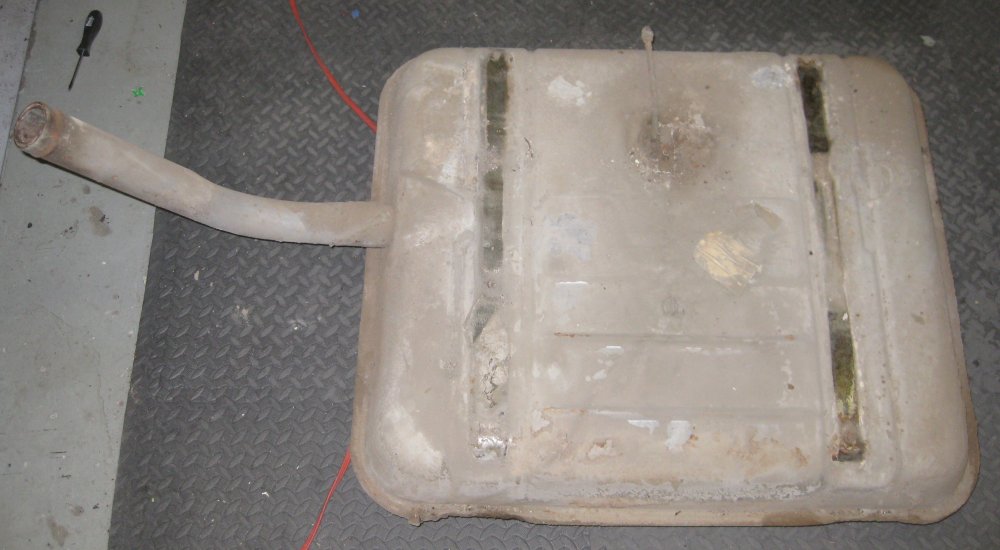
Tank out - looks pretty good. (I later find out I can't tell a good tank from bad by looking.)
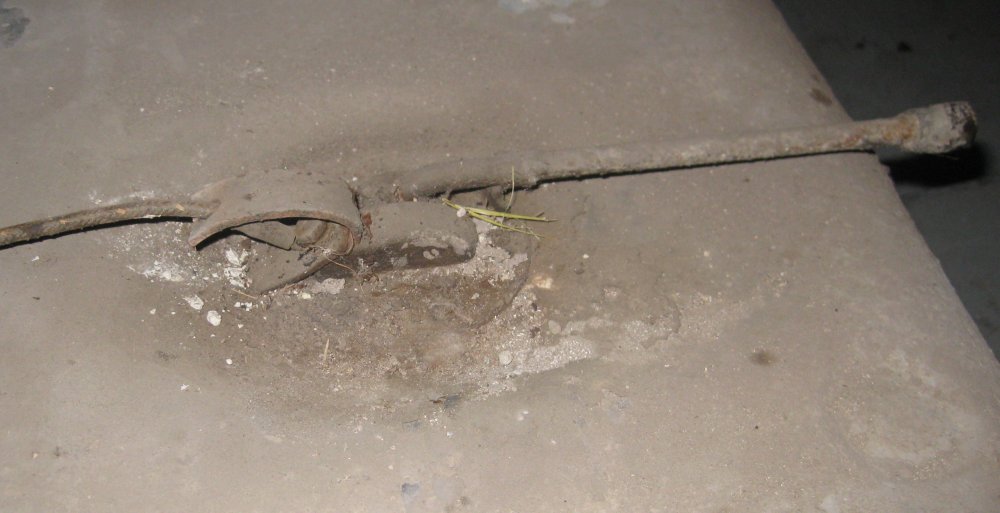
Level sender. There are reproductions of this unit.
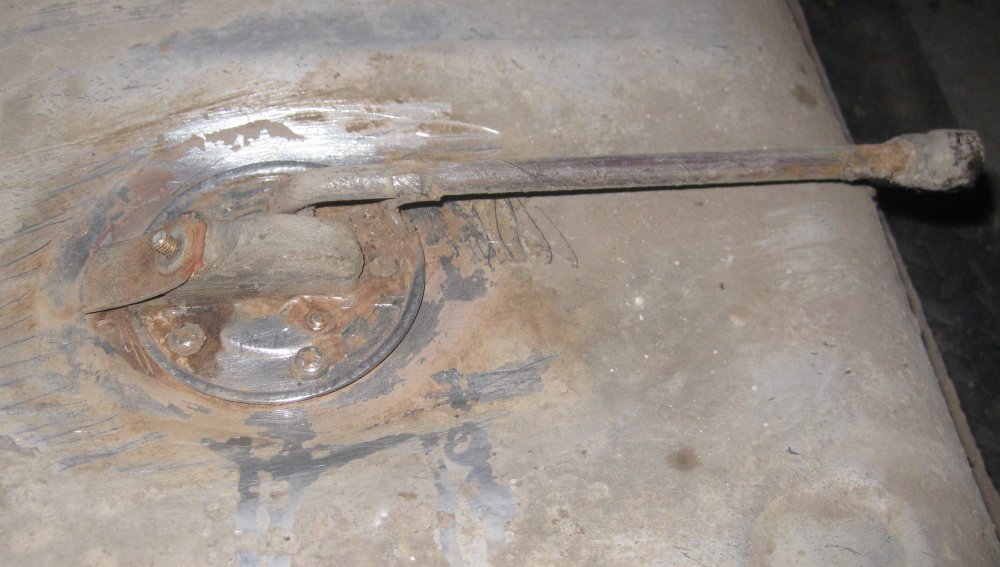
Cleaned off around level sender to pull it out.
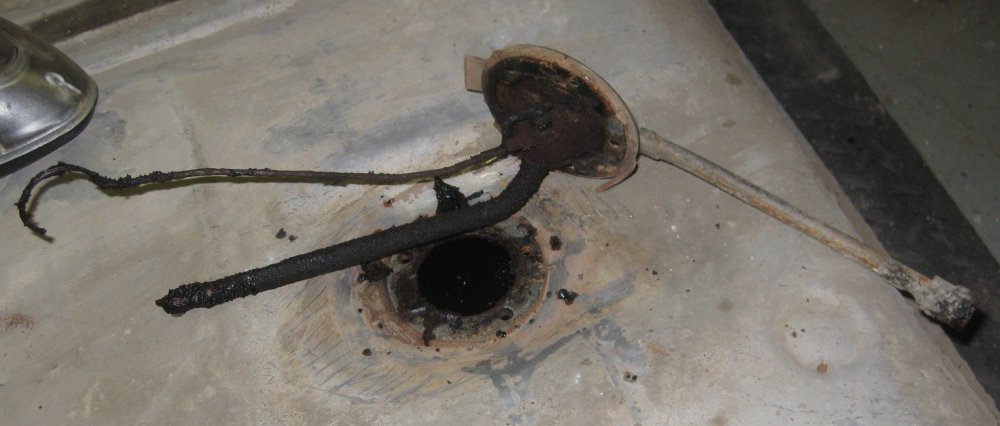
Ok, this level sender is gone. The float cracked and fell off just as I was working it through the tank opening. Oh, and this released the smell of mostly-evaporated gas...
Later on 9/28 - replaced the hood release cables. The RH one had broken, so needed to do this. They are sold in pairs, so may as well replace both at once. Just as well - the LH one was partially frayed and did not have all strands still contributing. A little tricky to get the release knobs off the old cables, but not too bad.
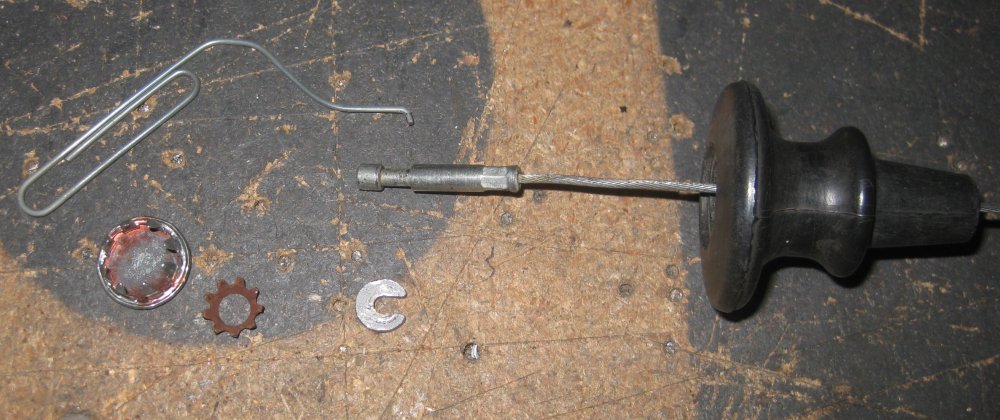
Release knob has a chromed button. Carefully pried this out with the tip of a knife. Inside that is a "star" washer deformed down into the cylinder inside the knob. To get this out, I formed a hook in a paper clip. I thought the paper clip would probably just straighten back out, but it held enough to pull out the star washer. From there, the cable can be pushed back up the knob. The little "C" shaped washer is deformed around the smaller diameter of the cable end fitting. I pried on the "C" some with a screwdriver to get it to release.
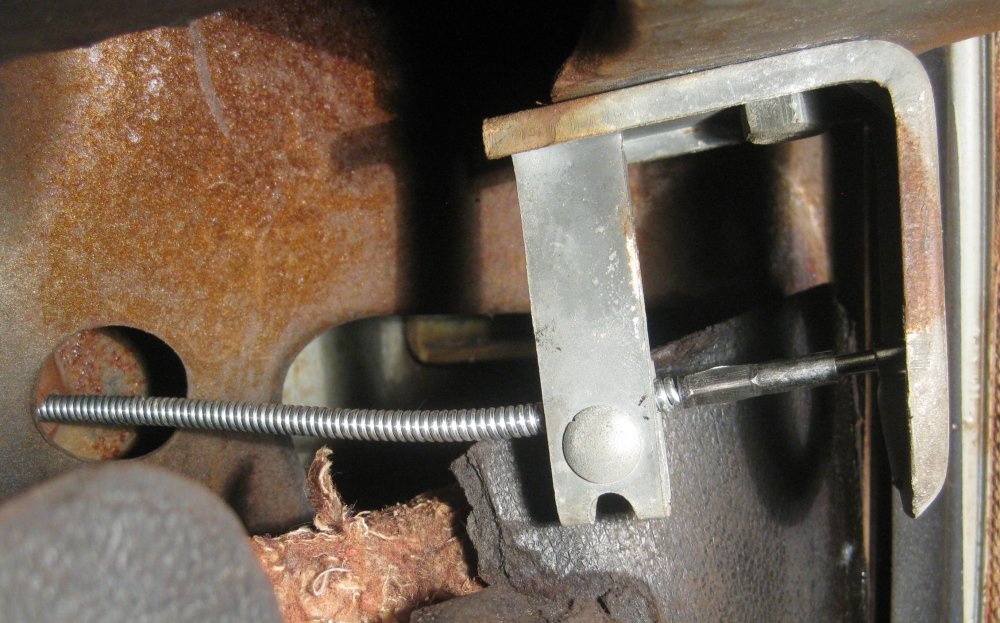
New cable in place in the under-dash bracket. Note the cable goes above the bolt.

Cable in the bracket. Installing the knob is the reverse of removal, but it has to be done in place on the car. Cables are sold in pairs. Though only one on my car had failed, the other was quite frayed, so I cut it in order to have new cables on both sides.
9/29/13 - more disassembly
Not even sure where I left off, so today, tried soda (salt) blasting some parts. Using the 15-lb soda blaster from HF. This works very well on removing paint - very gentle. Does not disturb the underlying metal at all. Unfortunately, my compressor isn't up to the task. Need more capacity. Had a larger compressor that I sold, so Carol isn't so thrilled with getting another bigger one. Downsides - soda costs 10x sand. The flow path of this blaster is very small - about 3/16" wide, so it takes a very long time to accomplish clearing a wide area. Not strong enough to clear a rusty surface. Does great removing paint, but just kind of shines up / burnishes rust.
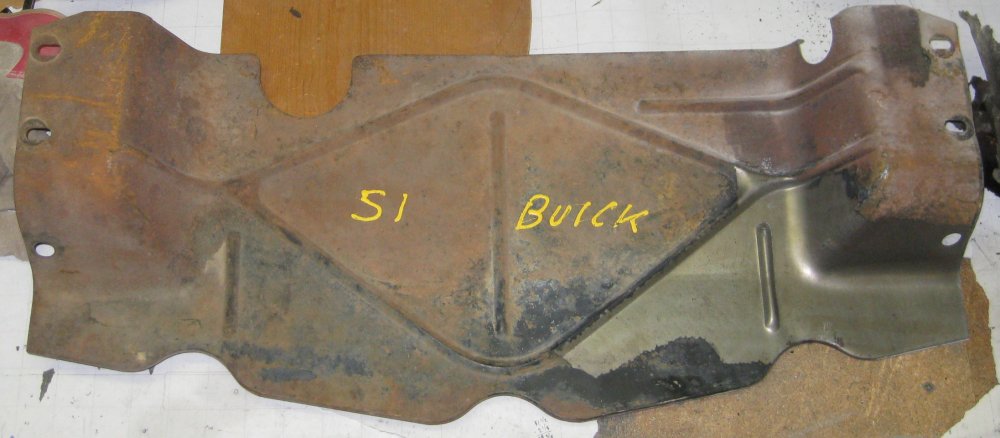
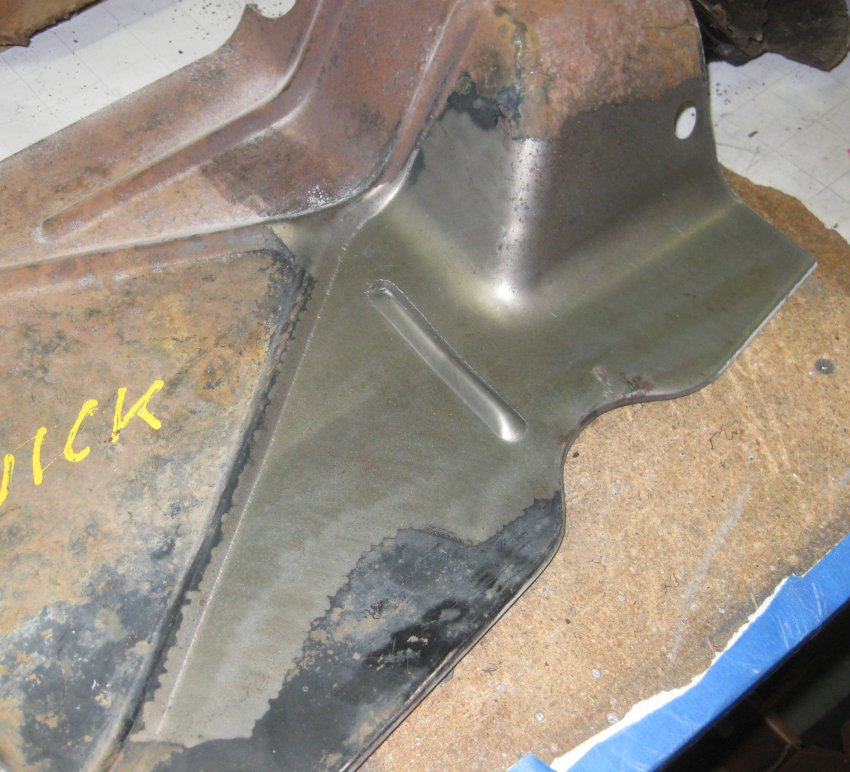
Working on a bumper-to-radiator air guide that I found on eBay. The one on my car had the back inch or so ground off to fit the thicker radiator. I got this part from a guy who I'd bought a couple of other things from, so he gave me a break on shipping. He's liquidating a collection of '50-'52 parts, but his focus was on the Roadmaster, so not a lot of his parts are useful to me.
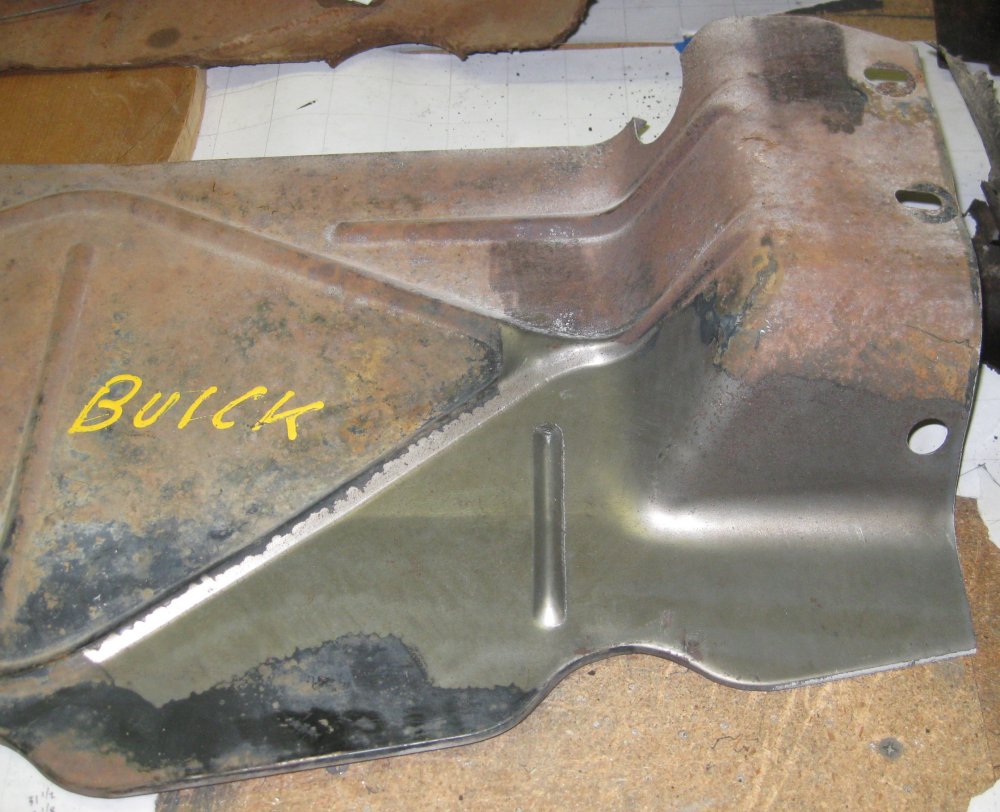
Soda blasting leaves a REAL nice finish. It's so gentle, I can see scratches from the original tooling around the pressed-in ribs.
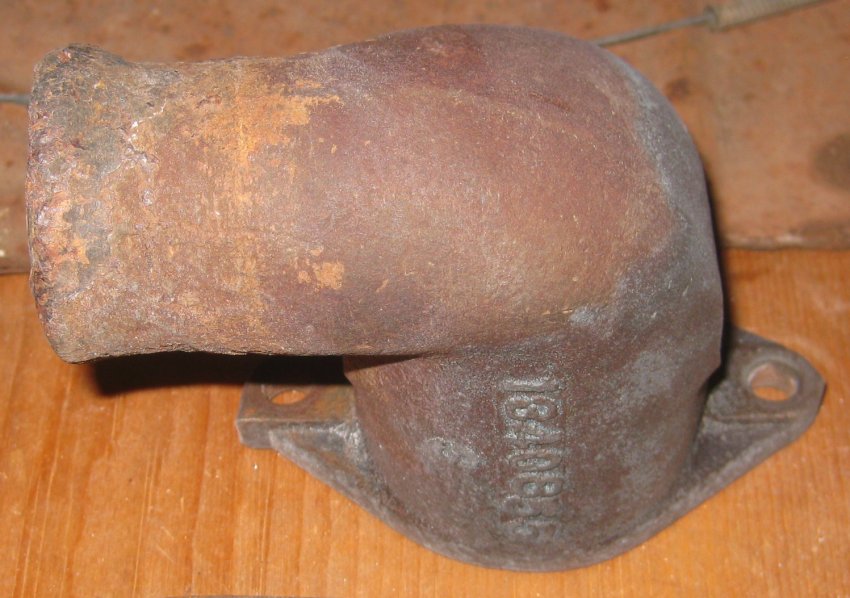
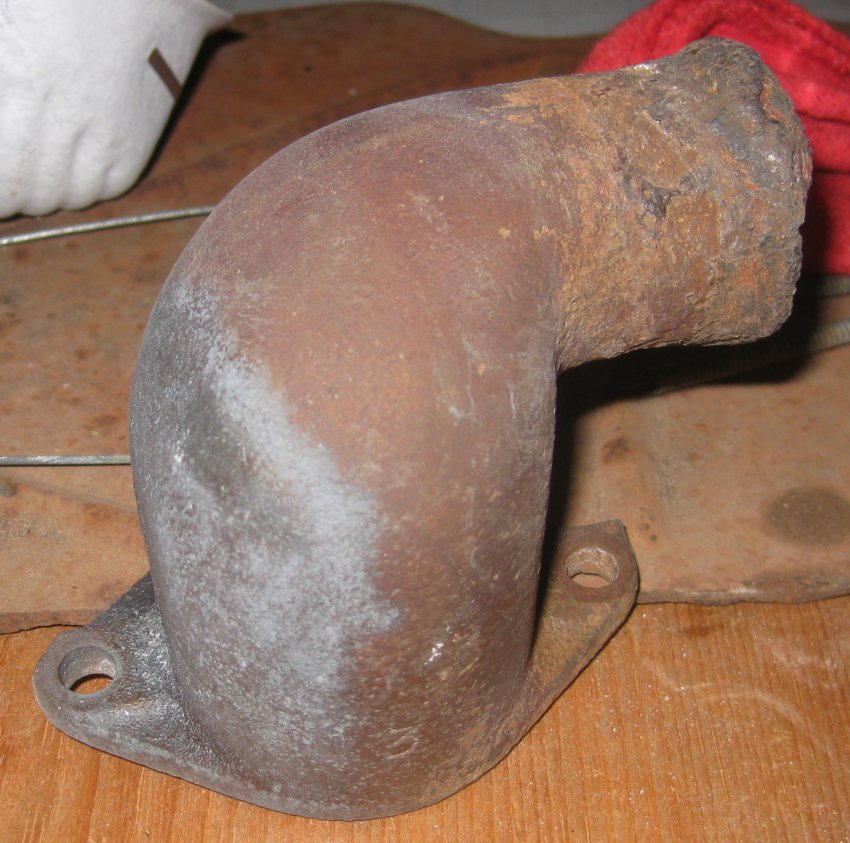
Tried a little blasting on the re-rusted thermostat housing parts. It wasn't as effective on castings.

The lower half or so of the part in this photo was soda blasted.
Other items - got a NOS front turn signal lens from eBay. True NOS - it's truly like new. Needed one because it's broken out, but the other one is going to look so bad by comparison, found another NOS lens from another seller so both sides will look the same. Got a replacement radiator splash pan from an eBay seller who was very helpful on a previous purchase. Also bought a replacement radiator mounting frame from him, as the radiator frame on my car had the diagonals cut out to fit a thicker replacement radiator (still need a radiator).
Have been working on a spreadsheet of tasks to be completed and items needed to get the car to running, stopping, and a little beyond that.
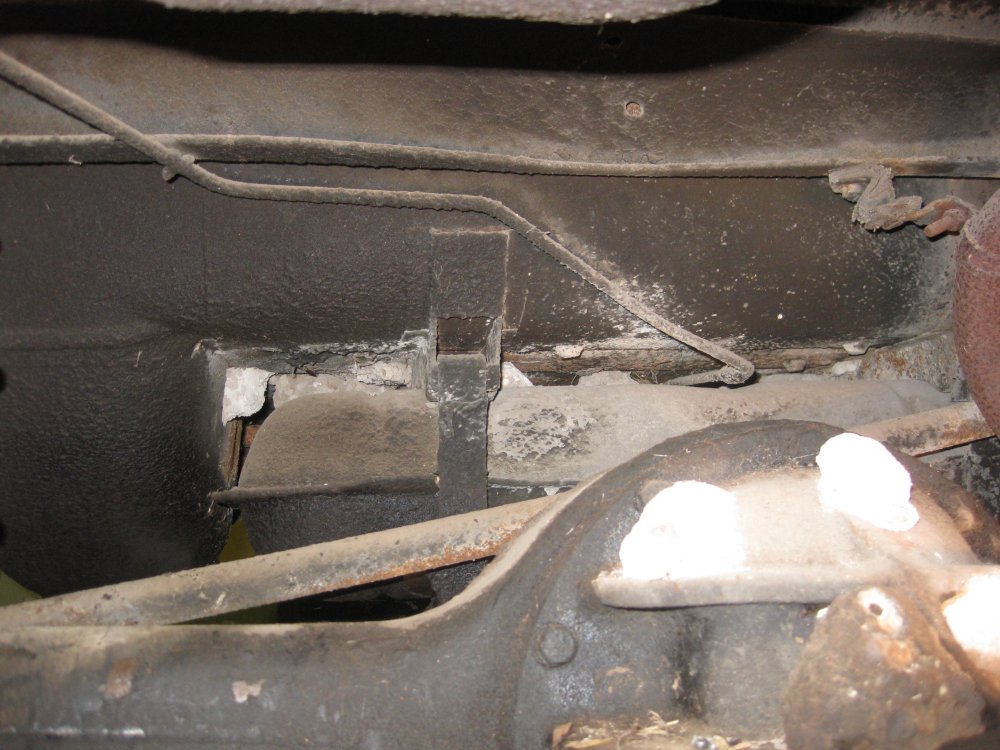
Consulting with the Buick experts online, figured out the breather tube has a clamp on it that probably is just placed too far back on the line. It should be at the engine interface to keep the tube from falling off.
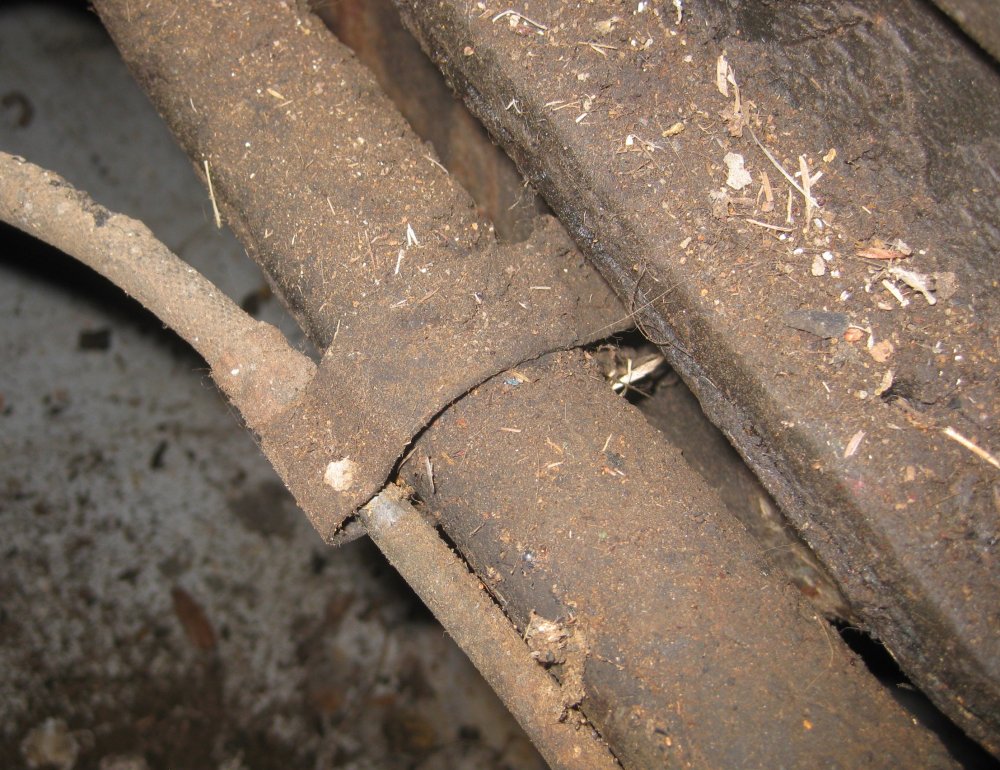
Mystery clamp from above.
Clamp from below - yes, it's not attached to anything, so I'll try this where the breather tube exits the engine to see if this can keep the top end of the breather tube in place.
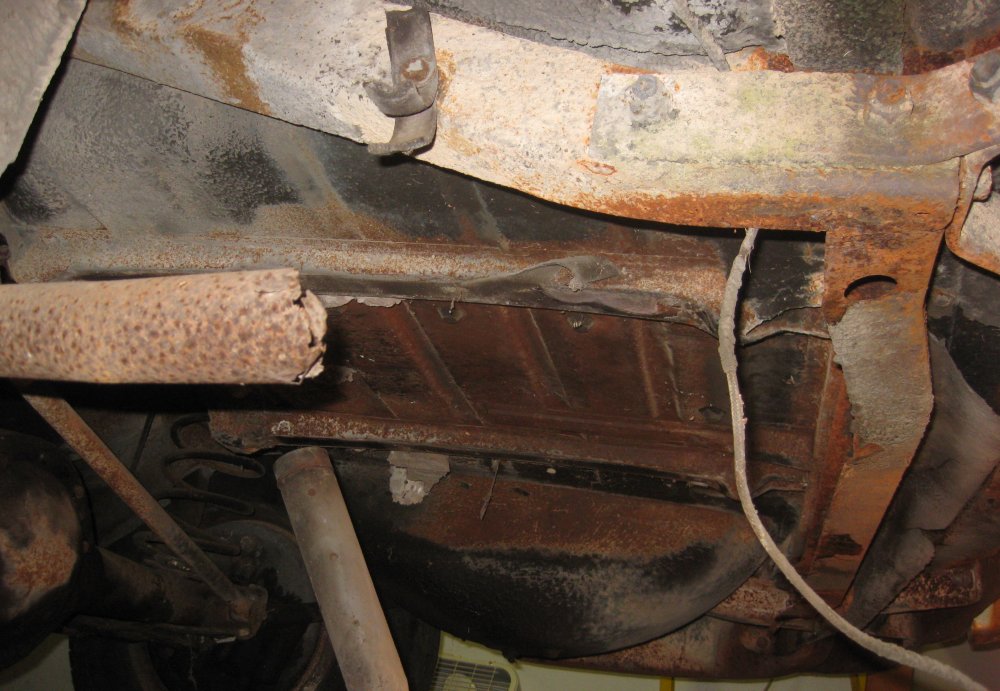
While under there, took a few photos of the frame.
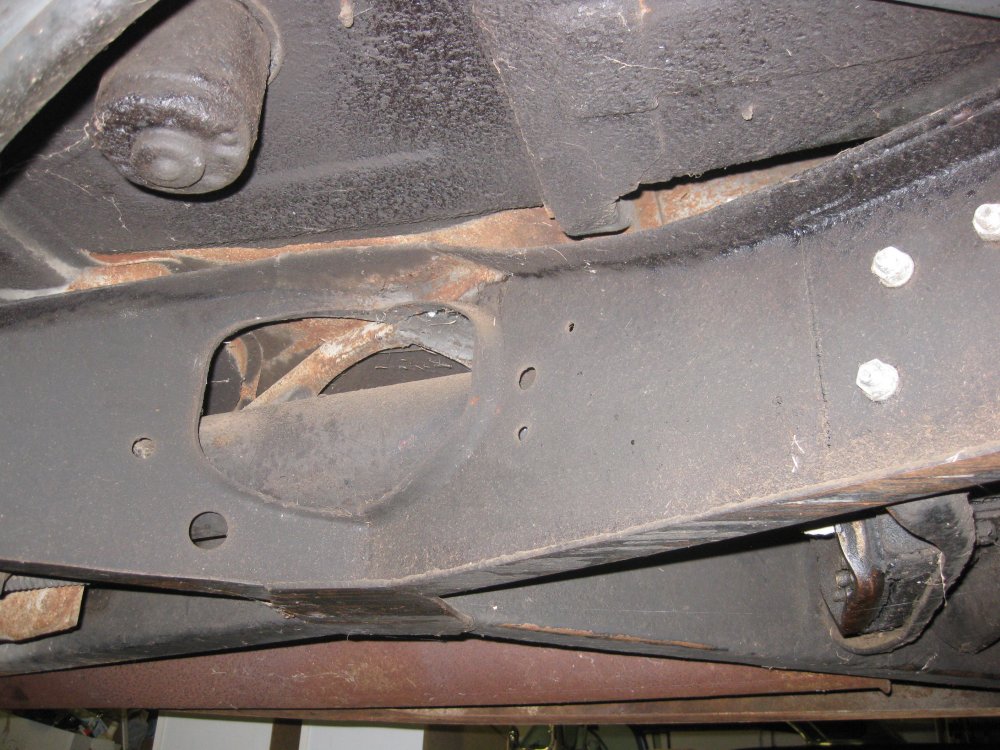
From passenger side. Can see the under-seat heater blower motor.

Looking back along the passenger side.
9/30 - checked on the tank. They said they wanted to soak it for another day because the initial soak didn't look good enough.
10/1 - Got the tank back. It still smells pretty bad. Unfortunately, it's pin-holed. I couldn't really see it when I picked it up, but when I got home, I put a flashlight in the level sender hole and could see bunches of little holes all around the perimeter of the bottom. On the plus side, the shop didn't charge me for it. So I feel like that right there gets me about halfway into a new tank. The ones from Tanks inc. should do just fine. Though theirs is about 2 gallons smaller than the stock tank - maybe because they make it to fit many Buick models. But I won't complain about a brand new tank that just bolts in and works. They also sell a level sender that is lower cost than the replica ones, but I'll need to check that it works with 6v.