1951 Buick Special Deluxe - 09
12/7/13 - paint hubcaps
Wanted to try what I'd seen some other home-garage restorers do - add some color back to some badging / logoes to bring some life backt to some old parts. In this case, hubcaps. I know, these are 1952 hubcaps, but they were quite low cost on the old interweb. Actually, got 5 of them for about the price of one nice one. Why? Because they've got 3 holes in the center of each one. I posted that on the AACA Buick forum, and some theorized that they may have had spinners or spikes for a rat-rod look. Why do the 5th wheel like that? It's just in the trunk. Anyway, I have also seen a bunch of clock projects made out of vintage hubcaps. Either way, what I've got here has 3 holes per cap. Went to the local craft/hobby store and picked up some Testors enamels - dark red and dark blue.
One of them, I painted the blue diamonds first. Then I switched to the red paint and did that. While I had the red out, I did the 2nd cap red first. I got tired of the hand-eye coordination of it all and saved a 2nd 2 caps for the next day.
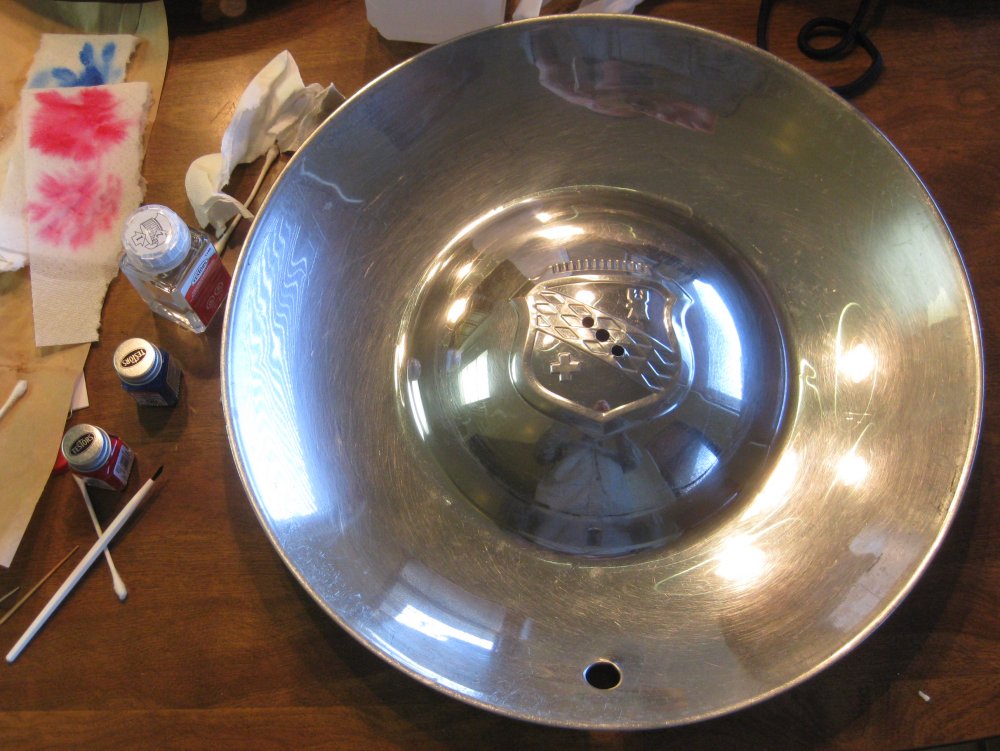
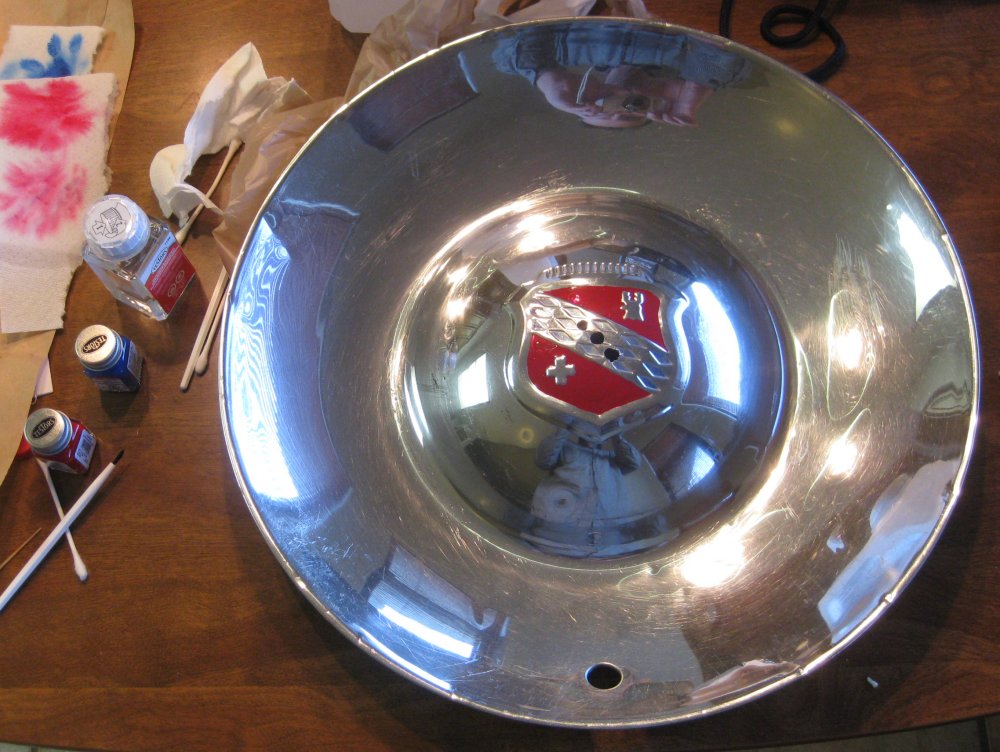
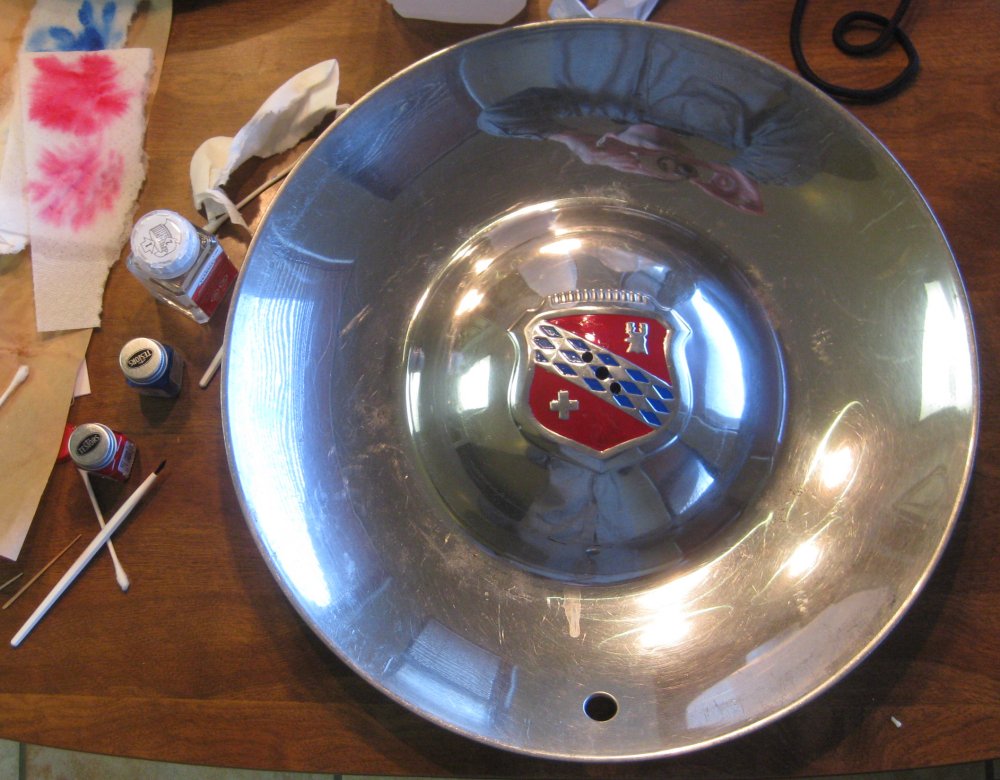
That's two or probably three different caps at different stages of paint. The tops of the crests may have had black between the grooves to make the top stand out more - I'll have to check on that.
12/15/2013 - brake master cylinder
Pulled the brake master cylinder. Wasn't too bad. Got some PB Blaster on the studs that hold it to the frame and at the pedal push rod joint. Got the pedal push rod loose from below. Got the fluid line out from above, then worked on the frame studs. Got those loose with a box end wrench. On the forward one, I could use a socket wrench & ratchet handle, but that wouldn't fit on the rear fastener due to the way the frame angles under the attach bracket. With the cylinder out, I tried to pull the fluid cover - it's 3/4", but solidly wedged on there. The front cover measures 1.325. That's not an even fraction on the chart, right? 1 21/64 would be about the closest, but who makes that wrench?
Anyway, put some PB Blaster on the top and front covers, and if that doesn't bust things loose, I may be looking for a professional rebuild. There's been one advertising on eBay...
12/21/13 - another little project
Somewhere in the past week, punted on the BMC - ordered one from Cars, Inc. via eBay. They were advertising these for ~$50 or so off regular catalog price - new production, not refurb. With the red and blue paint, decided to put some color back on the trunk emblem (which is also the handle to lift the trunk, and on the 50/70 series cars, the little emblem also covers the key opening). This emblem is about half the size as on the hubcaps, so more challenge to keep the paint inside all those little shapes.
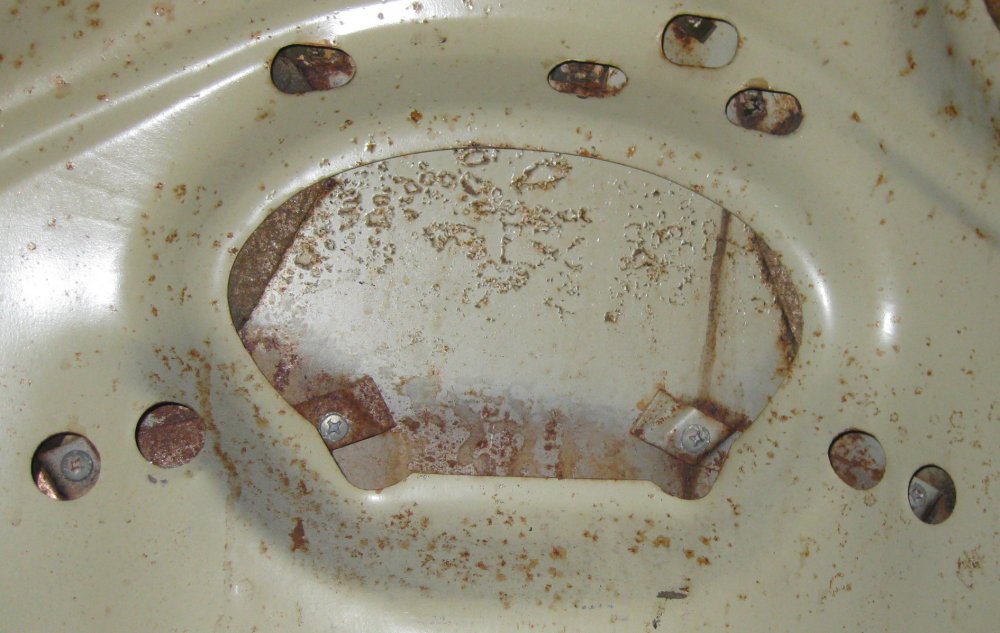
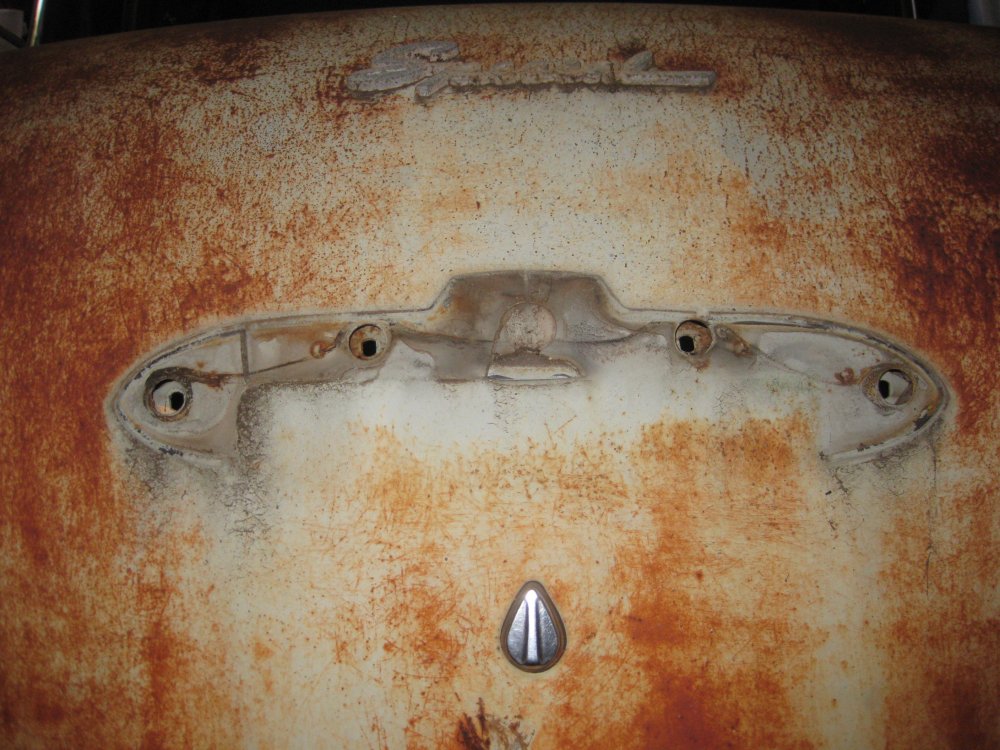
View inside the trunk. The outside emblem/handle is held on by 4 phillips-head screws. I took this thinking the little brackets might just drop off, but they are welded to the trunk skin. There's 2 lengths of screws. Not sure which is for what, as one side had the lengths opposite to the other, so practically, they work both ways.
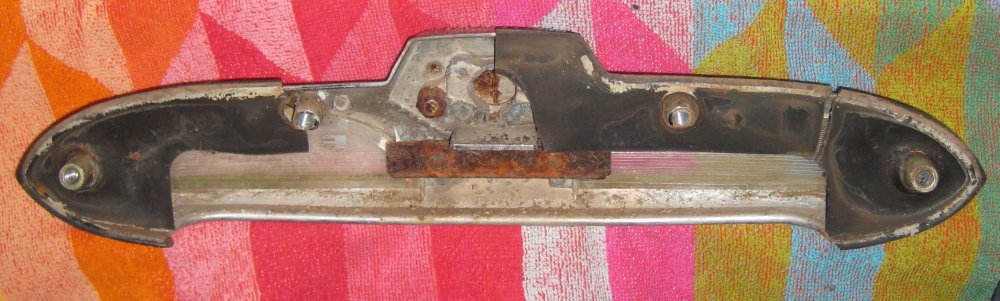
I had been curious about this - on the inside, though the trunk key lock is separate on this 40-series car, the handle itself has the features inside for a trunk key.
Will clean this up a little before reinstalling.
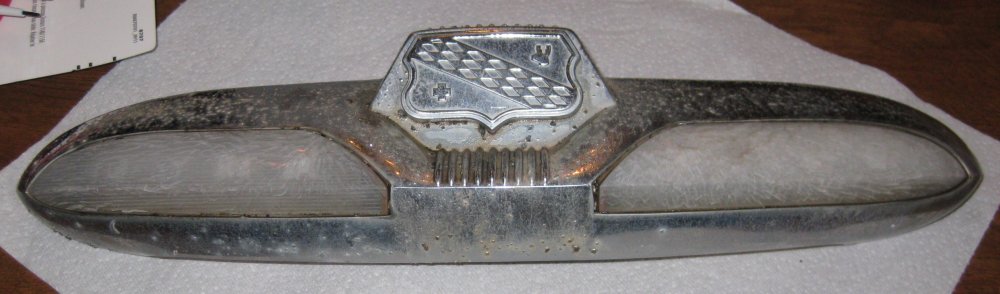
Before paint / after a wash in water.
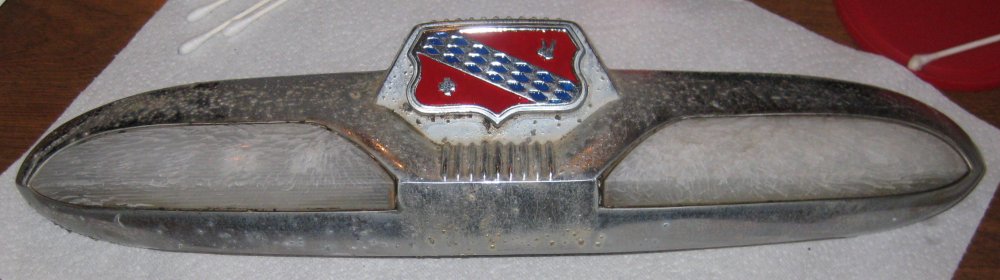
After paint. Will try some brake light paint inside the DYNA FLOW used-to-be clear plastic lenses. There was the slightest bit of the chrome inside the lettering, but it washed out when I washed the part with some water to get the larger dirt build-up off.
12/26/2013 - brake master
The new-production brake master cylinder from CARS, Inc. (via their eBay sales) arrived very quickly. I believe it was within a week. It came without fasteners to the car's frame. I considered - just buy short bolts and drive them directly into the cylinder. But today I pulled the studs out of the old cylinder, cleaned them off, added some Loctite (blue), and put the studs into the new master. Just as well - the threads on the cylinder side of the studs were some very coarse number - didn't look like anything I'd find in a bolt. Let that cure for a while, then put the cylinder back on the frame of the car. I'm not sure if I'll do a "bench bleed" in place on the car, or just bleed it out through the lines as-is.
Anyway, transferring studs is via the usual method - put 2 nuts on the thread, tighten them together with 2 wrenches, pull the stud out by turning the inboard nut in the loosen direction. For cleaning, I soaked them in alcohol, wire brushed, soaked in alcohol some more, dried off the last redidues with a shop towel. Did that for the nuts, lock washers, and the studs. To install, cleaned out the threads in the new cylinder with some alcohol (in case there's any residual manufacturing residues). Add loctite to the stud thread that goes into the cyliner. Run 1 nut down the thread, run the 2nd nut on that, then used the outer nut to drive the stud in until it wouldn't turn any more. Wiped off excess loctite that sat on the surface (it only hardens in the thread via LACK of oxygen, so will sit on an exposed surface for a LONG time).
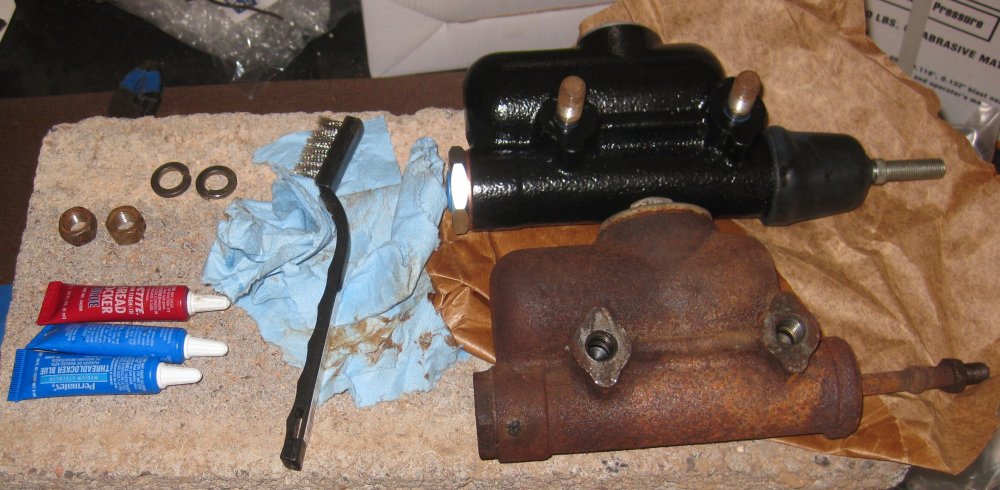
Original studs transferred over to the new cylinder.
Also need to transfer the jam nut from the pedal input shaft over to the new cylinder.
Later - pulled the front seat out. 8 bolts. Front attach points are a U-shaped bracket that isn't part of the seat. Pulled the front floor mat. On driver's side, there was another layer of floor mat. There was fiber insulation under these floor mats. My guess is, this insulation material retains water, so any water that comes in off your shoes and gets under the mat, it just sits under there. And if a pin-hole develops through the floor, the insulation just sucks up any water that gets through there, accelerating the break-down of the floor. So there's holes in the floor on both sides. Passenger side is worse.
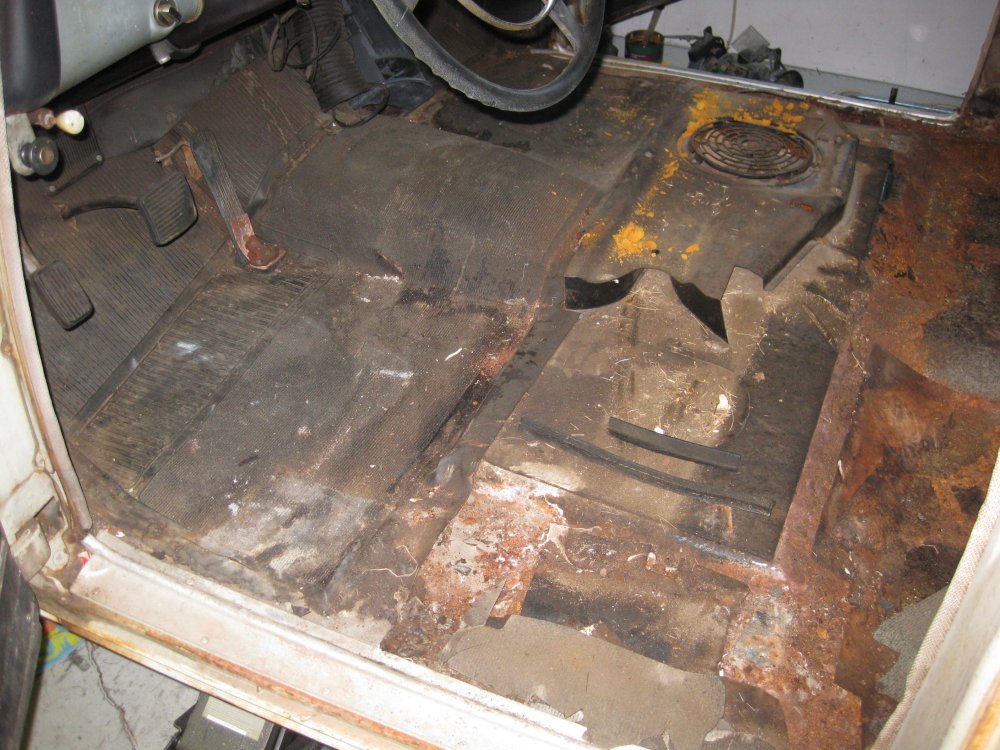
With front seat removed.
There was a second rubber mat under the floor covering on the driver's side only.
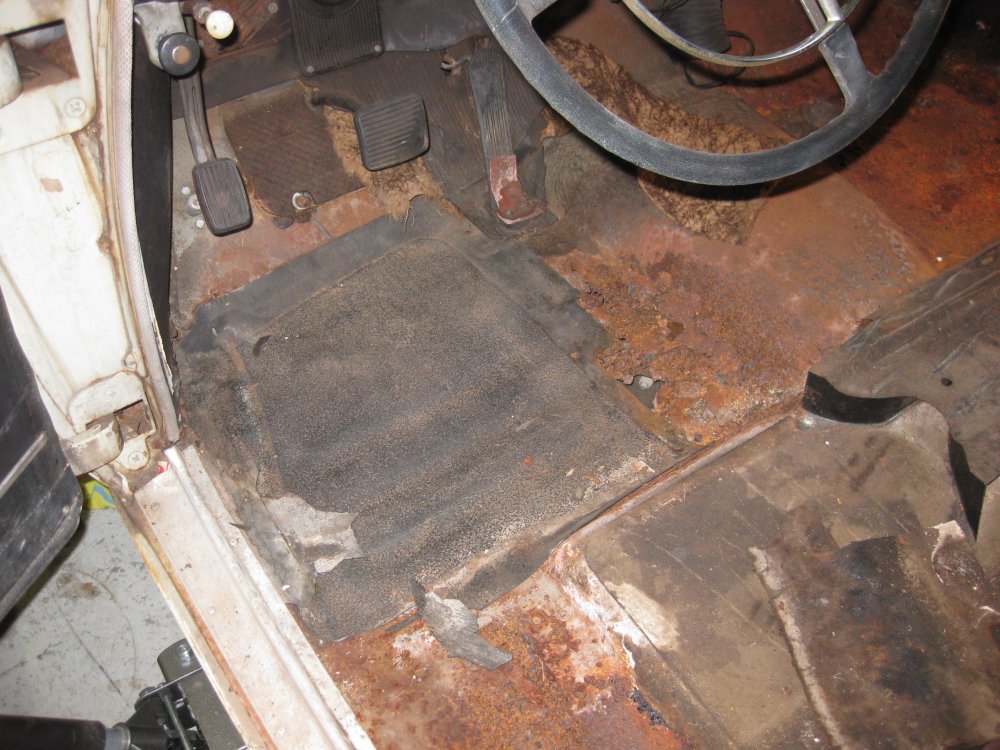
Driver's side, loose rust vacuumed out. Holes towards the rear of the floor, just forward of the seat.
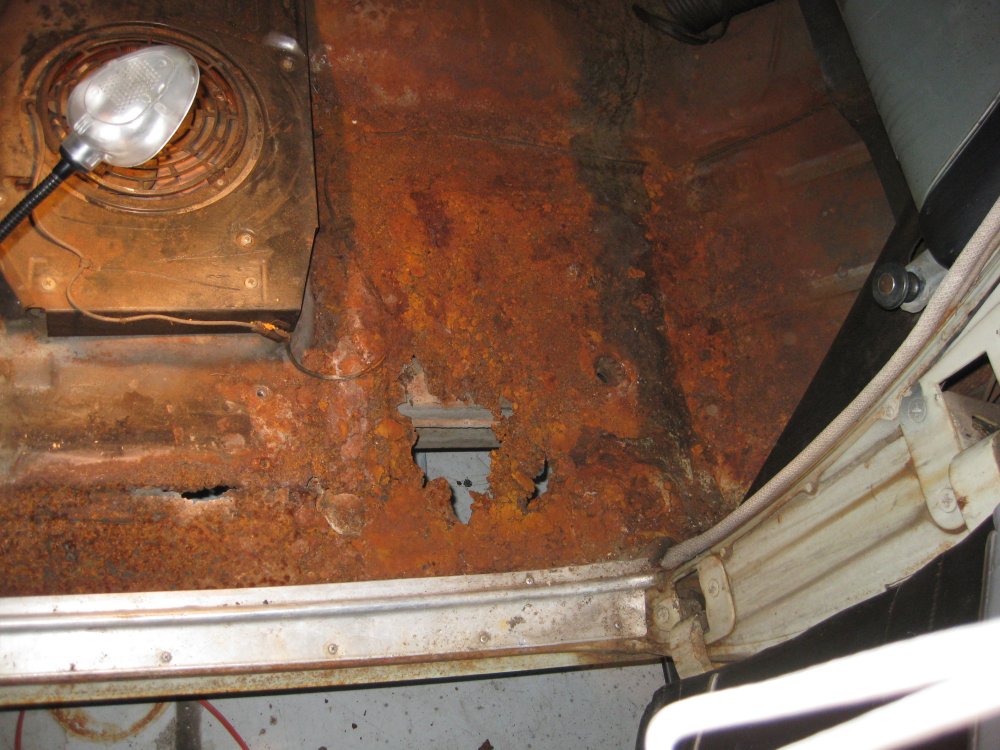
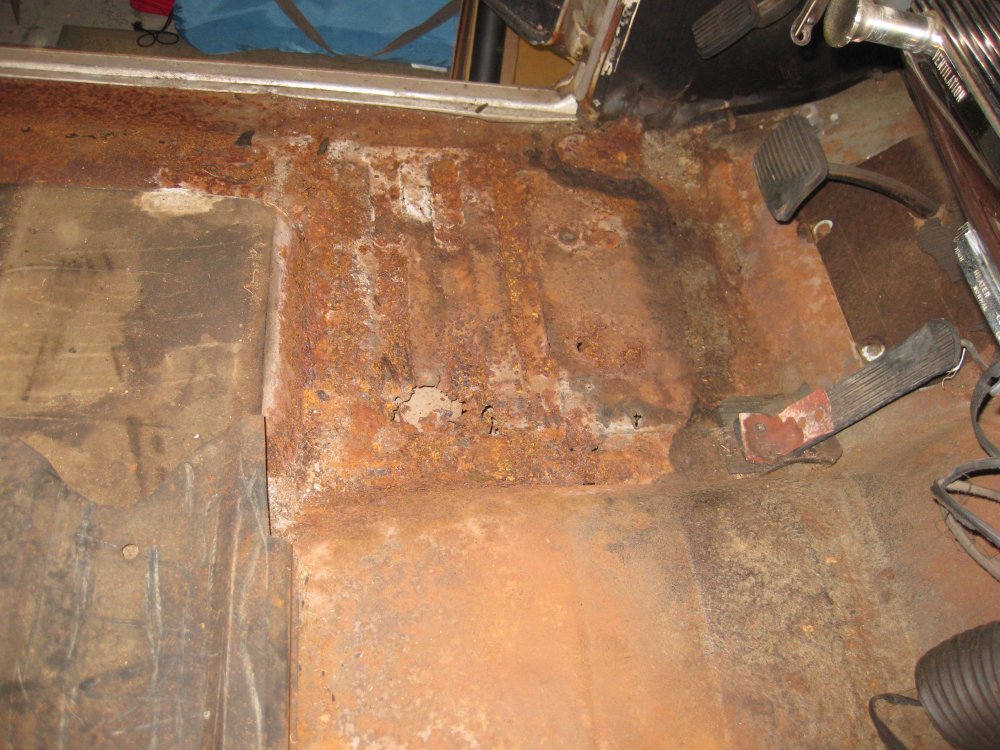
Passenger's side, loose rust vacuumed out. Holes down the door sill and just forward of the seat.