1951 Buick Special Deluxe - 12
3/16/2014 - bleed brakes
Lila helped with bleeding the brakes. She pumped & held the pedal, and I operated the wrench at the wheel cylinders and kept the fluid up in the master cylinder. One problem with this is the master splashes out the fluid when pumping. Not sure what could be done about that, but we got it done.
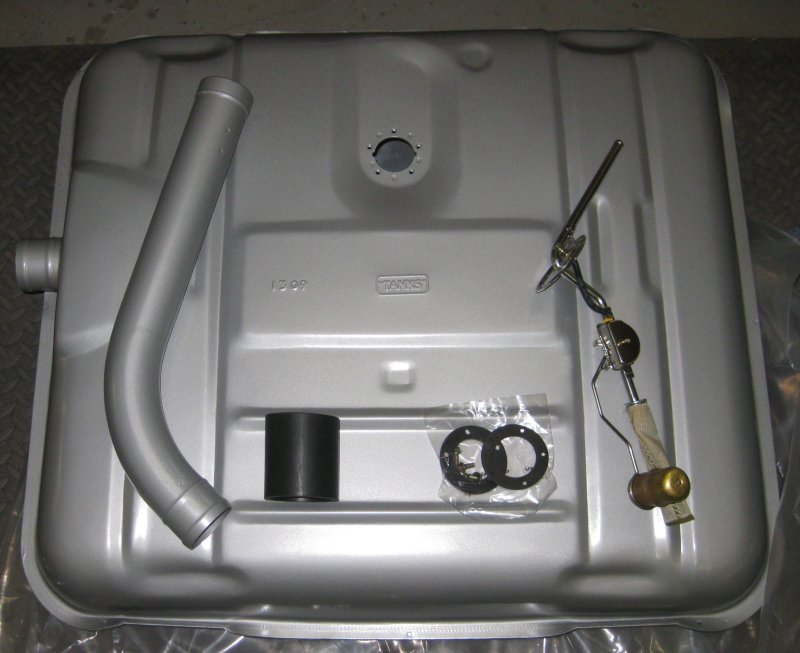
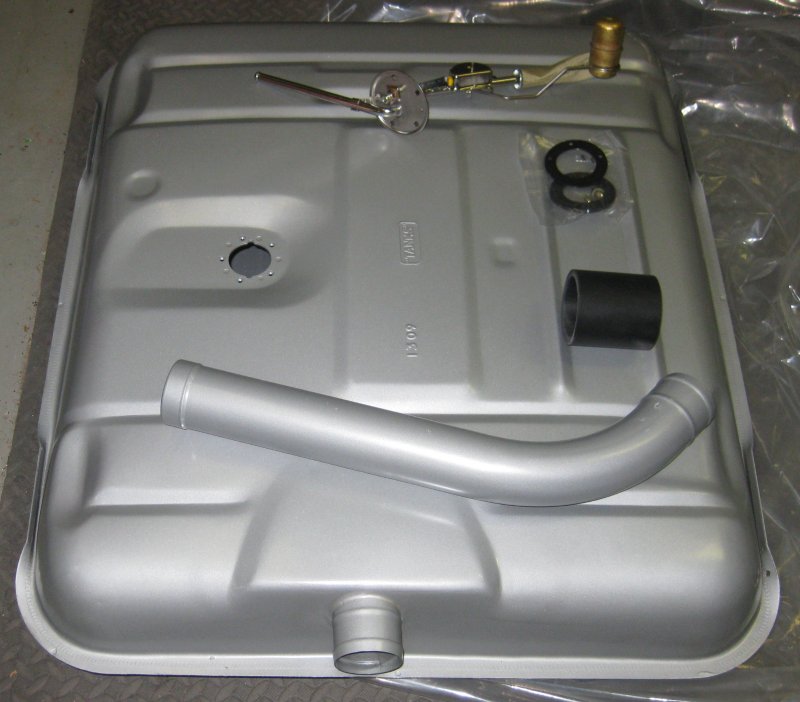
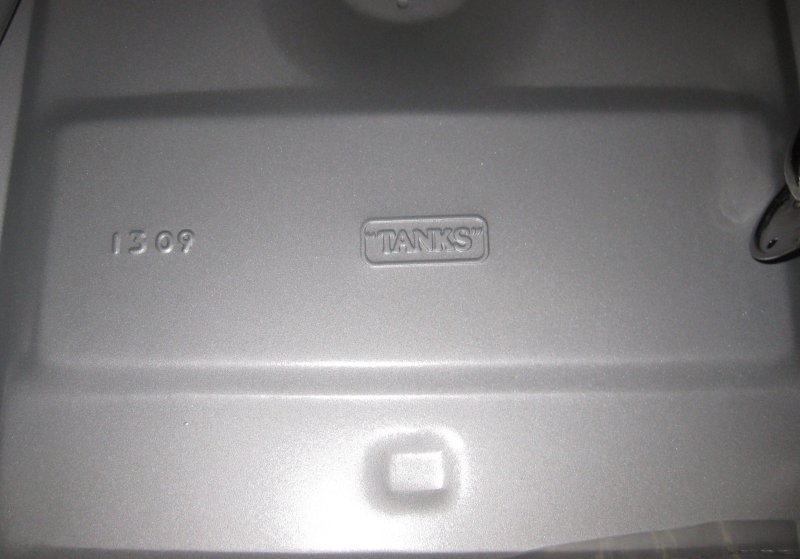
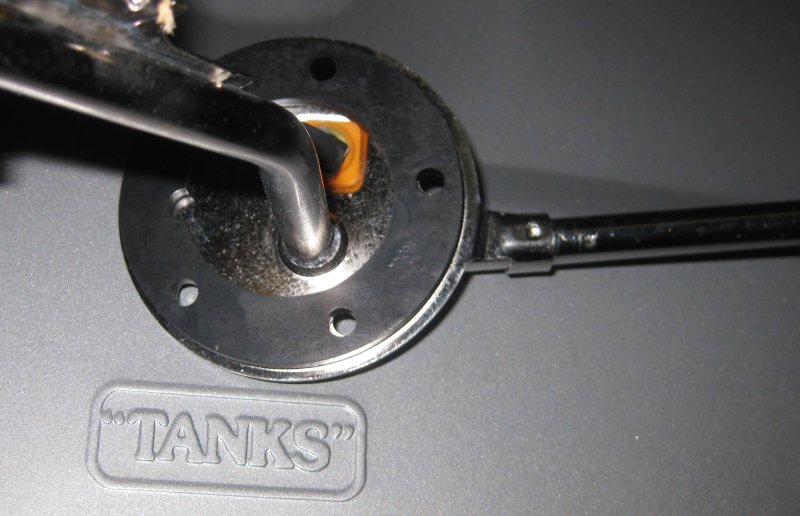
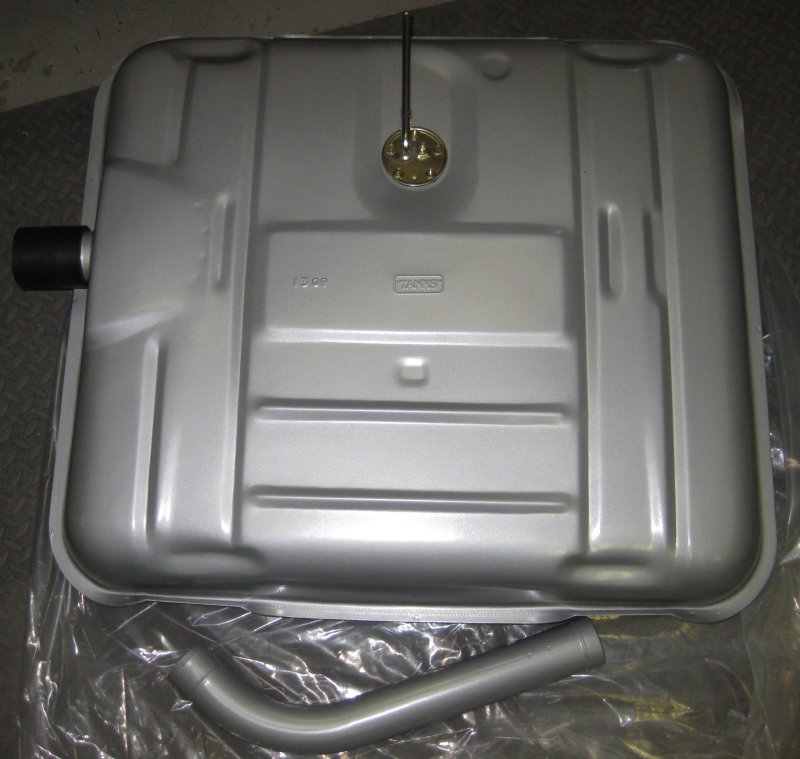
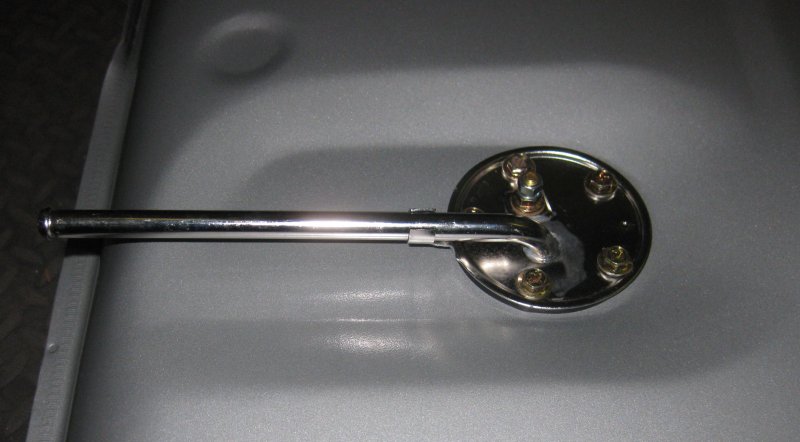
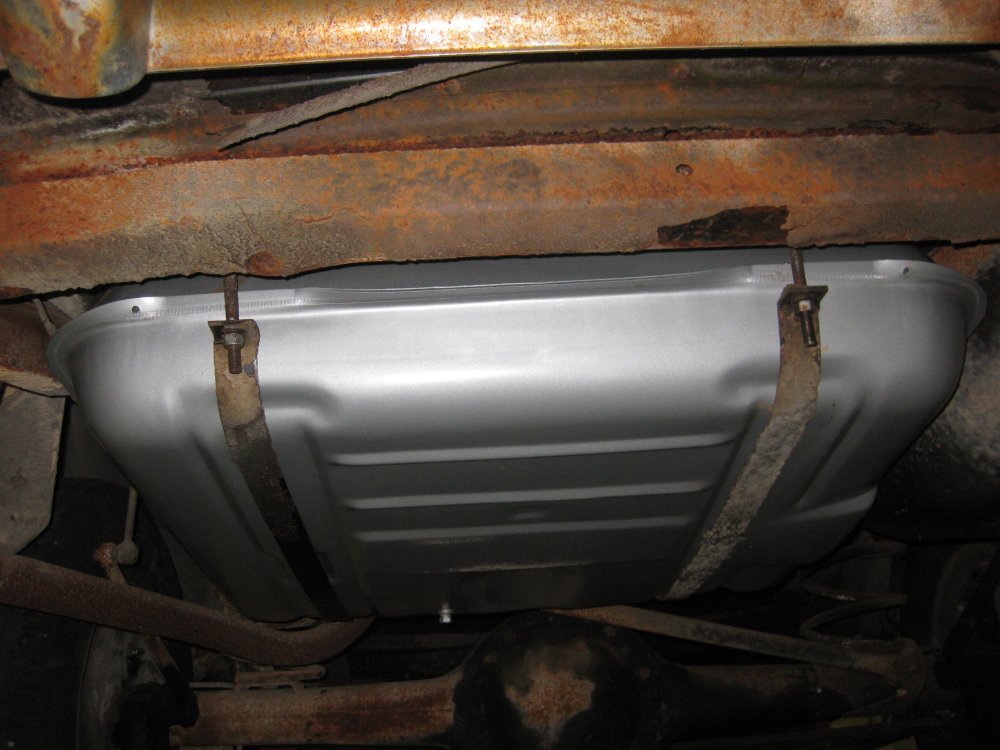
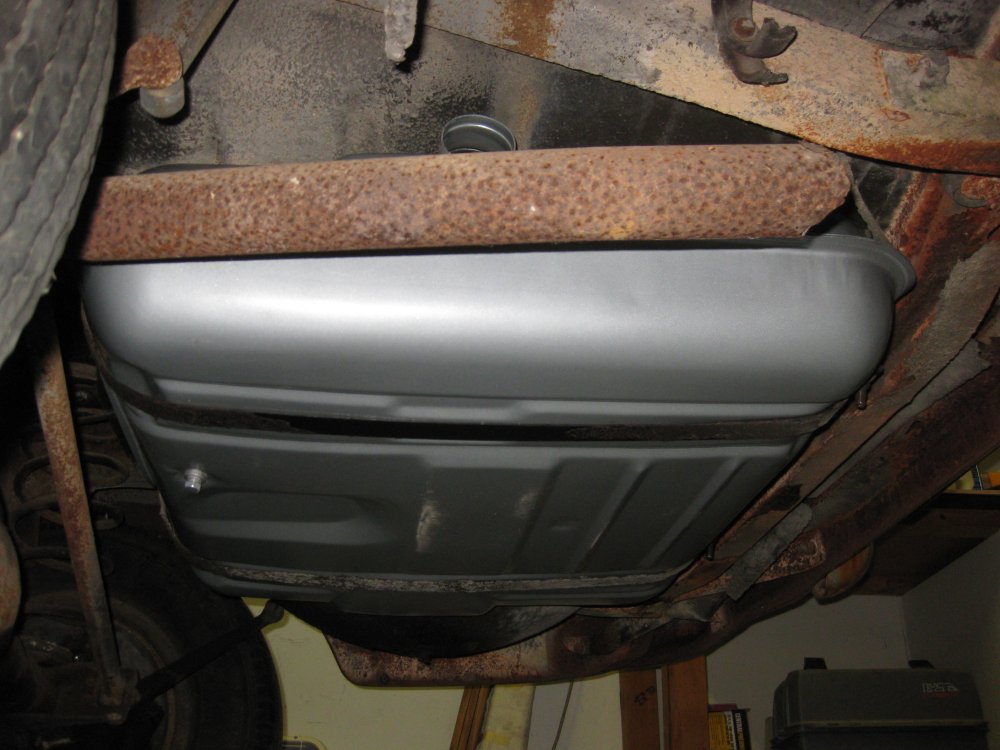
3/22/2014 - gas tank
Got a new tank from Tanks Inc. from an ebay ad. Included the level sender & shipping + I had a coupon, so hard to beat that deal. Got the tank installed. Connecting the tank to the frame-mounted line is another matter. There isn't a convenient way to adapt the double-flared nut on the frame-mounted line to the bubble-flared line on the level sender.
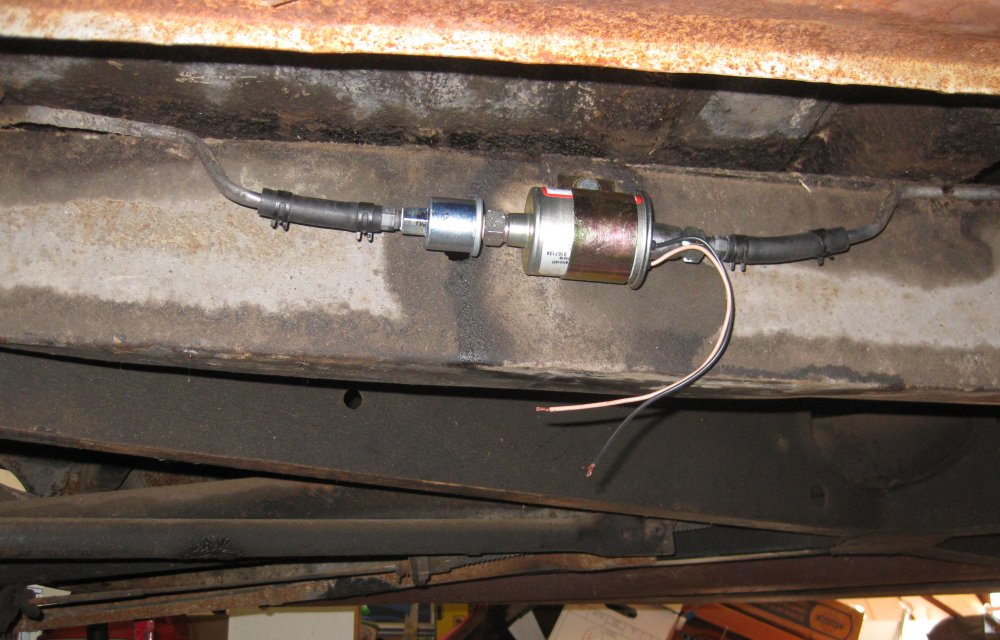
3/29/2014 - electric fuel pump
Installed an electric helper pump along the right frame rail (after requesting input from the AACA Buick forum as to where to put it). The frame rail is pretty convenient for access. I couldn't clearly see a spot up by the tank where the suspension might not interfere.
4/4/2014 - wiring the pump & switch
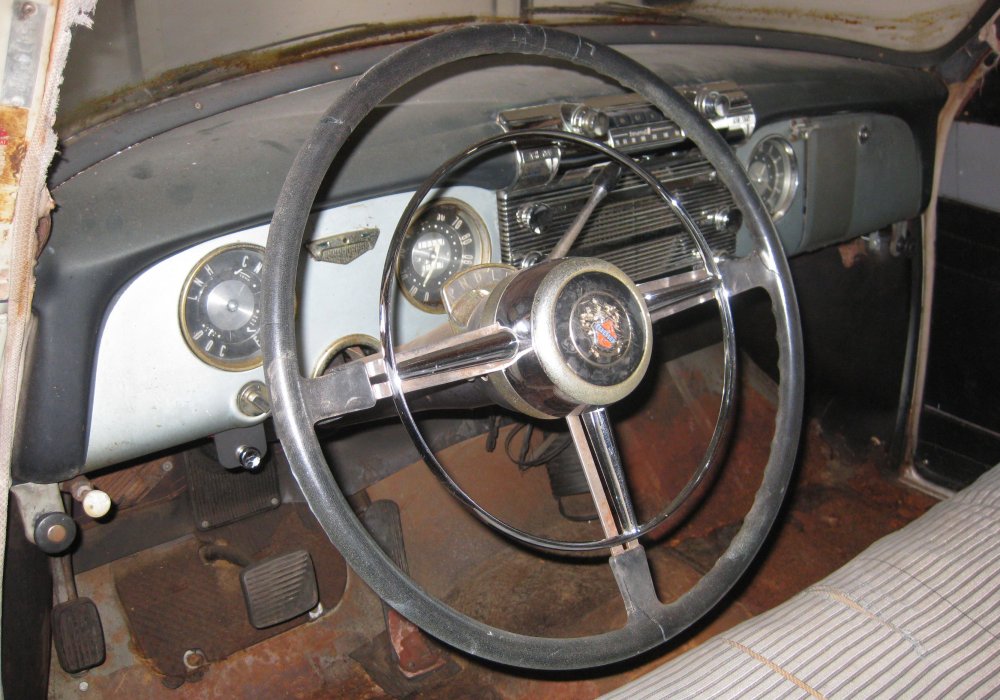
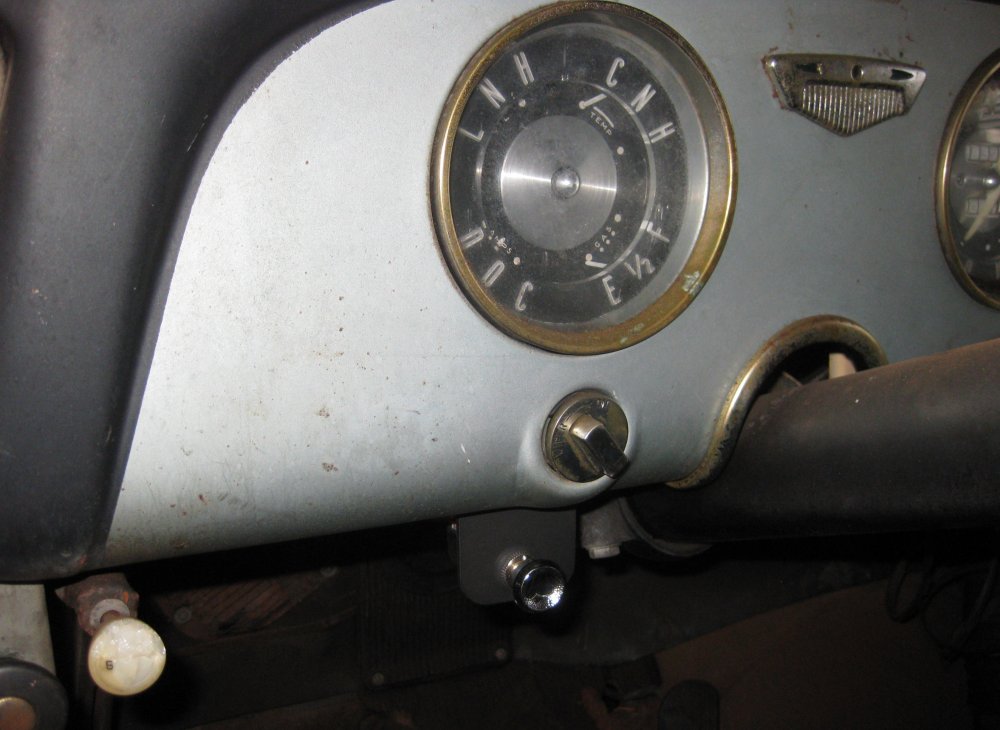
Got a pull-on old-style looking switch at the local auto parts store & made up a little aluminum bracket. There are existing holes at the bottom of the dash under the wiper switch, so I added this switch there. No battery or power to check that it works yet.
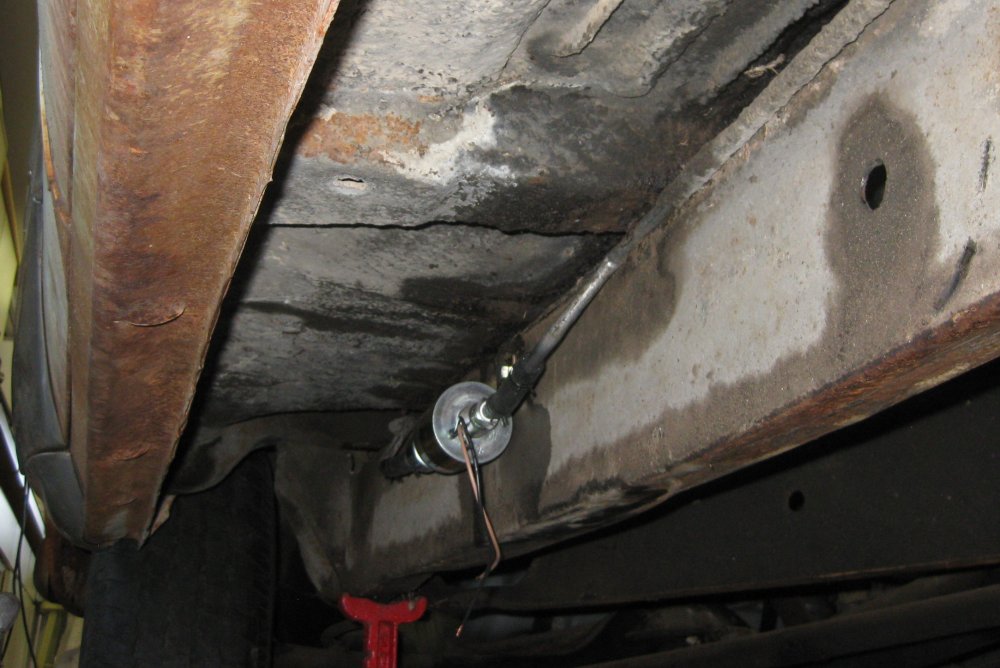
4/5/2014 - tank connection
Came up with a collection of fittings from the hardware store that adapt 5/16" hose on one side, a 90 elbow, and 3/8" hose on the other side to connect the frame tube to the tank tube. Also put a jumper wire across this because the jumper wire is the ground for the level sender.

4/7/2014 - radiator frame
Finally swapped in the replacement radiator frame. Decided not to do any refinishing on this part yet.
4/9/2014 - radiator air guide pan
Some call this a splash pan, but I believe it's really to not let the air that comes in through the grille just pass out under the car. It seals up the area in front of the radiator. I bought a paint removal wheel at the auto parts store & ran it in a drill motor to clean off the paint from the top side of this pan. I didn't do the bottom.
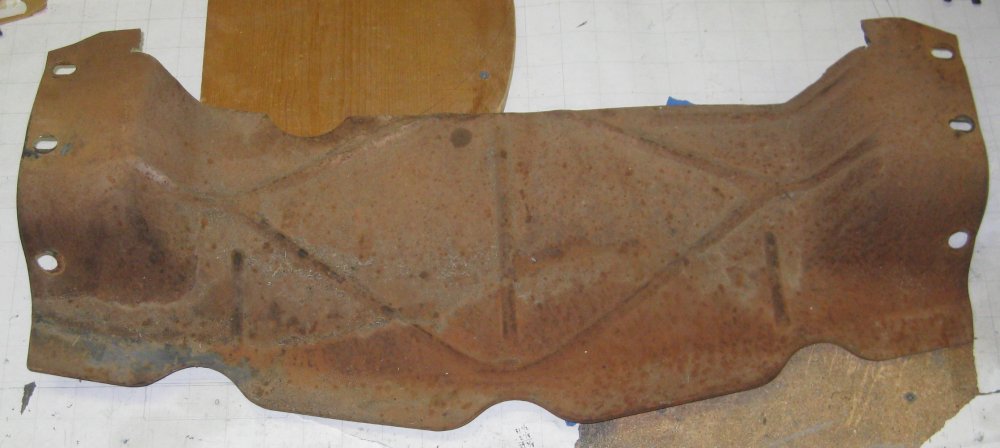
This is the pan that was on teh car. There is a large cutout along the back side to fit the non-stock radiator.
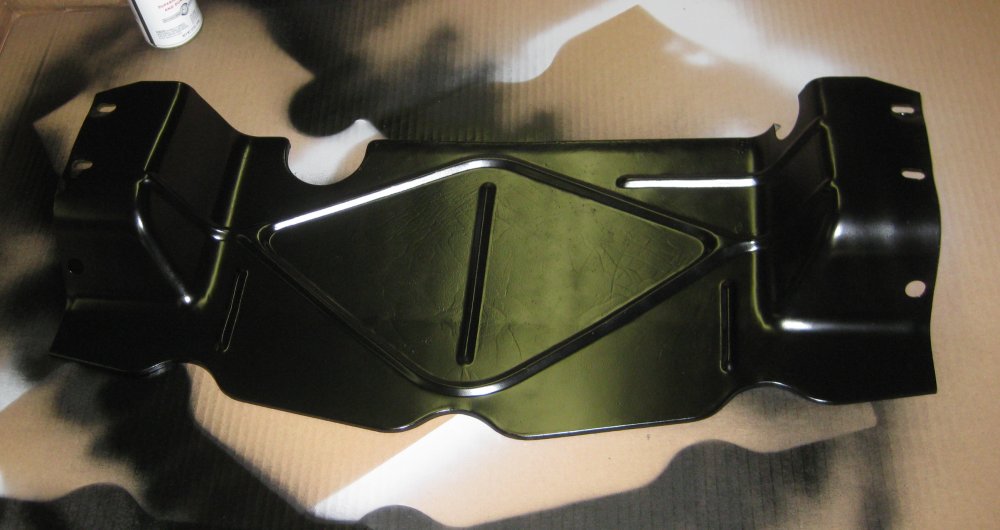
4/10/2014 - paint the pan
Primed and painted the radiator air guide pan.
4/17/2014 - fuel pump wiring
Wired the fuel pump to the switch. Still no battery or power to check that it works, but I wired a lot of the airplane without power.
4/21/2014 - install pan
Installed the painted radiator air guide pan.
4/22/2014 - coolant hoses
Bought 11 feet of 5/8" coolant hose. Used this to run from the water pump to the trans cooler and back. Completely bypasses the heater cores for the cabin.
5/1/2014 - battery
Obtained the correct size 6V battery from the local auto parts store. Started checking electrical circuits in the car. There's about 20 items, and most of them work.
5/2/2014 - reverse light
Replace the LH reverse light bulb. Both reverse lights work.
5/5/2014 - oil & filter
Added motor oil and the filter.
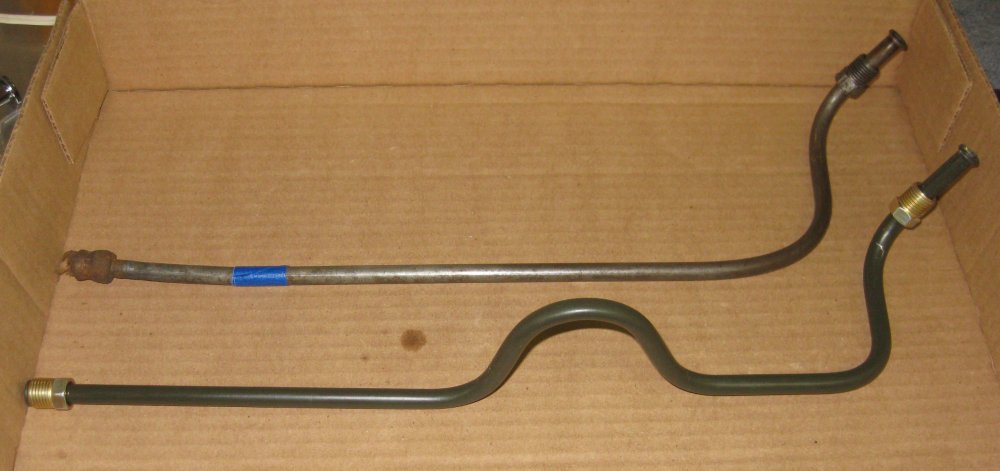
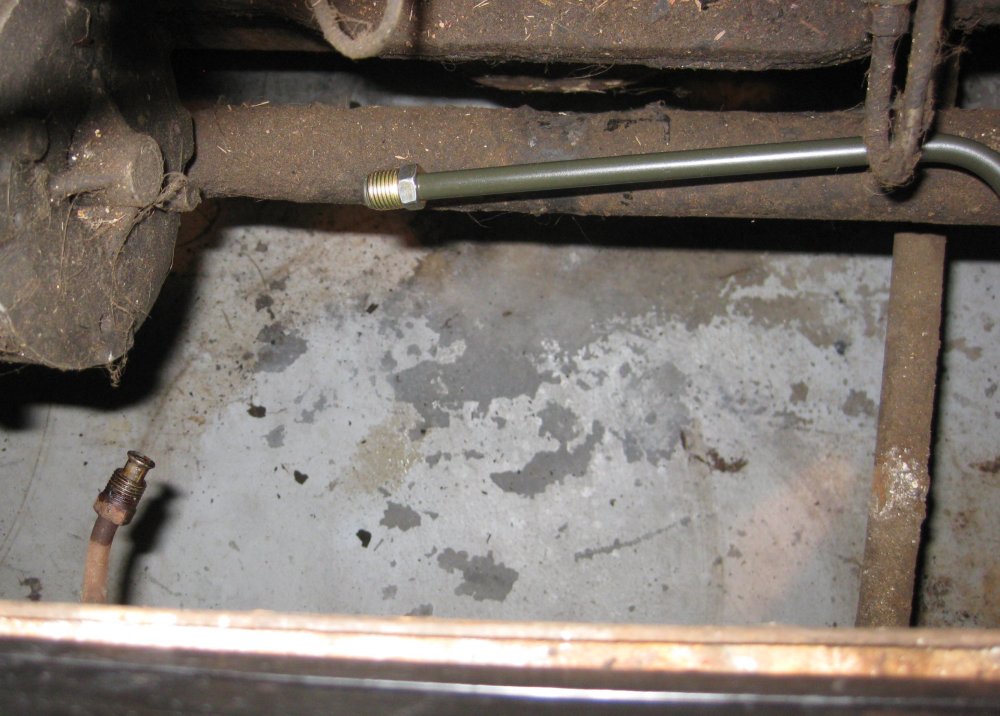
5/7/2014 - fuel line
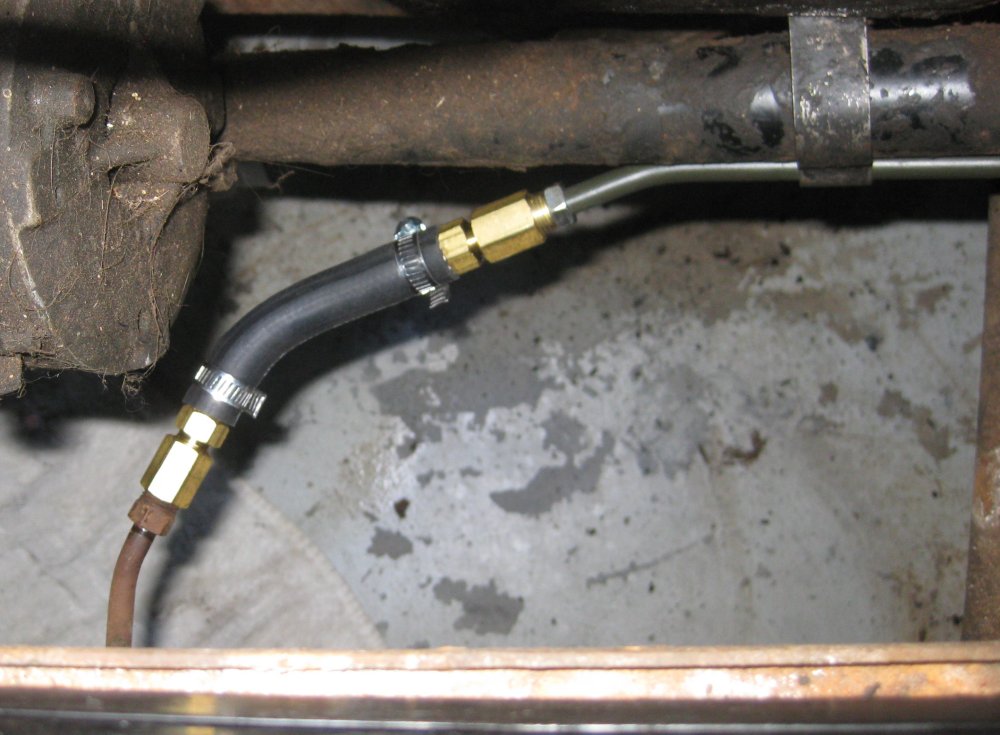
After looking at many online auctions and a VERY frustrating exchange of emails and calls with Inline Tube, I decided to just make my own replacement fuel line for the line along the bottom right side of the engine. Originally, this is a hose-and-tube assembly, which nobody on earth seems to understand. Nobody.
Bought the next-longer length of bend-your-own tube from the auto parts store, and bent up a fair replica of the hard tube along the side of the engine. Mine has an extra U in it to take up extra length. I didn't mock this up - just made the bends, and it came out nearly perfect.

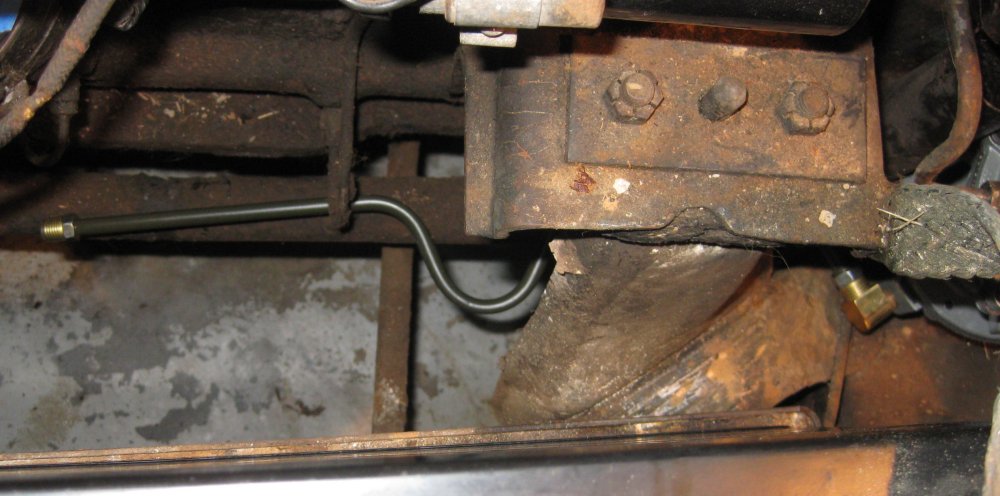
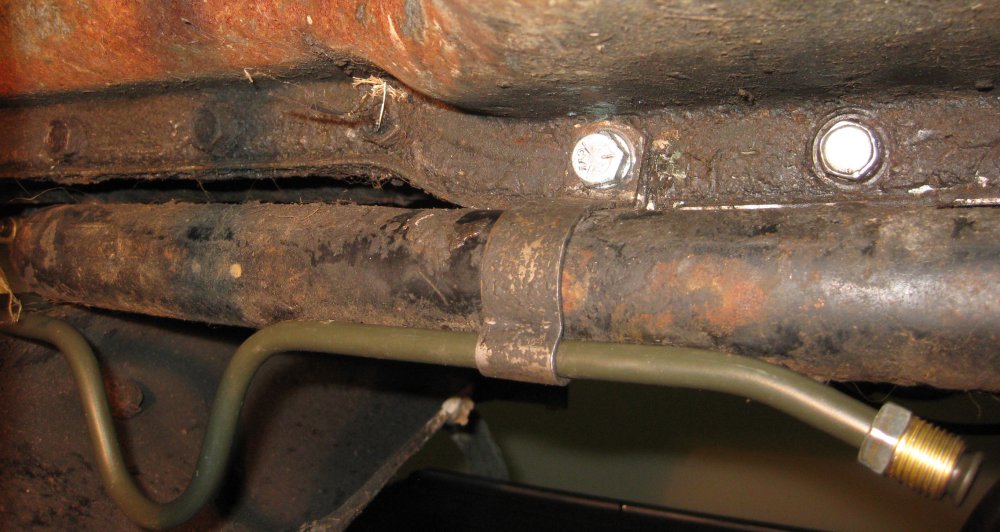
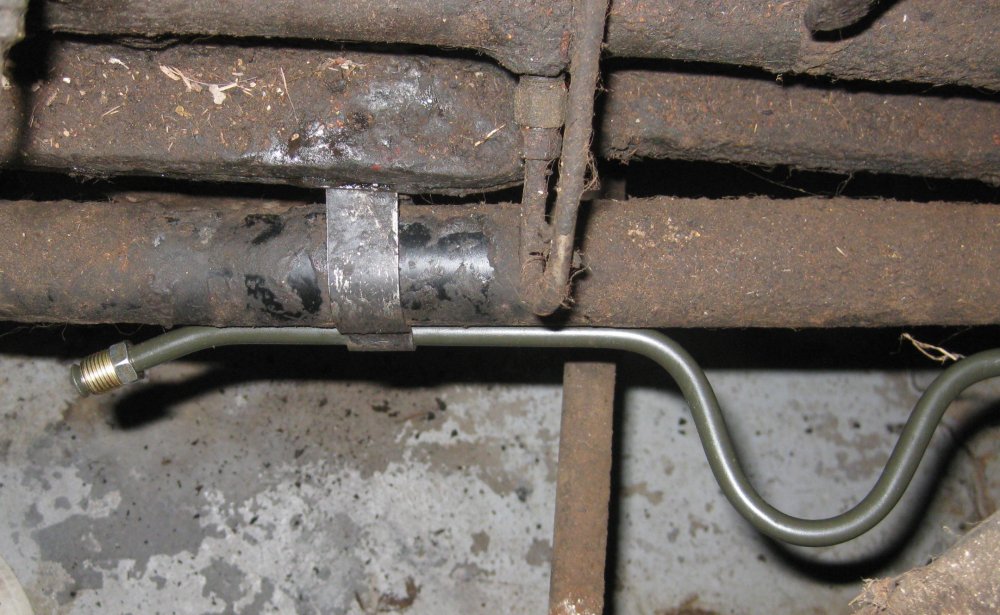
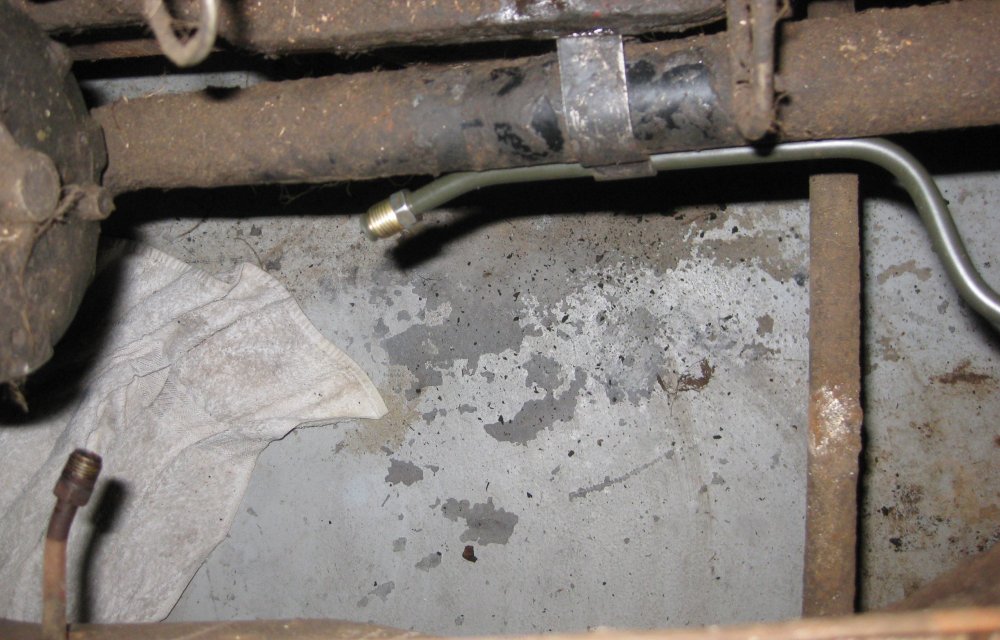
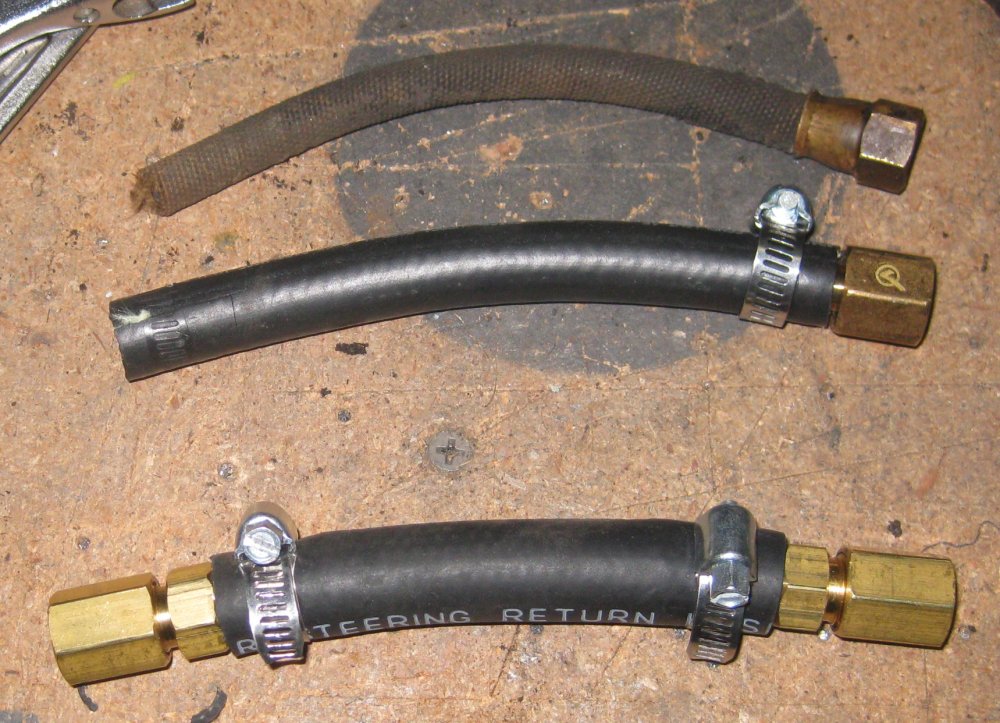
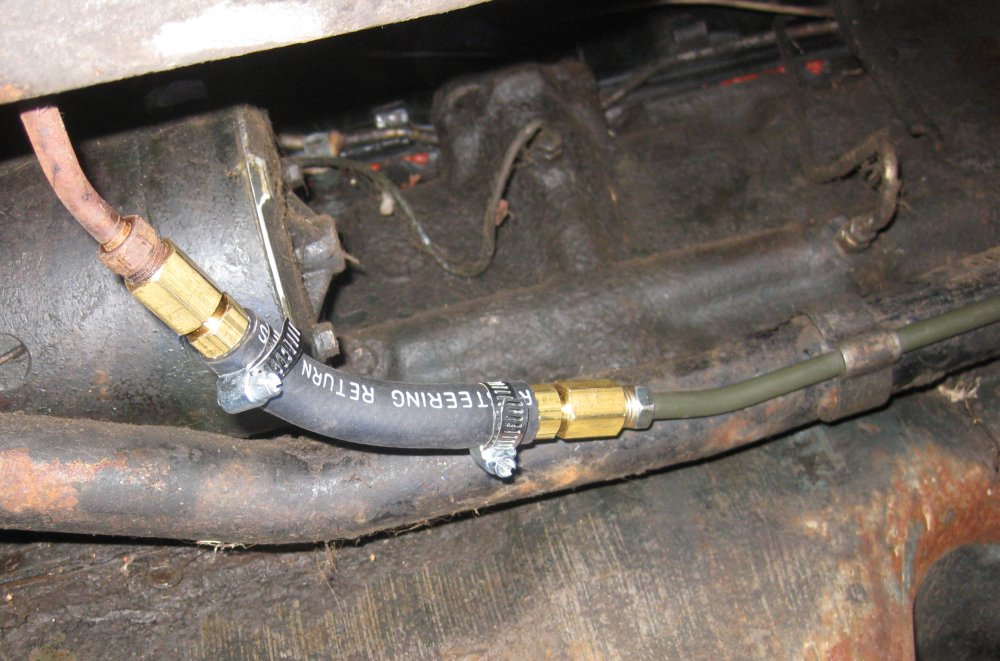
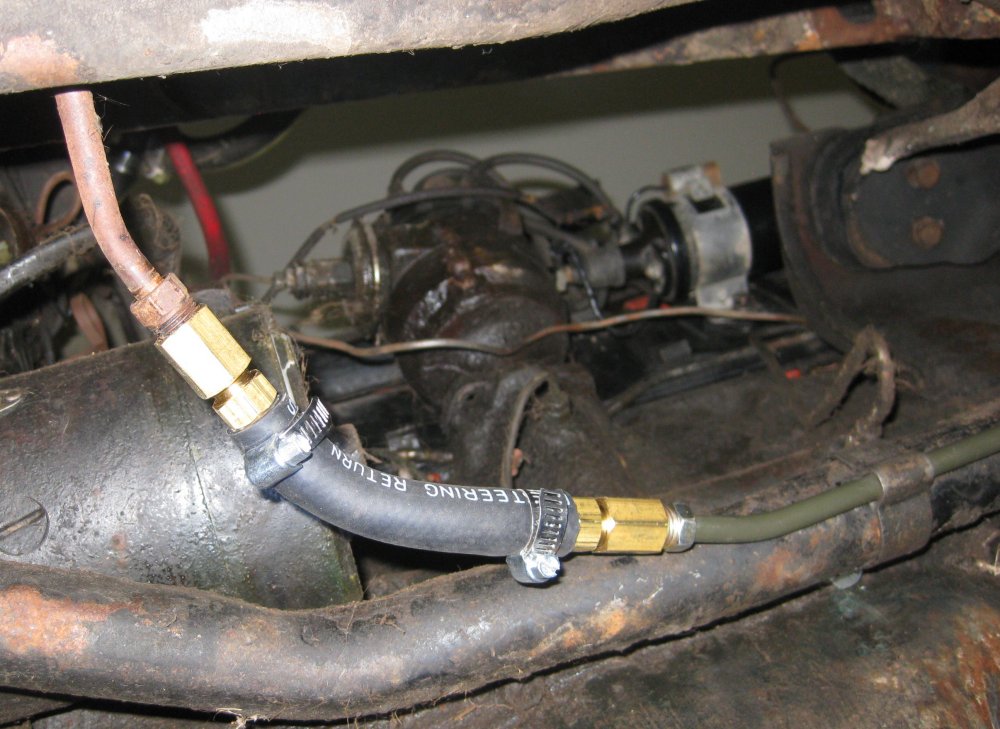
5/13/2014 - fuel hose
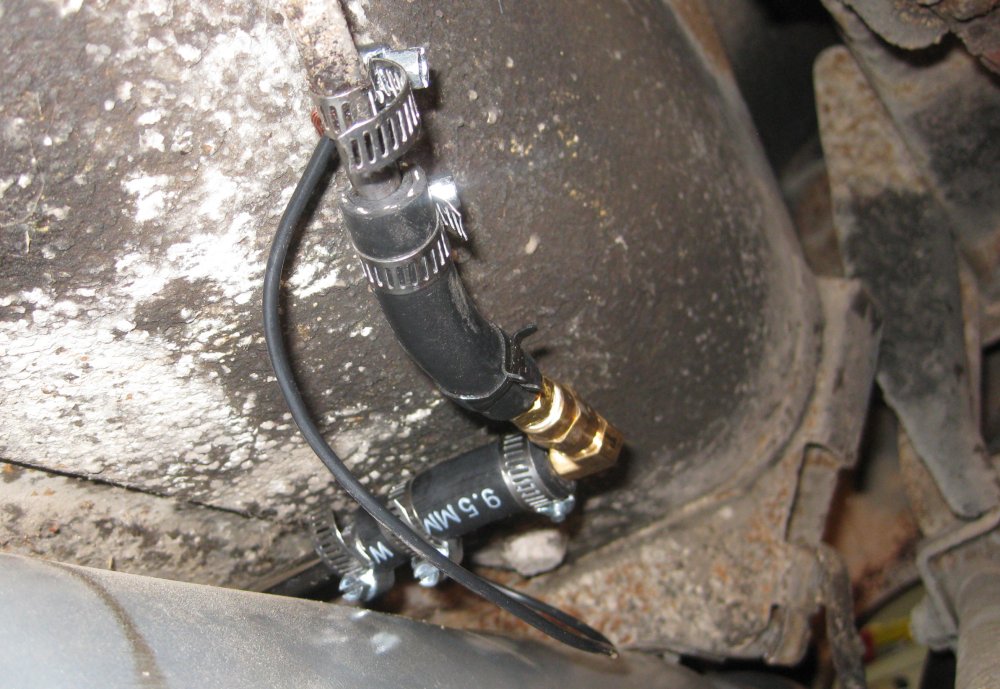
Made up the hose that jumpers between the frame mounted fuel tube and the fuel tube along the bottom right side of the engine. This was an exercise in frustration yet again. The local auto parts store recommended a hose company. I had actually been there a while back for some hoses for the airplane (which didn't work worth a crap because they used automotive 45 deg. flares and the airplane had 37's on it). They didn't have the necessary fittings, and sent me to an auto parts place. I went there, and they said they could do it for about $20 in brass, so they recommended a supposedly vintage automotive hose shop. I went there, and the guy wasn't there. The guys next door said he'd be right back, so I waited. Not too much later, he showed up, but he didn't have these sort of fittings. He recommended ACE hardware. So I went there, and bought some brass fittings. Yes, these had the right thread, but did NOT seal to the double-flare tube fittings at all. I poked around on auto parts websites and figured the local auto parts store (WHERE I STARTED) actually might have the brass to make this thing. I worked with the guy behind the counter at their giant many-drawered cabinet of fittings and came up with probably what the THIRD place I had gone to was recommending - about $20 worth of brass. Anyway, got that made up and into position. It's 3/8", where the original was 1/4".
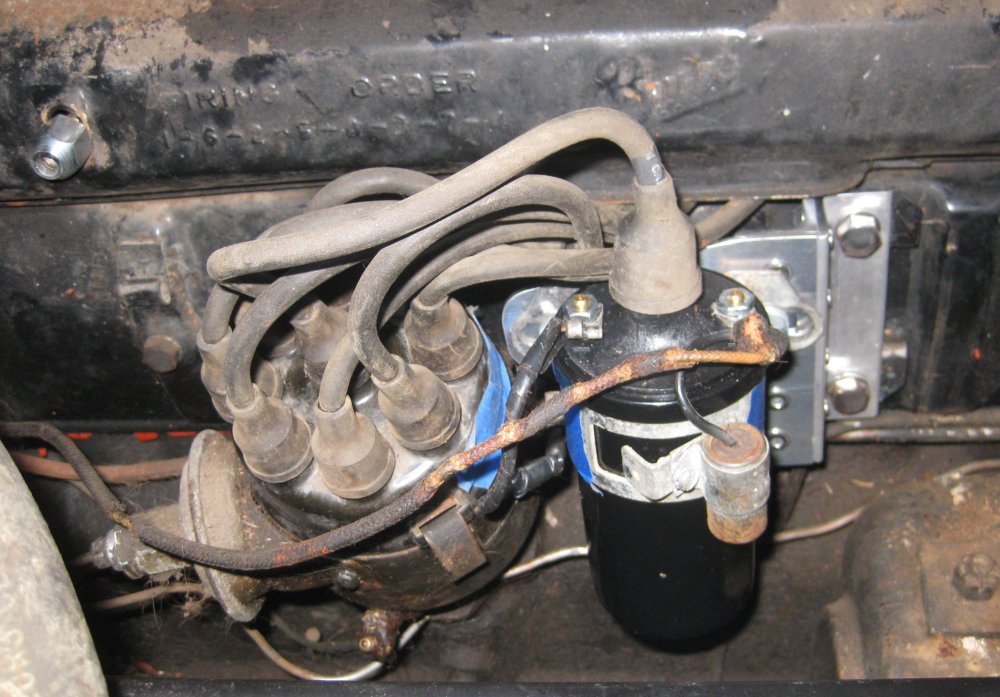
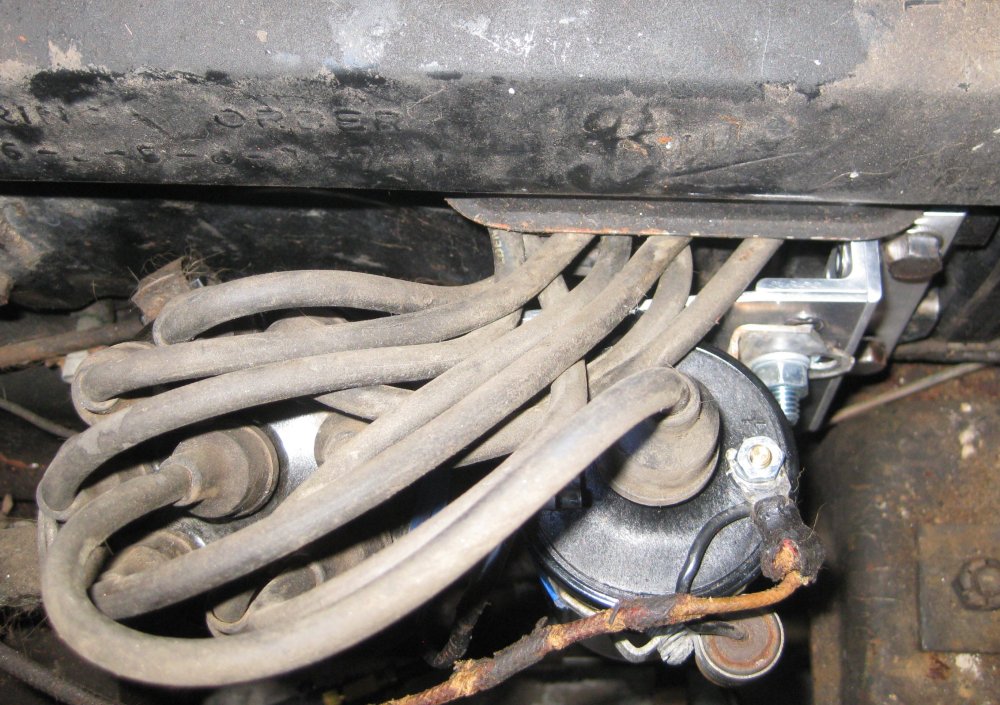
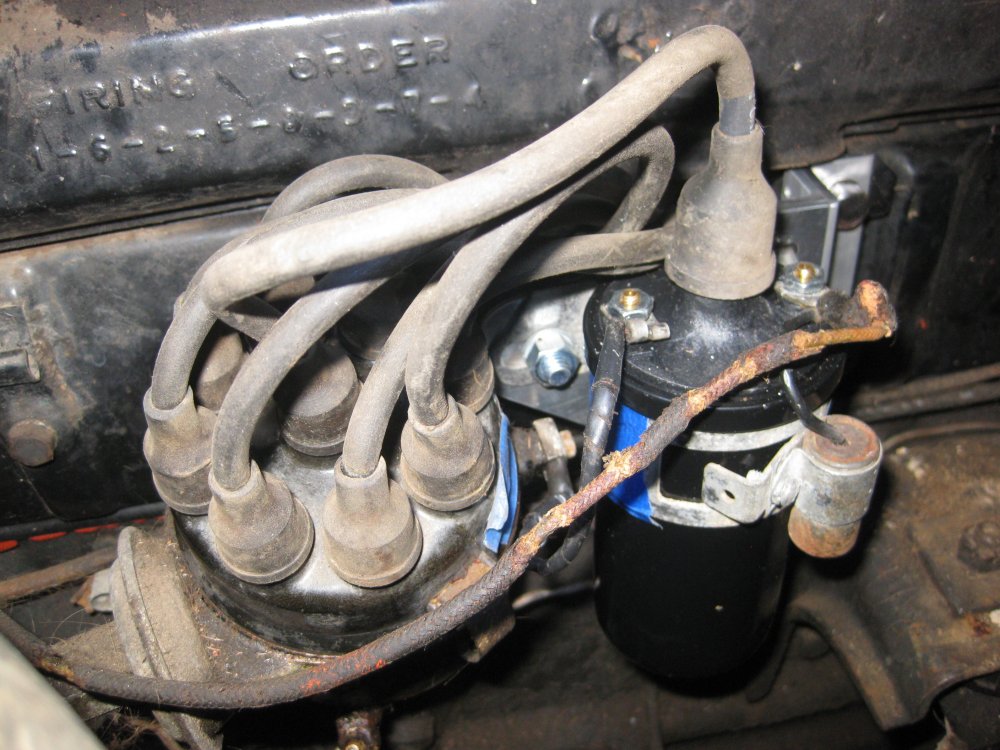
5/11/2014 - coil
Not sure why I'm listing this out of order - I checked back through my AACA Buick Forum postings to get the dates for this whole page. I swapped out the ignition coil for a new one. The old one had a short and an open (incorrect) between the terminals. Also, Buick mounted these coils horizontally. As an oil-filled can with a void or bubble inside, this can lead to the high side of the coil getting hot. So I wanted to come up with a bracket to mount the new coil horizontally, if possible.
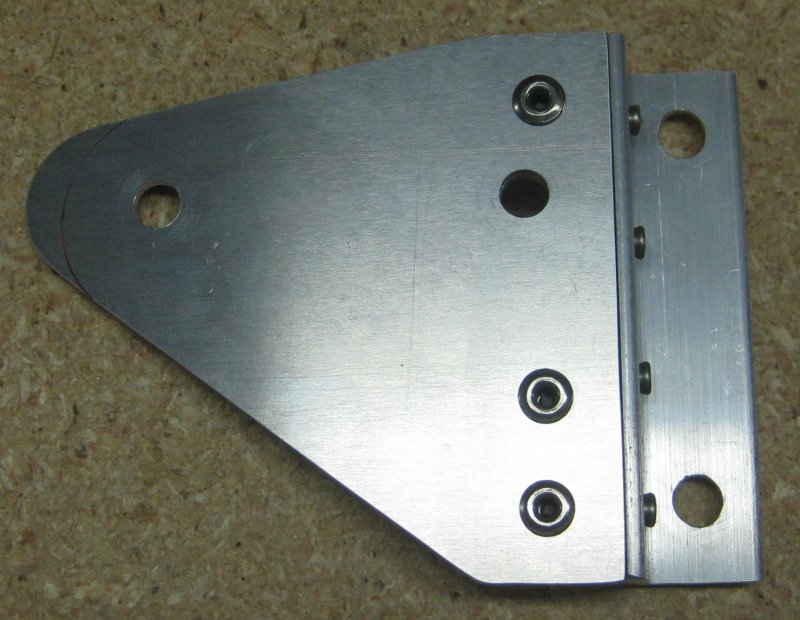
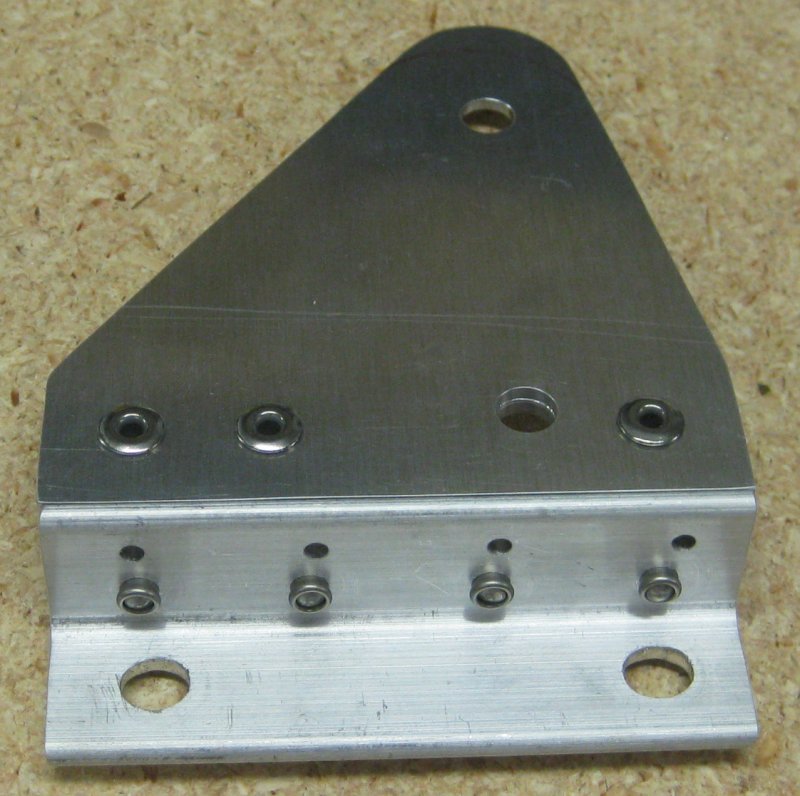
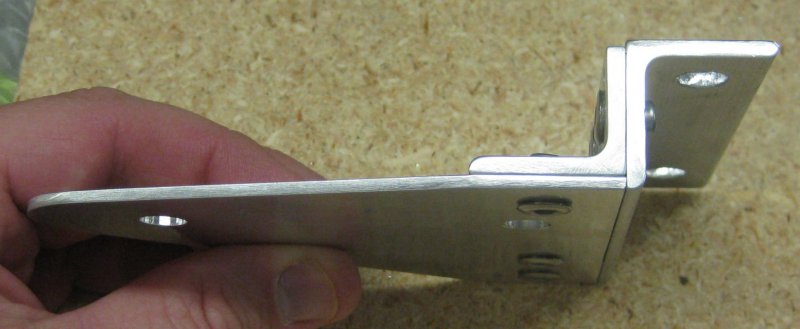
5/23/2014 - coil bracket
Not sure why I wasn't on more productive things, but I made up a little bracket to mount the coil horizontally. It bolts on easily, and can be quickly removed and the coil setup restored to stock if that's ever desired or needed.