1955 Buick Special Custom - 06
5/21/13 - front wheels
Another hour or so of work that can't be seen. Stopped by the tire shop on the way home. Explained that the front lug nuts are the large size of 6-spline drive. The guy questioned how that could be, but when I told him I'd just bought a set of tires there a couple of weeks ago, he gave me the large spline driver, figuring that their guys had seen this already. It occurred to me on the way home that the reason they are different is that the rear axle was changed for a later one which uses smaller studs and lug nuts. Though the guy at the shop was sure the wheels couldn't be the same. I jacked it up and pulled the front wheel off - sure enough, it looks like it was drilled for the larger studs. So though the front and rear wheels and tires are the same size, the rears are set up for smaller studs. So that would probably mean the spare can only go on the front. Well, it could go on the rear, but probably would be loose. I should try it out.
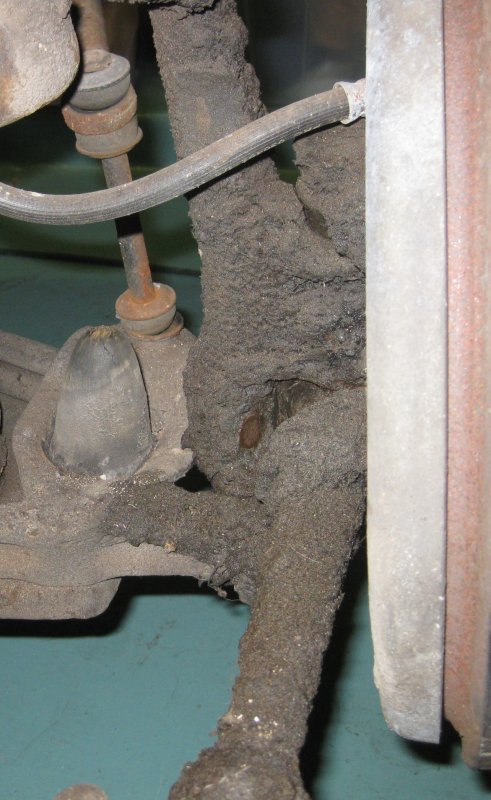
The main purpose of pulling off the front wheel was to clean off gunk on the suspension and inner fender. Removing a many-year-old protective coating of grease and Tennessee mud. Started with the rear of the inner fender and the frame area behind the wheel. Got a couple of pounds of stuff off there. Then moved to the suspension, starting with the upper arm and working down. I've been studying pictures of (beautifully restored) '55-'56 Buick suspensions on various build log websites, but I was surprised how thin the elements really are. They slim down quite a bit with a quarter to half inch of gunk and crud scraped off. Probably knocked at least 5 pounds of greasy mud material off.
Put the wheel back on a couple of times. First time, it felt a little loose, so I was concerned the full-cap lug nuts were bottoming out on the outrageously long studs. So I pulled the wheel back off and put one of the spacers in there. Tightened that down, and it felt the same. Must be the play in the bearing. Not enough to worry about as far as a bearing goes, but if the wheel had that much play on the hub due to the lug nuts bottoming out, that could be a problem. When I pulled the wheel off again, I looked down inside to the bottom of the lug nuts - no marks. I also inspected the ends of the studs in the hub for evidence of contact with the lug nuts - they look clean. So these super-deep lug nuts must be deep enough. I put it back together without the spacer.
5/22/13 - right front
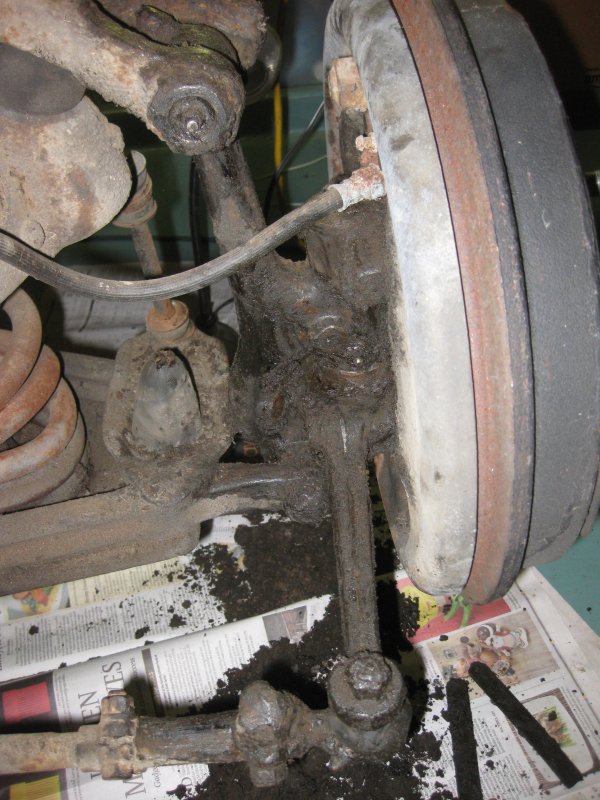
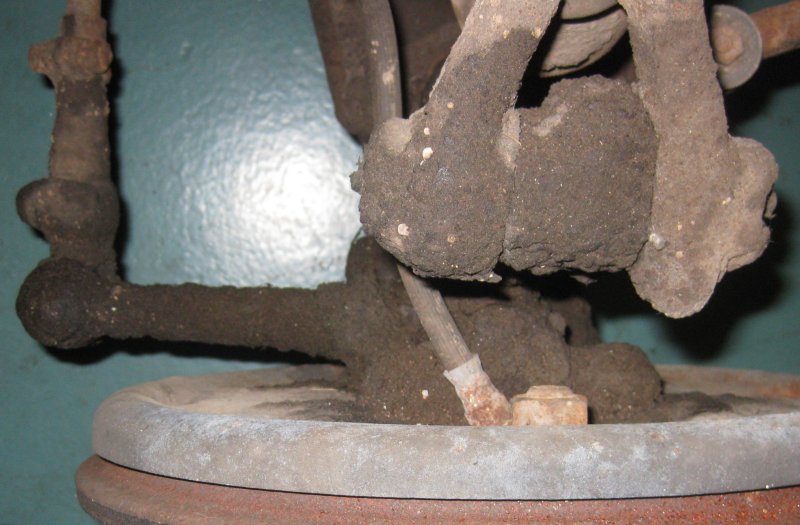
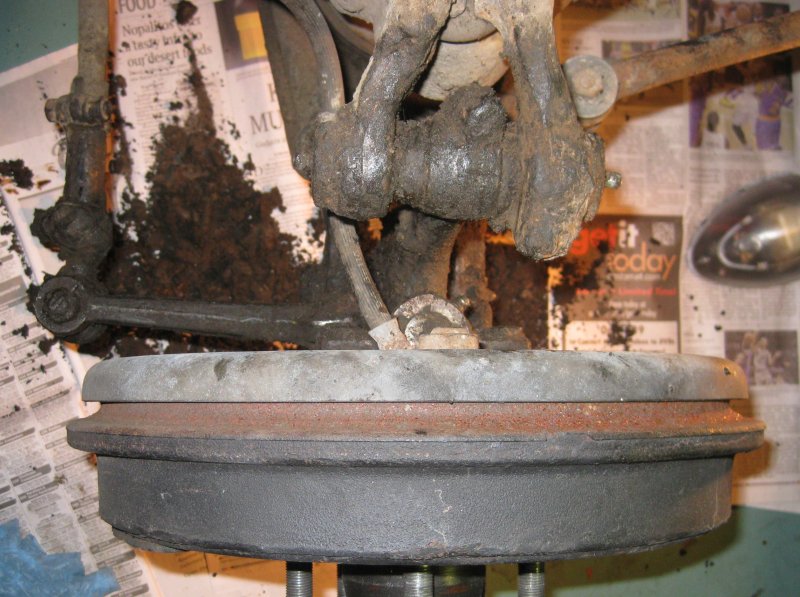
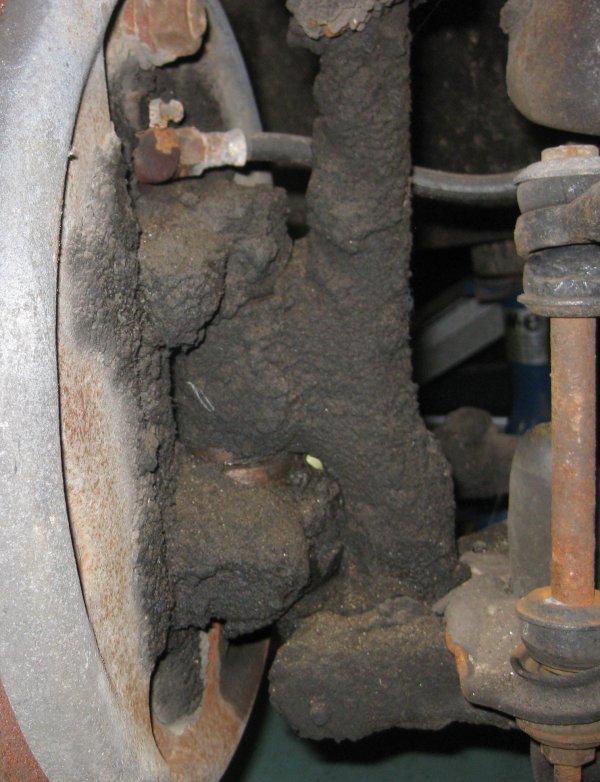
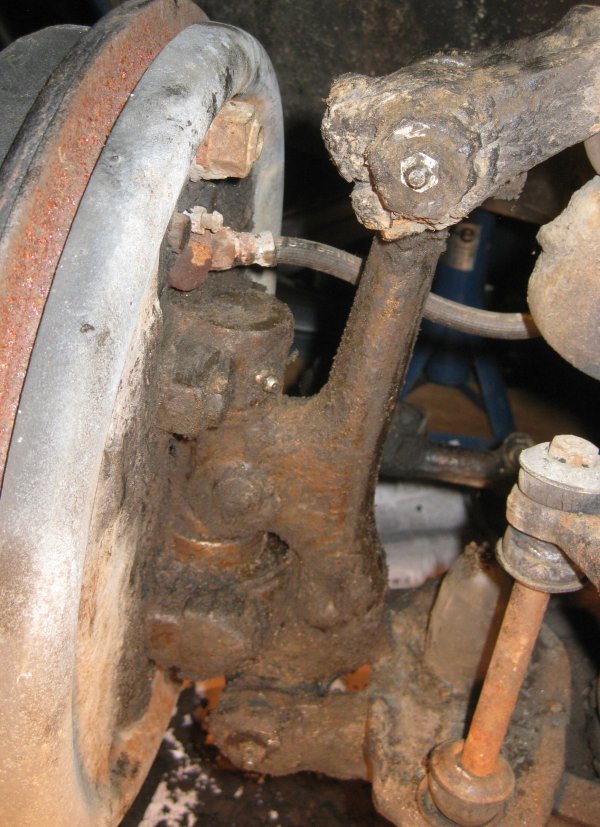
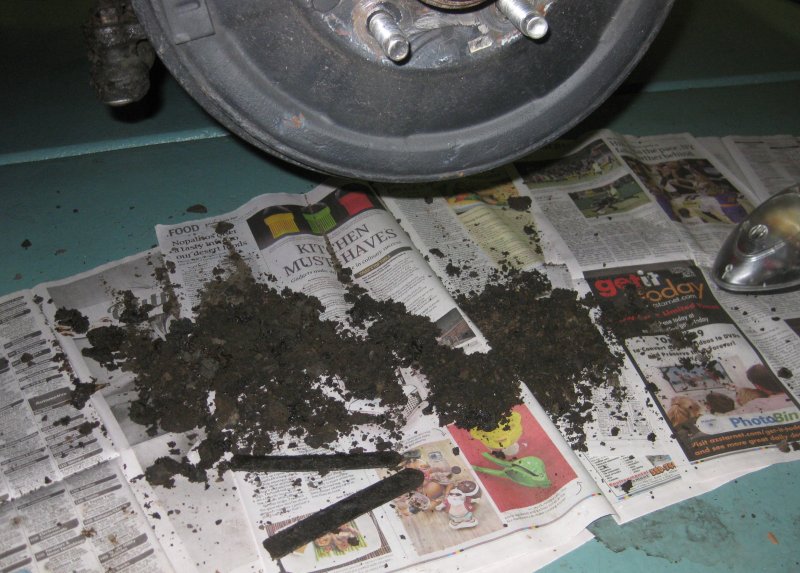
Today, moved the car to the center of the garage, jacked it up, pulled the right front wheel. Set newspaper on the floor and spent about 3/4 hour scraping dirt and grease off the right front suspension. There was less gunk on the frame than on the left side, but the suspension parts were about the same. Ok, it's not a down-to-the-last-bolt, super-cleaned, and powder-coated, but at least now it's a lot more possible to at least identify where the grease fittings are. Took some photos today.
6/5/13 - finding parts
Via the AACA forums, found another hobbyist parting out a '55. Exchanged some email. He'd already sold some items I could have used, and needed to keep a couple more for himself, but I was able to score an original headlight switch knob and a pair of the dashboard ash trays. His car looked as though it had seen more humidity than mine (the ashtrays are fairly crusty), but the price was very fair, and it sure beats the anxiety and overspending of an auction. So those will be in place pretty soon.
6/6/13 - cruise night
Back for another cruise night. After we ate and looked at the cars for a while, I noticed a '56 Special had shown up. All original. The owner said it hadn't run since 1973. I told him I had a '55 a couple of rows over, and I figured he saw it as I saw him later in the burger joint (had to pass by my car to get there), but the kids needed to leave before I got to show him my car myself. He also said he had a '55 of some sort. I guess I'll have to get out to the cruise night there some more so we might meet up again. I was able to point out the under-hood insulating rod that was sitting in front of the radiator on his car. He didn't know what it was.
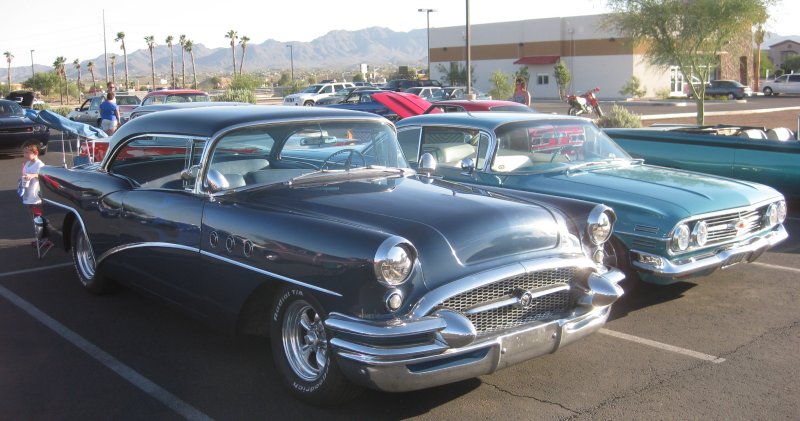
Just as we were pulling out to go home, someone poked their head in the window to compliment the car, and on the way home a foursome of dudes on big loud bikes pulled up along side at a stop light and had some nice things to say. That's pretty cool - I guess I'm focused on the flaws and things that need work and lose sight of the overall impression it makes. Here's some photos.
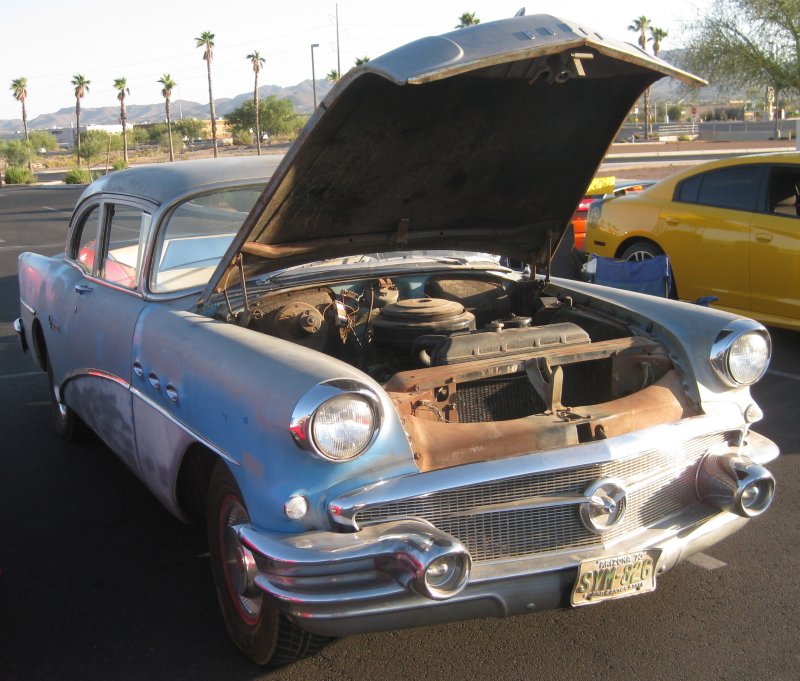
Bodywork in process.
This appears to be pretty much barn-fresh. Heater hoses cut and capped, new-ish radiator hose, power steering. Can't see the hood insulation rod - it's across the radiator brackets behind the cross beam. Shows up in another photo.
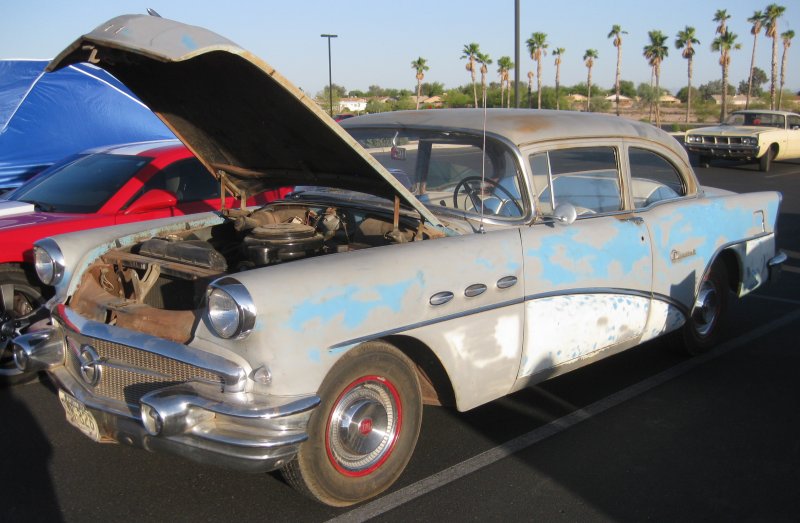
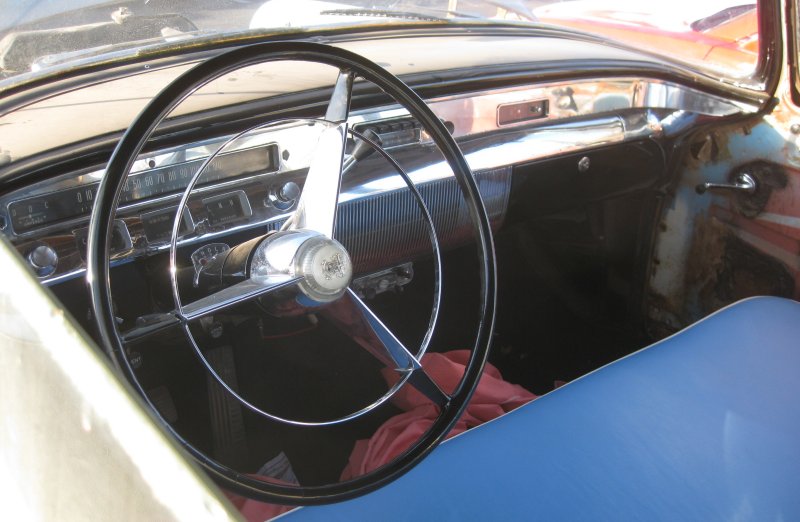
Dashboard is in excellent condition. He was measuring the radiator temp with the engine idling with a handheld IR sensor and comparing with the dashboard gauge, so sounds like the gauges work. Steering wheel in excellent condition. Seat upholstery not bad either - might be vintage covers over the original.
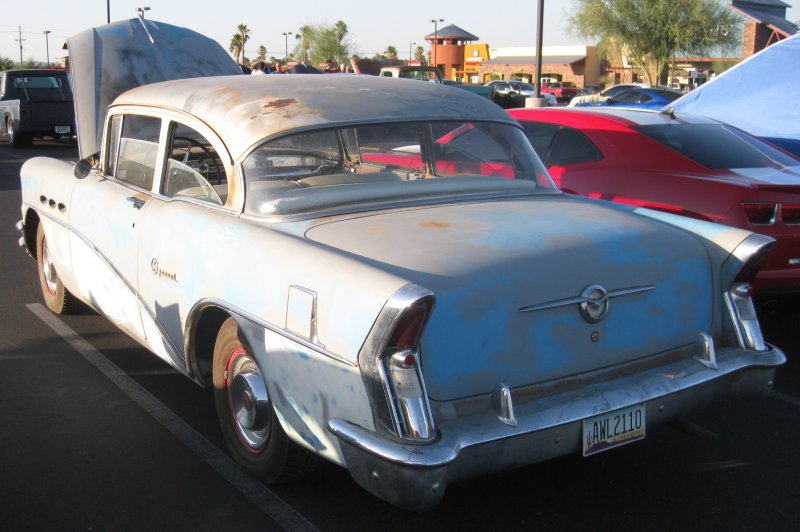
Chrome and stainless would clean up pretty easily on this one.
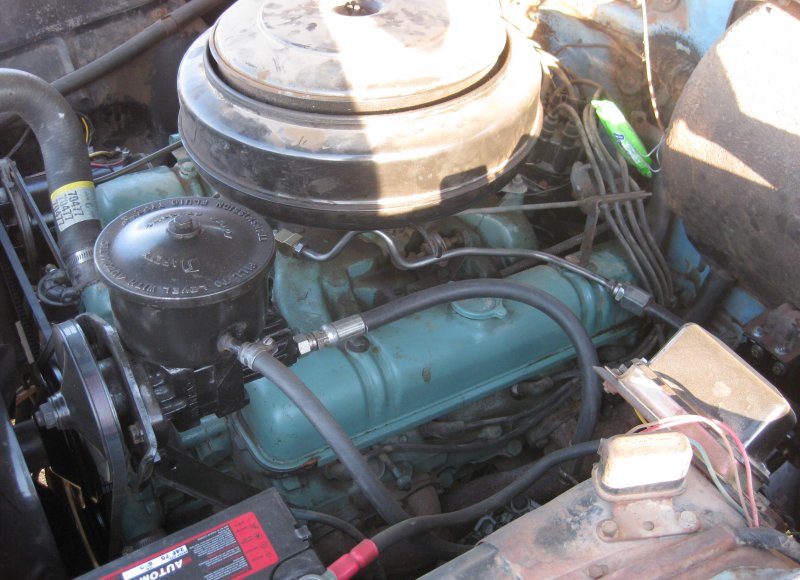

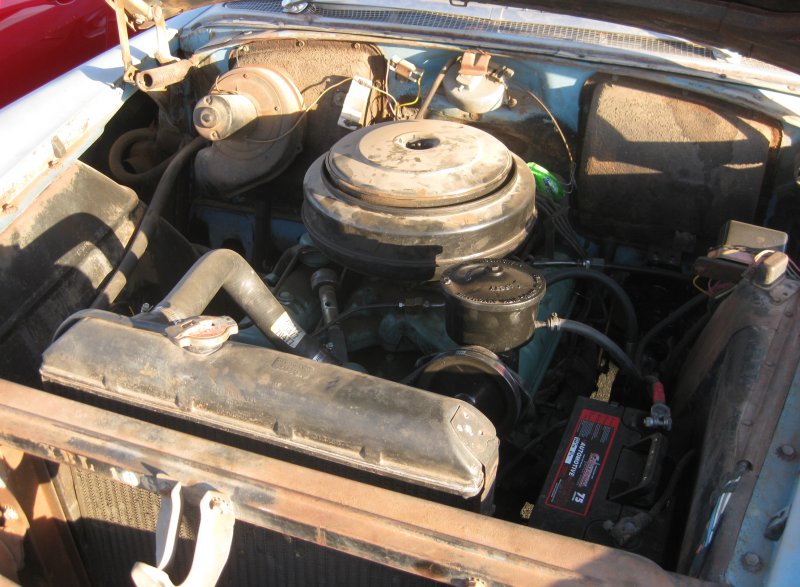
One bonus for him - I told him about the hood insulation rod sitting there (in the left side of this view). One bonus for me - there's a shroud on the back of the radiator that my car doesn't have! Getting that would probably help with the temperature control... though it might not fit with the SBC fan (probably why it's not there). But it shows me that I need to get something in there.
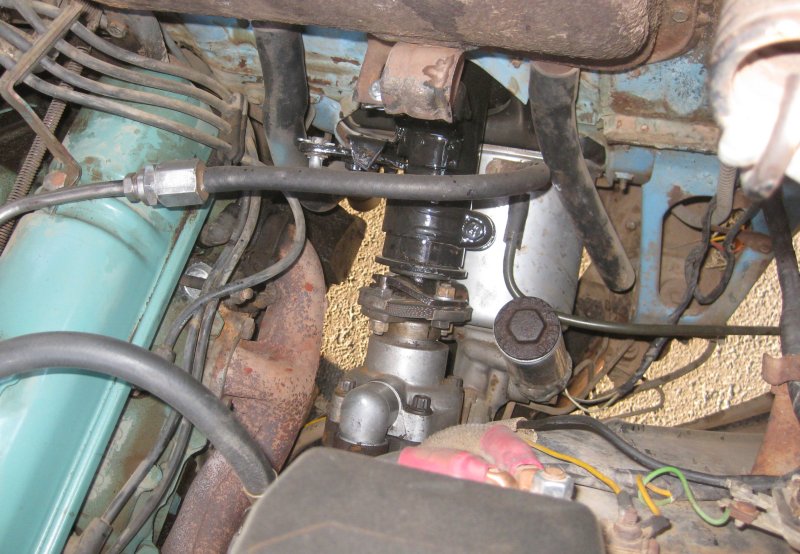
Took this shot to show that yes, '56 steering does use a rubber coupling between the steering shaft and box. The cylinder below the steering shaft may be for power brakes, as the line out of it goes across the top of the engine to the vacuum pump that is part of the fuel pump on the forward right side of the engine. In which case, this is fairly high options for a Special. It also has a radio, though it doesn't have the no-pillar Riviera side windows.
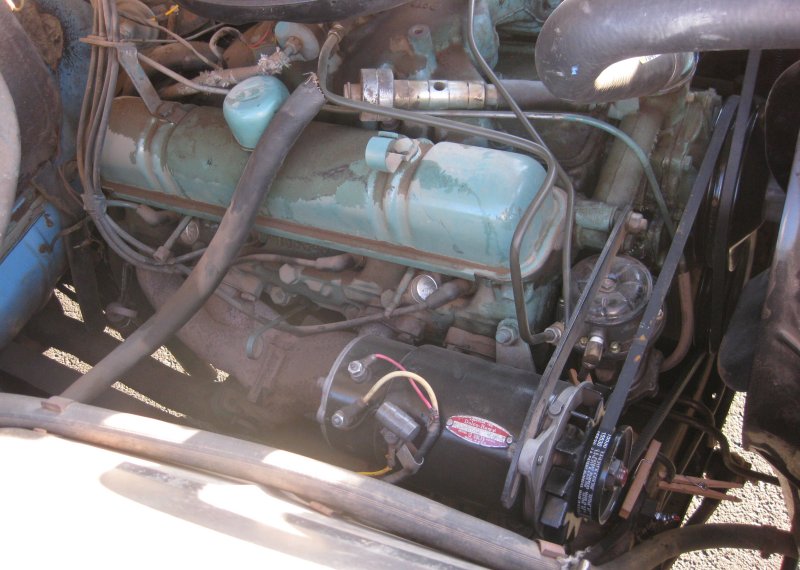
Fuel and vacuum pump between the generator and water pumps. On these engines the left-side exhaust manifold feeds forwards, across the front of the engine and joins up with the right-side manifold from below, with a single exhaust down the right side.